
HTC Ozone Frame Replacement

Marco Jokada and 9 other contributors
Last updated on Jan 10, 2025
Views: 2K
View statistics:
- Past 24 Hours:
- 1
- Past 7 Days:
- 17
- Past 30 Days:
- 97
- All Time:
- 1,950
Comments: 0
No one has left comments on this guide. Will you be first?
Go to guide commentsCompleted: 1 2
1 person has marked this guide "completed." Will you be next?
2 people have marked this guide "completed." Including you — great job!
Favorites: 2 3
2 people have favorited (and subscribed to) this guide. Will you be next?
3 people have favorited (and subscribed to) this guide — including you!
Introduction
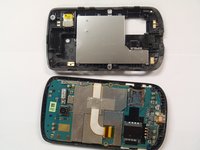
Go to step 1 ↓Internal components of a cell phone device are protected by a plastic frame (i.e. motherboard, keyboard, screen, etc.)
What you need
Tools


-
-
-
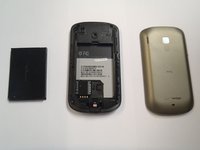
Slide the cover up, towards the top of phone, to unlock the battery cover.
-
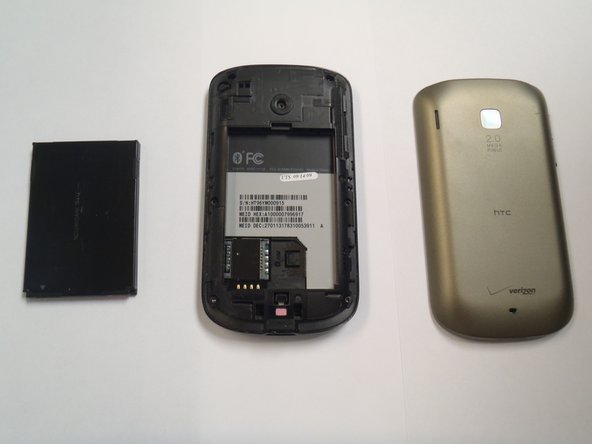
Lift the cover off phone and remove it.
-
-
-
-
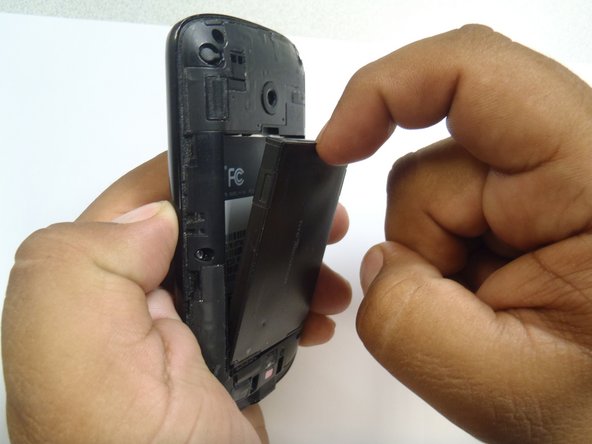
Use your finger to push the top of the battery downwards and lift the battery out of the phone.
-
-
-
-
-
Tool used on this step:Plastic Cards$2.99
-
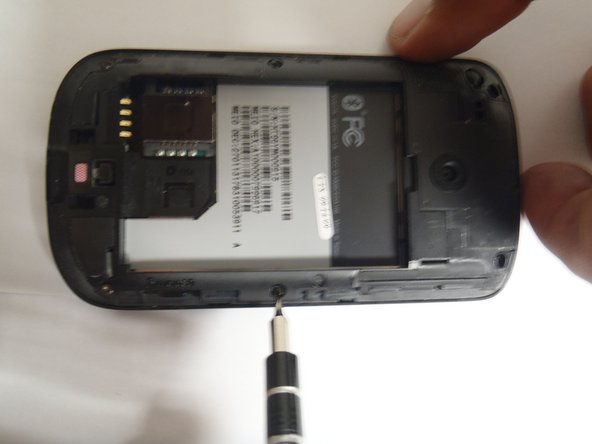
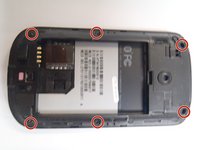
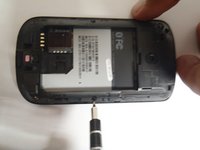
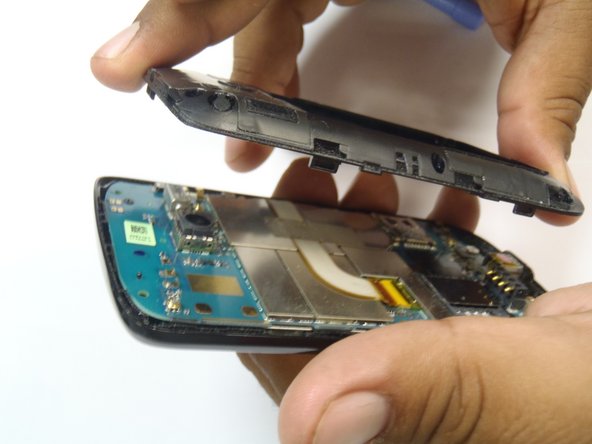
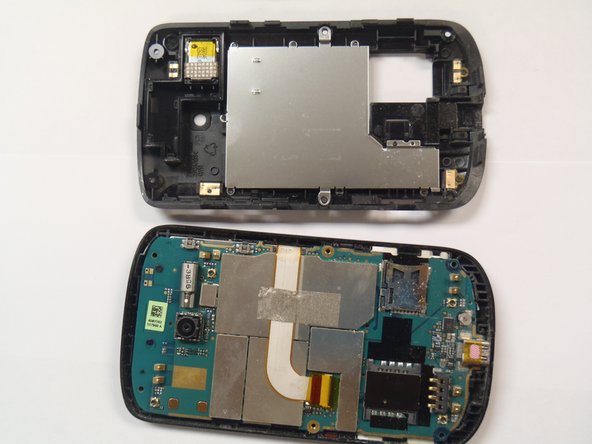
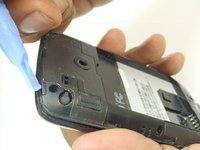
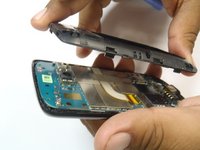
Pry the frame open, releasing the eight plastic tabs around the edge of the frame, using the plastic opening tool.
-

 Ask FixBot





To reassemble your device, follow these instructions in reverse order.
Cancel: I did not complete this guide.
One other person completed this guide.

Team

CSU Los Angeles, Team 1-2, Nelson Spring 2011 Member of CSU Los Angeles, Team 1-2, Nelson Spring 2011
CSULA-NELSON-S11S1G2
5 Members
72 Guides authored
