Introduction
Replacing the battery of this phone is not an easy procedure. We will guide you on how to disassemble the phone and replace the battery.
The video manual is for LCD Display & Touch screen replacing, but you can follow it until the moment when we separate the main board & battery from the LCD frame.
What you need
Video Overview
-
-
-
Switch the phone off.
-
Remove the SIM tray.
-
It's helpful to use heat to loosen the adhesive, making removal much easier.
 Ask FixBot
-
-
-
-
Remove the seven Philips #0 screws at the top of the panel:
-
Two 2.05 mm screws
-
Three 2.44 mm screws
-
Two 3.35 mm screws
-
Once the screws are removed, gently remove the plastic cover using a plastic opening tool to detach the edges from the front panel.
-
-
-
Disconnect one by one:
-
the Touchscreen flex cable
-
the Volume buttons & Mic flex cable
-
the Dock connector flex cable
-
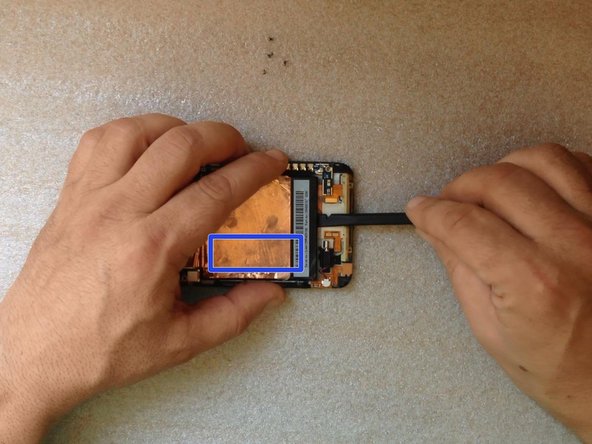
Carefully insert a plastic tool under the battery to pry it up from the adhesive. Avoid bending the battery.
-
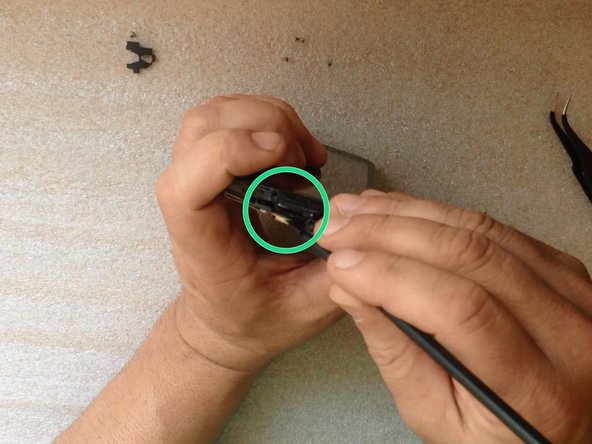
Now you can separate the Dock flex cable.
-
-
-
Carefully pry the EMI shield up at the top of the phone and toward the battery.
-
Carefully peel the copper tape off of the battery and save it to transfer to the new battery.
-
-
-
Lift the motherboard slightly to disconnect two flex cables:
-
the LCD Display flex cable
-
the Navigation buttons flex cable
-
Disconnect the Power On button flex cable at the upper side of the phone
-
Now the mainboard and the battery are free.
-
Disconnect the battery and you are ready to install the new one.
-
-







To reassemble your device, follow these instructions in reverse order.
Cancel: I did not complete this guide.
13 other people completed this guide.

Team

2 Guide Comments
Went very well. I had a dead HTC One X that I replaced 4 years ago. I came across it a few weeks ago and thought to give a new battery a try, to see if I can get the photos off it. It did not charge (no lights) and did not turn on anymore. I ordered a battery from AliExpress and it came in today. Followed this guide, and yes, it turned on again! And charging is also working properly now. So I am happy, now I can get my photos and use the phone as a Android 4.2 testing target for the apps I develop. Wonderful.
