Free Shipping on Domestic Orders $75+

HTC Maple 100 Front Panel Replacement

What you need

    1. HTC Maple 100 Front Panel Replacement, Battery: step 1, image 1 of 1
      • First remove the back cover of your phone to expose the battery.

      Ask FixBot

      Add Comment

    2. HTC Maple 100 Front Panel Replacement: step 2, image 1 of 1
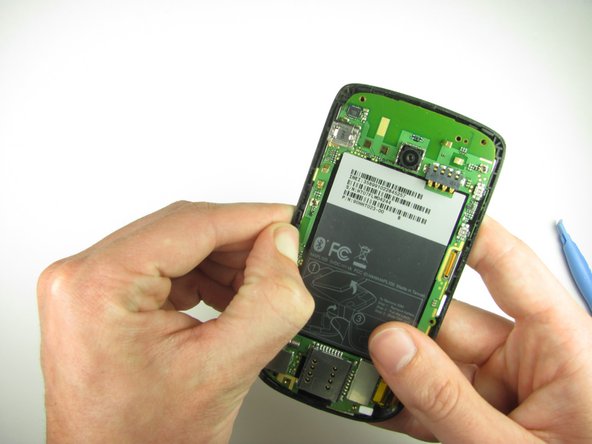
      • Turn the phone over.

      • Push forward on the battery with your thumb.

      Ask FixBot

      Add Comment

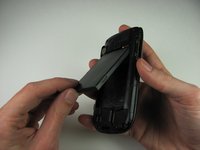
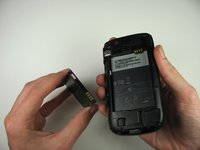
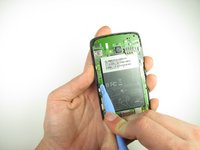
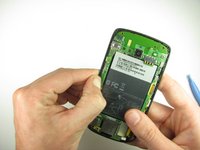
    3. HTC Maple 100 Front Panel Replacement: step 3, image 1 of 2 HTC Maple 100 Front Panel Replacement: step 3, image 2 of 2
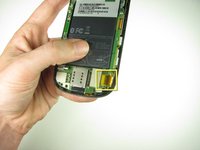
      • Take the battery out by lifting it upwards.

      • When reassembling, make sure that the battery contacts match up.

      Ask FixBot

      Add Comment

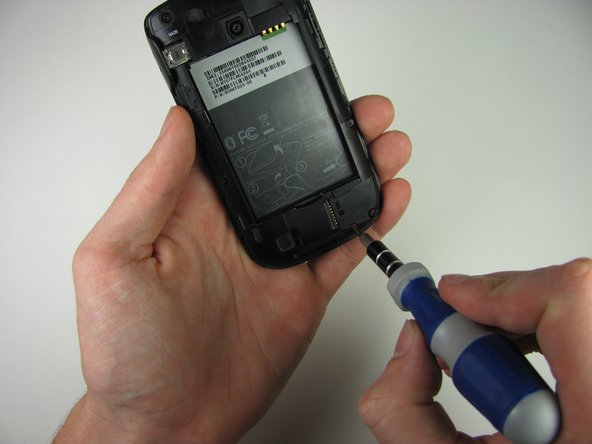
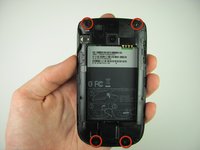
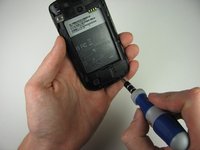
    1. HTC Maple 100 Front Panel Replacement, Back Panel: step 4, image 1 of 2 HTC Maple 100 Front Panel Replacement, Back Panel: step 4, image 2 of 2
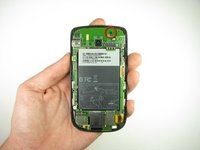
      • Remove the four 4.9mm T6 Torx screws that secure the back panel to the rest of the phone.

      Ask FixBot
      Add Comment

    2. HTC Maple 100 Front Panel Replacement: step 5, image 1 of 1
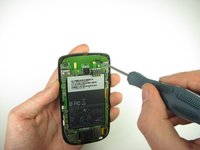
      • Remove the two 4.3mm Phillips #00 screws that secure the back panel to the rest of the phone.

      Ask FixBot
      Add Comment

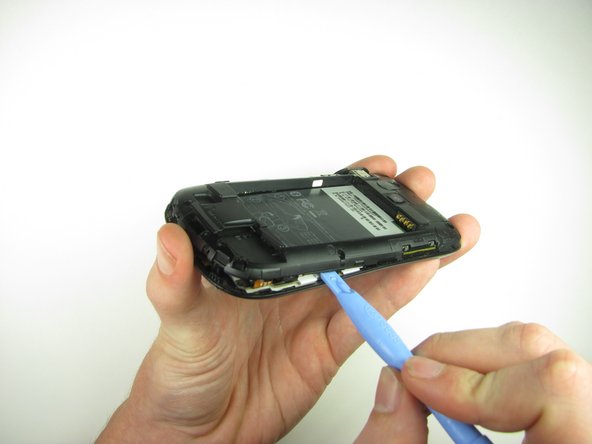
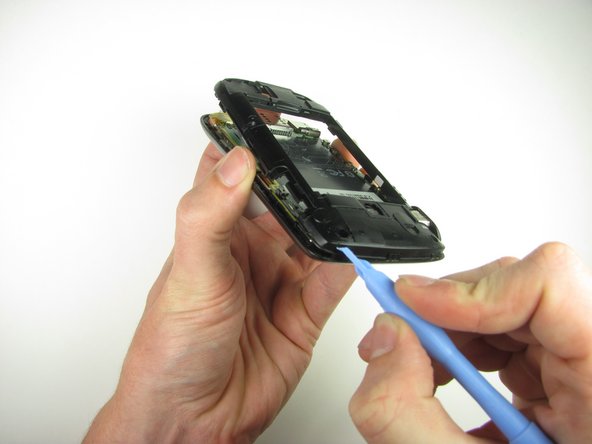
    3. HTC Maple 100 Front Panel Replacement: step 6, image 1 of 3 HTC Maple 100 Front Panel Replacement: step 6, image 2 of 3 HTC Maple 100 Front Panel Replacement: step 6, image 3 of 3
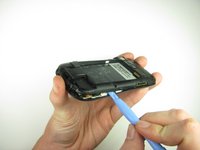
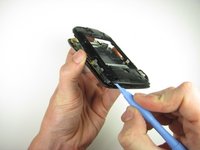
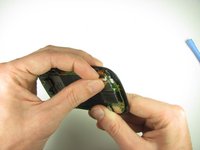
      • Insert the plastic opening tool along the seams at different points to it pry the clips off.

      • This may require a bit of force. The USB port cover may fall off in this step.

      Ask FixBot
      Add Comment

    1. HTC Maple 100 Front Panel Replacement, Motherboard: step 7, image 1 of 2 HTC Maple 100 Front Panel Replacement, Motherboard: step 7, image 2 of 2
      • Remove the one 3.3mm Phillips #00 screw.

      Ask FixBot
      Add Comment

    2. HTC Maple 100 Front Panel Replacement: step 8, image 1 of 2 HTC Maple 100 Front Panel Replacement: step 8, image 2 of 2
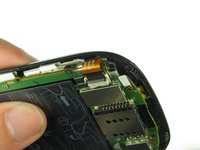
      • Use your finger or the plastic opening tool to unclip the board.

      • Be aware of the ribbon cable connected to the motherboard inside the phone.

      Ask FixBot
      Add Comment

    3. HTC Maple 100 Front Panel Replacement: step 9, image 1 of 2 HTC Maple 100 Front Panel Replacement: step 9, image 2 of 2
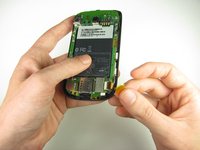
      • Peel off the yellow piece of tape from the phone.

      Ask FixBot
      Add Comment

    4. HTC Maple 100 Front Panel Replacement: step 10, image 1 of 3 HTC Maple 100 Front Panel Replacement: step 10, image 2 of 3 HTC Maple 100 Front Panel Replacement: step 10, image 3 of 3
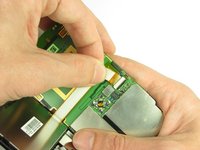
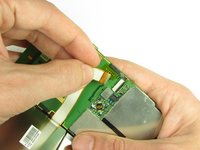
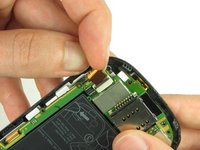
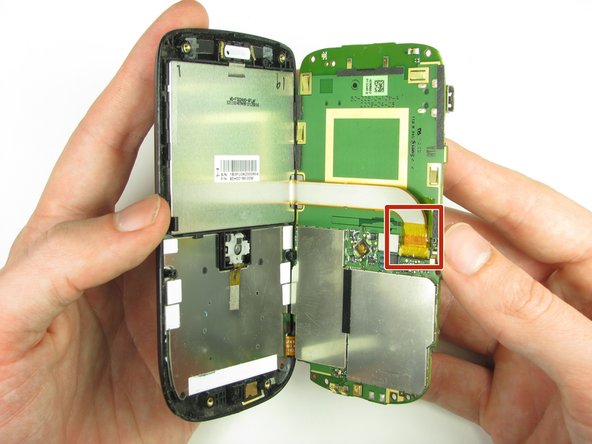
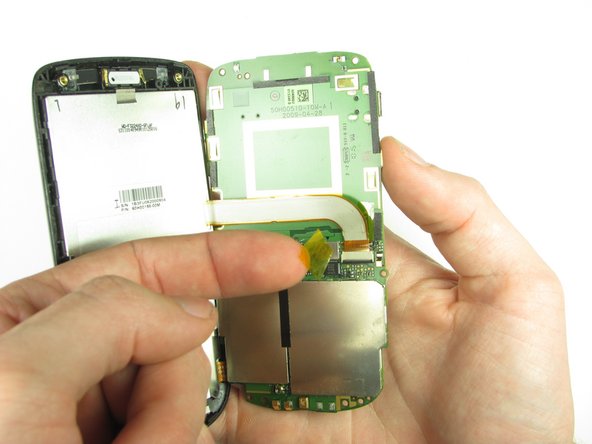
      • Flip up the retaining flap with your fingernail or a plastic opening tool.

      • Pull on the ribbon cable gently with your fingers.

      Ask FixBot
      Add Comment

    5. HTC Maple 100 Front Panel Replacement: step 11, image 1 of 2 HTC Maple 100 Front Panel Replacement: step 11, image 2 of 2
      • Split apart the motherboard and front panel.

      • Remove the other yellow piece of tape off of the end of the ribbon cable.

      Ask FixBot

      Add Comment

    6. HTC Maple 100 Front Panel Replacement: step 12, image 1 of 2 HTC Maple 100 Front Panel Replacement: step 12, image 2 of 2
      • Gently pull on the ribbon cable to separate the motherboard.

      Ask FixBot

      Add Comment

    1. HTC Maple 100 Front Panel Replacement, Keyboard: step 13, image 1 of 2 HTC Maple 100 Front Panel Replacement, Keyboard: step 13, image 2 of 2
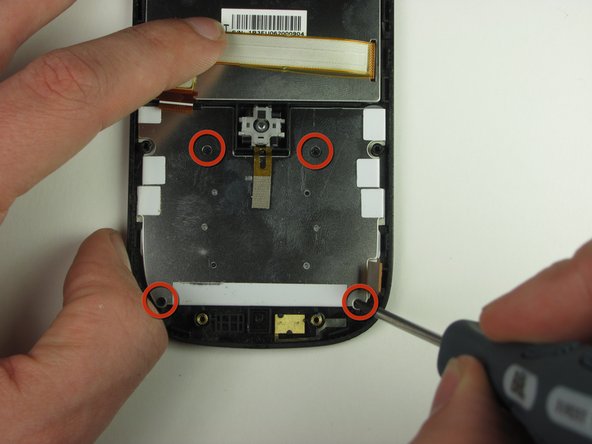
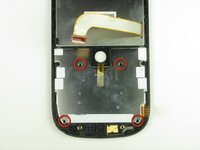
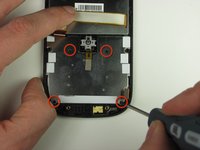
      • Remove the four 1.9 mm Phillips #00 screws.

      Ask FixBot

      Add Comment

    2. HTC Maple 100 Front Panel Replacement: step 14, image 1 of 1
      • Peel back the tape gently.

      Ask FixBot

      Add Comment

    3. HTC Maple 100 Front Panel Replacement: step 15, image 1 of 1
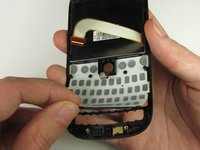
      • Remove the board gently.

      Ask FixBot

      Add Comment

    4. HTC Maple 100 Front Panel Replacement: step 16, image 1 of 2 HTC Maple 100 Front Panel Replacement: step 16, image 2 of 2
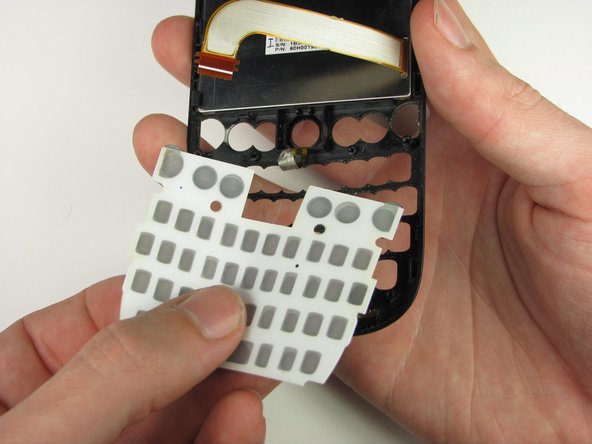
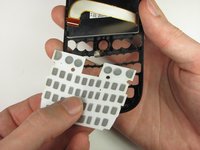
      • Remove the keys carefully.

      Ask FixBot

      Add Comment

    1. HTC Maple 100 Front Panel Replacement, Front Panel: step 17, image 1 of 3 HTC Maple 100 Front Panel Replacement, Front Panel: step 17, image 2 of 3 HTC Maple 100 Front Panel Replacement, Front Panel: step 17, image 3 of 3
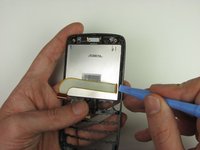
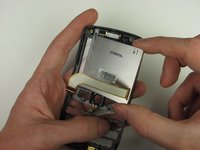
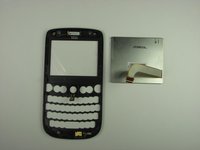
      • Using the Plastic Opening Tool, pry out the LCD screen and remove with fingers.

      • Be gentle because the LCD screen is fragile.

      Ask FixBot

      Add Comment

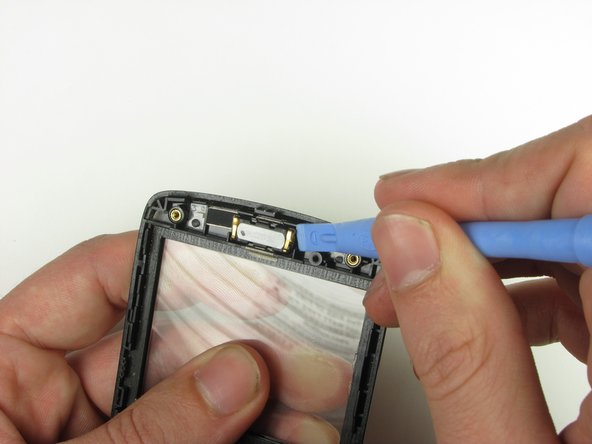
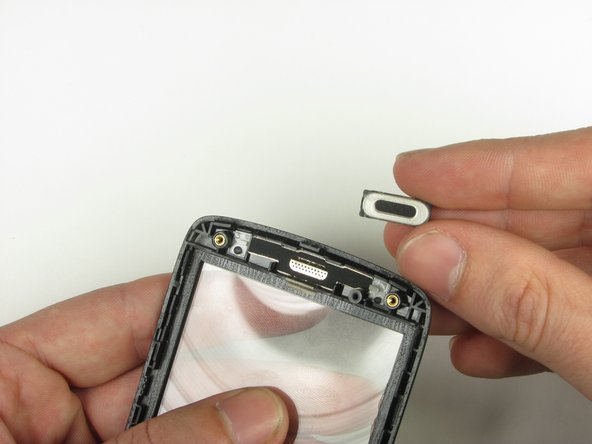
    2. HTC Maple 100 Front Panel Replacement: step 18, image 1 of 3 HTC Maple 100 Front Panel Replacement: step 18, image 2 of 3 HTC Maple 100 Front Panel Replacement: step 18, image 3 of 3
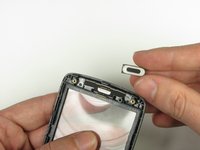
      • Use the Plastic Opening Tool to remove the internal ear speaker.

      Ask FixBot

      Add Comment

Conclusion

To reassemble your device, follow these instructions in reverse order.

Cancel: I did not complete this guide.

Justin Culbertson

Member since: 10/11/11

8 Reputation

1 Guide authored

Team

Cal Poly, Team 20-29, Maness Fall 2011 Member of Cal Poly, Team 20-29, Maness Fall 2011

CPSU-MANESS-F11S20G29

4 Members

108 Guides authored

0 Guide Comments

Add Comment

View Statistics:

Past 24 Hours: 1

Past 7 Days: 5

Past 30 Days: 22

All Time: 1,083