Free Shipping on Domestic Orders $75+

HTC Fortress Keyboard Replacement

Views: 1.2K

View statistics:

Past 24 Hours:
4
Past 7 Days:
23
Past 30 Days:
99
All Time:
1,161
Comments: 0

No one has left comments on this guide. Will you be first?

Go to guide comments
Completed: 2

2 people have marked this guide "completed." Will you be next?

Favorites: 2

2 people have favorited (and subscribed to) this guide. Will you be next?

Time Required: 15 - 20 minutes
Difficulty: Moderate
Action Shots

Be an action hero! This guide needs images that better demonstrate how to perform specific actions.

Needs Better Images

Better photos will improve this guide. Help out by taking, editing, or uploading new ones!

Featured Student Guide

This guide has been the hard work of our awesome students and is found to be exceptionally cool by the iFixit staff.

HTC Fortress Keyboard Replacement

Introduction

Go to step 1 ↓

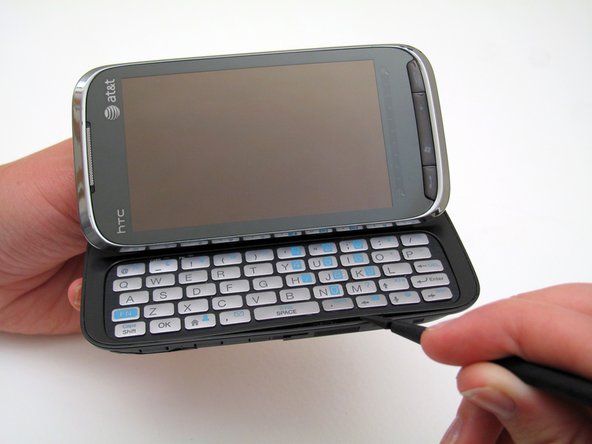
If your HTC Fortress' keyboard is physically damaged, or doesn't transmit signals to the phone, you can dismantle the phone and replace the keyboard.

In this guide, you'll learn how to install the HTC Fortress Keyboard. This guide requires you to almost completely dismantle your Fortress, so make sure you have the proper tools and keep track of all components.

What you need

Tools

    1. HTC Fortress Keyboard Replacement, Battery: step 1, image 1 of 2 HTC Fortress Keyboard Replacement, Battery: step 1, image 2 of 2
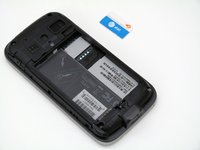
      • Remove the back cover of the device by sliding it upward.

      • You may need to remove the phone stylus first.

      Ask FixBot
      Add Comment

    2. HTC Fortress Keyboard Replacement: step 2, image 1 of 2 HTC Fortress Keyboard Replacement: step 2, image 2 of 2
      • Remove the battery by pulling it away from the back of the phone.

      Ask FixBot
      Add Comment

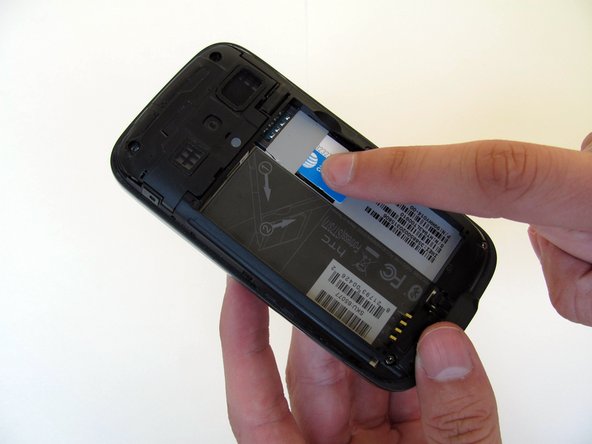
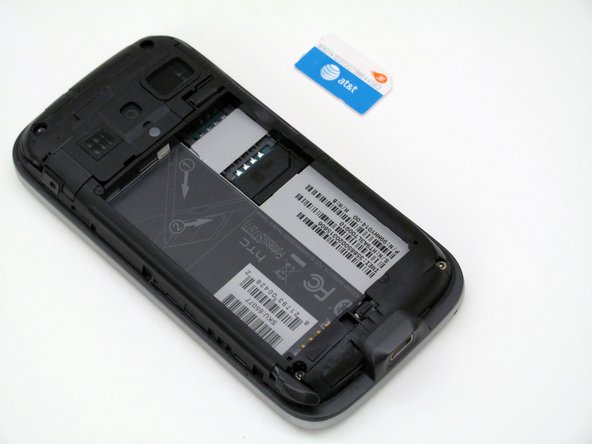
    1. HTC Fortress Keyboard Replacement, SIM Card: step 3, image 1 of 3 HTC Fortress Keyboard Replacement, SIM Card: step 3, image 2 of 3 HTC Fortress Keyboard Replacement, SIM Card: step 3, image 3 of 3
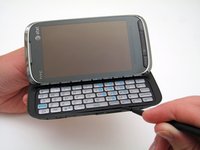
      • Insert the stylus into the small slot.

      • Use the stylus as a lever to push the sim card out of its fitting.

      • Use your finger to slide the card out the rest of the way.

      Ask FixBot

      Add Comment

    1. HTC Fortress Keyboard Replacement, Back Panel: step 4, image 1 of 2 HTC Fortress Keyboard Replacement, Back Panel: step 4, image 2 of 2
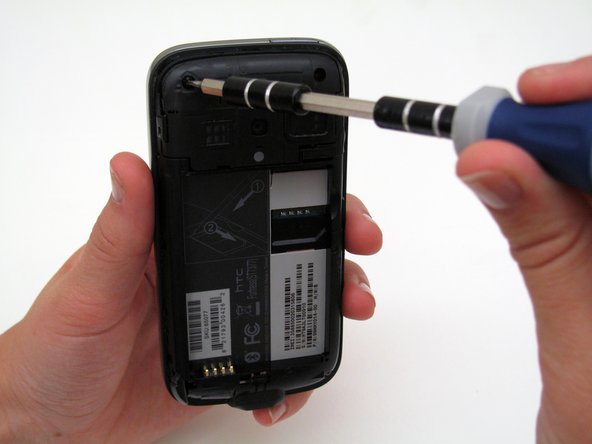
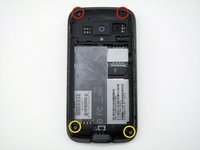
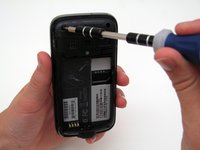
      • Remove the two 4mm-long screws using the T4 Torx Screwdriver.

      • Remove the two 3.5mm-long screws using the T4 Torx Screwdriver.

      • Keep the 4mm-long upper screws separate from the 3.5mm-long bottom screws. They are different!

      Ask FixBot
      Add Comment

    2. HTC Fortress Keyboard Replacement: step 5, image 1 of 3 HTC Fortress Keyboard Replacement: step 5, image 2 of 3 HTC Fortress Keyboard Replacement: step 5, image 3 of 3
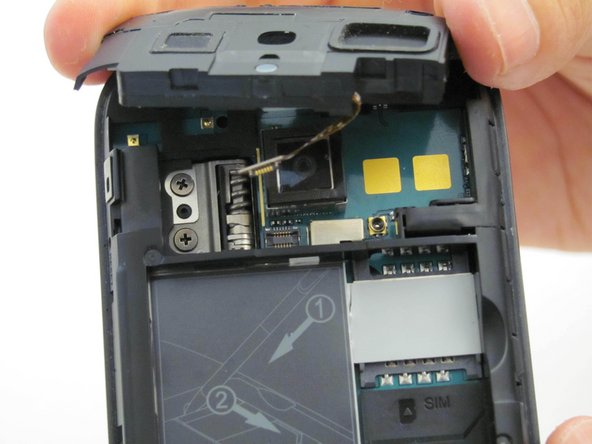
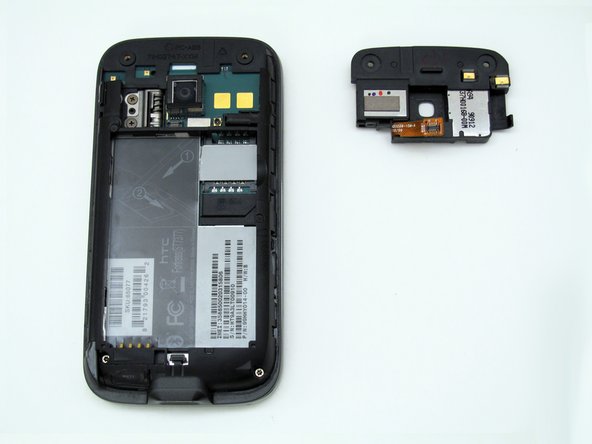
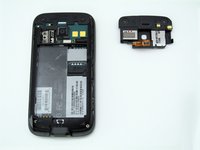
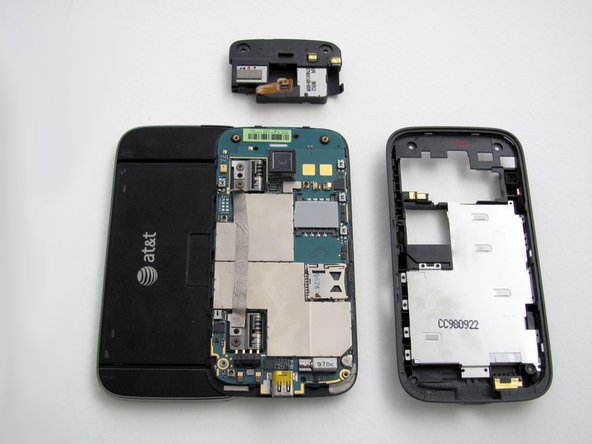
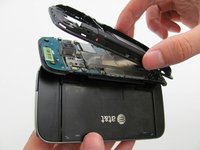
      • Remove the camera panel by hand (black cover above the battery slot).

      • Be careful, there is a cable attached underneath the camera panel.

      • Gently pull the camera panel away from the phone to detach the cable.

      • During reassembly, reattach the cable by holding the silver-plated ending slightly above its slot and using the spudger to gently press it into its fitting. Then, insert the camera panel so it is flush with the back panel again.

      Ask FixBot
      Add Comment

    3. HTC Fortress Keyboard Replacement: step 6, image 1 of 3 HTC Fortress Keyboard Replacement: step 6, image 2 of 3 HTC Fortress Keyboard Replacement: step 6, image 3 of 3
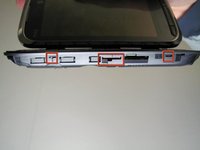
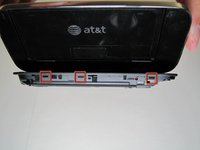
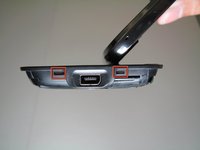
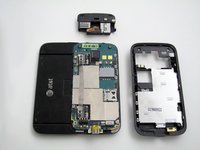
      • Notice the 8 small clips around the perimeter of the phone shown here...

      Ask FixBot
      Add Comment

    4. HTC Fortress Keyboard Replacement: step 7, image 1 of 2 HTC Fortress Keyboard Replacement: step 7, image 2 of 2
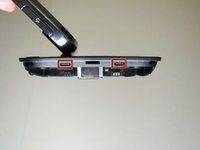
      • ...and the 2 clips shown here.

      • Insert the spudger into the seam along the edge of phone, and gently pry the back panel from the keyboard. Follow the seam along the perimeter of the phone.

      • Only pry right next to the clips shown in the above step, as well as the clips next to the charging port.

      Ask FixBot

      Add Comment

    5. HTC Fortress Keyboard Replacement: step 8, image 1 of 2 HTC Fortress Keyboard Replacement: step 8, image 2 of 2
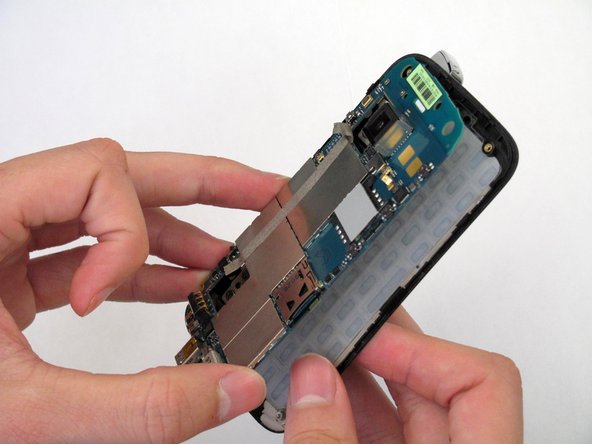
      • Remove the back panel by pulling it away from the phone.

      • Slide the panel downwards as you remove it, making sure to clear the charging port.

      Ask FixBot
      Add Comment

    1. HTC Fortress Keyboard Replacement, Keyboard: step 9, image 1 of 3 HTC Fortress Keyboard Replacement, Keyboard: step 9, image 2 of 3 HTC Fortress Keyboard Replacement, Keyboard: step 9, image 3 of 3
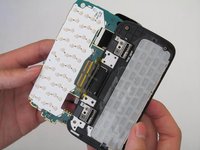
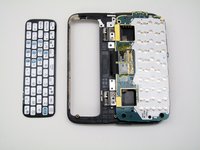
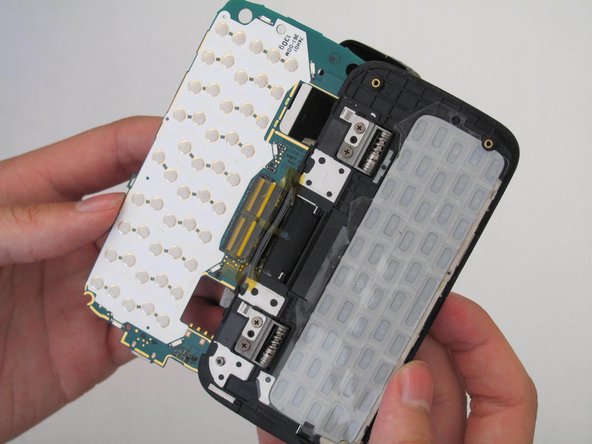
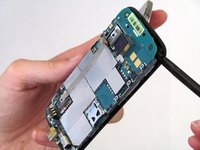
      • Gently pry the motherboard (the green panel) off with the spudger.

      • Be careful; the motherboard has a cable attached to the back and should not come all the way off of the phone.

      • Flip the motherboard over, as if you are turning a page in a book, so that it rests on the back side of the screen.

      Ask FixBot
      Add Comment

    2. HTC Fortress Keyboard Replacement: step 10, image 1 of 1
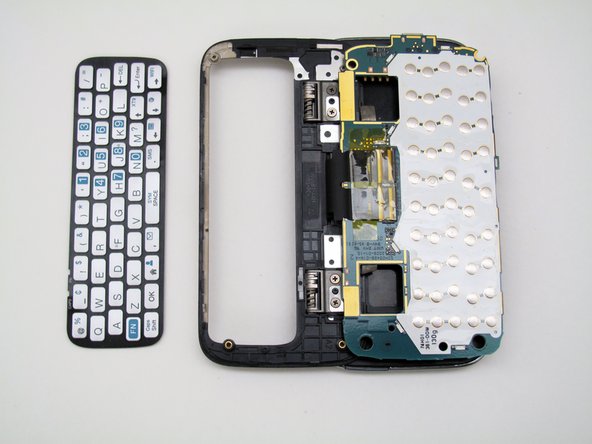
      • Gently peel the clear plastic keyboard backing off of the keyboard. It is attached to the keyboard by a weak adhesive.

      Ask FixBot
      Add Comment
    3. HTC Fortress Keyboard Replacement: step 11, image 1 of 2 HTC Fortress Keyboard Replacement: step 11, image 2 of 2
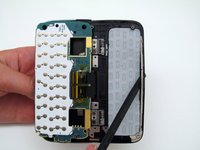
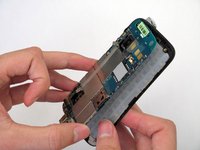
      • Push the keyboard away from the frame of the phone, working the spudger between the keyboard and the frame.

      • There is an adhesive strip holding the keyboard to the frame; make sure that the spudger is between the adhesive strip and the frame, rather than the adhesive strip and the keyboard.

      • Slide the spudger around the perimeter of the keyboard until it is completely free from the frame.

      Ask FixBot

      Add Comment

Conclusion

To reassemble your device, follow these instructions in reverse order.

Cancel: I did not complete this guide.

2 other people completed this guide.

Lucas David

Member since: 04/19/13

540 Reputation

9 Guides authored

Team

Cal Poly, Team 4-13, Maness Spring 2013 Member of Cal Poly, Team 4-13, Maness Spring 2013

CPSU-MANESS-S13S4G13

4 Members

108 Guides authored

0 Guide Comments

Add Comment

View Statistics:

Past 24 Hours: 4

Past 7 Days: 23

Past 30 Days: 99

All Time: 1,161