Free Shipping on Domestic Orders $75+

HTC EVO Design 4G Charging Port Replacement

What you need

    1. HTC EVO Design 4G Charging Port Replacement, Screen: step 1, image 1 of 1
      Tool used on this step:
      Tweezers
      $4.99
      Buy
      • Tools: Phillips #000 Screwdriver, T4 Torx Screwdriver, Safety Pry Tool (Guitar pick), Tweezers

      Ask FixBot

      Add Comment

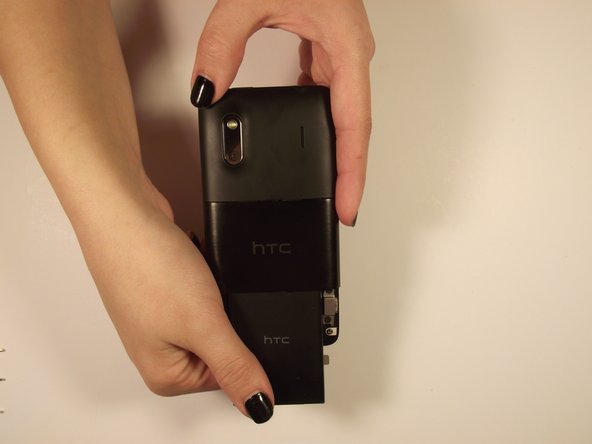
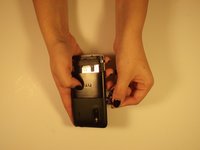
    2. HTC EVO Design 4G Charging Port Replacement, Removing Casing: step 2, image 1 of 1
      • Use fingers on either end of the button edges of the phone to pull back cover off. It should slide off.

      Ask FixBot

      Add Comment

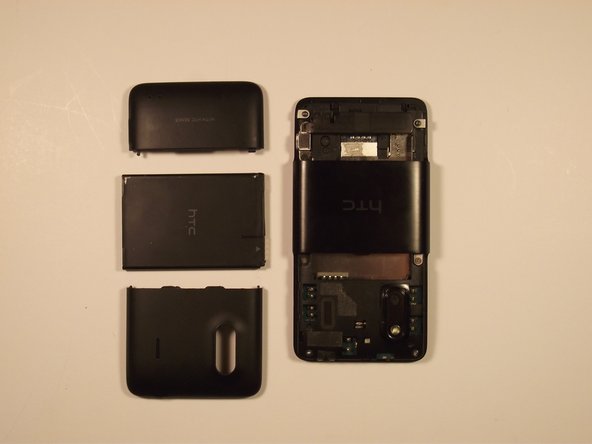
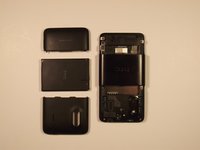
    3. HTC EVO Design 4G Charging Port Replacement, Removing Battery: step 3, image 1 of 2 HTC EVO Design 4G Charging Port Replacement, Removing Battery: step 3, image 2 of 2
      • When open, pull on “Open” tab and it should rotate towards you

      • Grab the bottom edge of the battery and pull it toward you

      Ask FixBot

      Add Comment

    4. HTC EVO Design 4G Charging Port Replacement, Removing Casing: step 4, image 1 of 2 HTC EVO Design 4G Charging Port Replacement, Removing Casing: step 4, image 2 of 2
      • On the side of the top casing on the phone there should be a slot. Use your safety pry tool (guitar pick) pry around the perimeter of the casing to remove it

      • Info*: The adhesive tape that you may find will not be necessary for replacement later

      Ask FixBot

      Add Comment

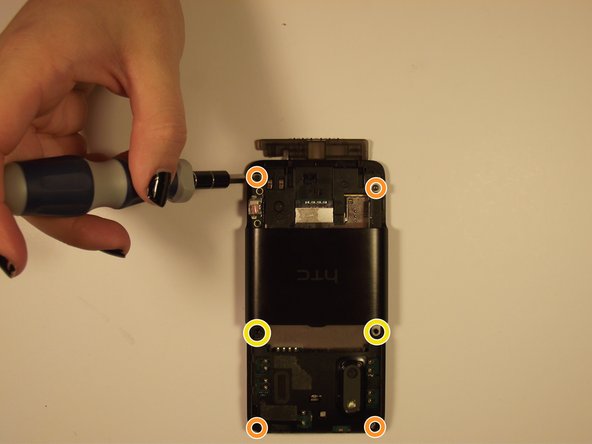
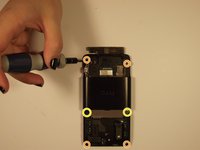
    5. HTC EVO Design 4G Charging Port Replacement, Removing Screws: step 5, image 1 of 2 HTC EVO Design 4G Charging Port Replacement, Removing Screws: step 5, image 2 of 2
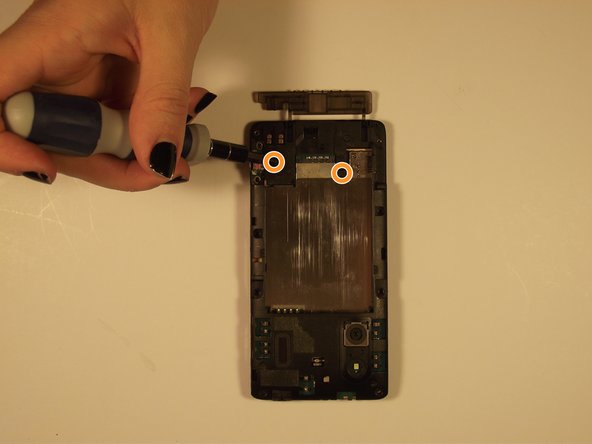
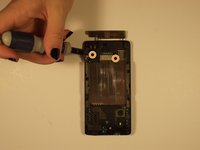
      • Remove the two Phillips screws to release the casing above the port

      • Remove the top and bottom pairs of Torx screws.

      • Remove the middle pair of two Phillips screws.

      Ask FixBot

      Add Comment

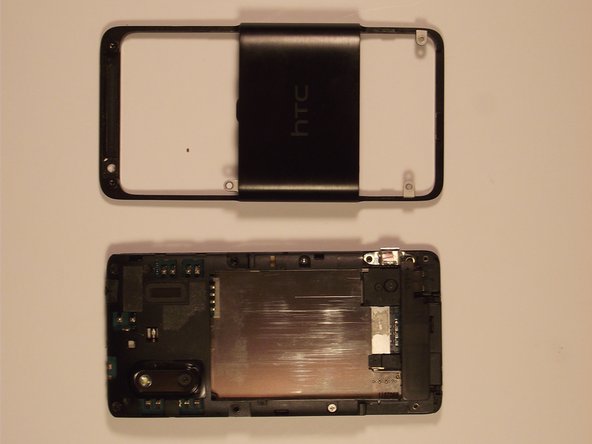
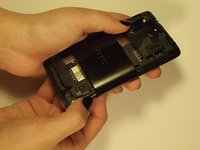
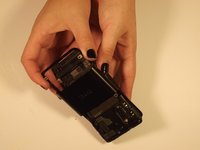
    6. HTC EVO Design 4G Charging Port Replacement, Removing Casing: step 6, image 1 of 3 HTC EVO Design 4G Charging Port Replacement, Removing Casing: step 6, image 2 of 3 HTC EVO Design 4G Charging Port Replacement, Removing Casing: step 6, image 3 of 3
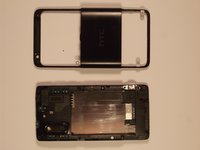
      • To remove the remaining cover, lift the side port, which was previously uncovered, then lift the outer shell from the bottom of the phone and slide it forward

      Ask FixBot

      Add Comment

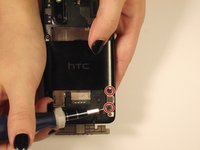
    7. HTC EVO Design 4G Charging Port Replacement, Removing Screws Continued: step 7, image 1 of 2 HTC EVO Design 4G Charging Port Replacement, Removing Screws Continued: step 7, image 2 of 2
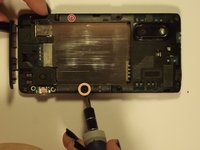
      • Remove the two revealed screws on the outside (Torx = red, Phillips = orange), and then remove the two phillips on the bottom of the phone

      Ask FixBot

      Add Comment

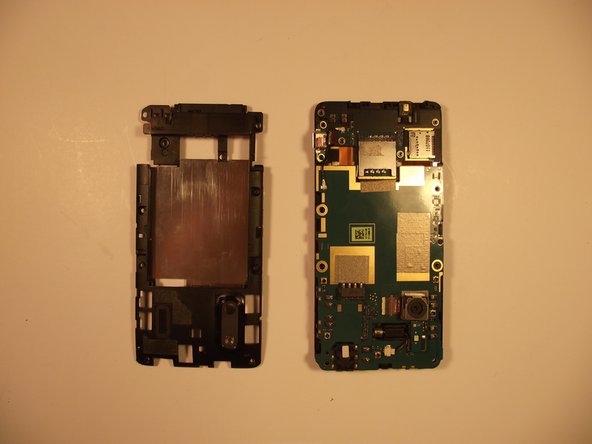
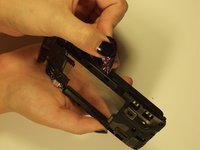
    8. HTC EVO Design 4G Charging Port Replacement, Removing Rear Housing: step 8, image 1 of 2 HTC EVO Design 4G Charging Port Replacement, Removing Rear Housing: step 8, image 2 of 2
      • Remove the rear housing by prying around the edge with your Safety Pry Tool

      Ask FixBot

      Add Comment

    9. HTC EVO Design 4G Charging Port Replacement, Pull the Plug: step 9, image 1 of 1
      • Unplug the wire connecting the vibrator to the board with your tweezers

      Ask FixBot

      Add Comment

    10. HTC EVO Design 4G Charging Port Replacement, Like a Book: step 10, image 1 of 1
      • Unfold motherboard from the screen (open carefully like a book)

      Ask FixBot

      Add Comment

    11. HTC EVO Design 4G Charging Port Replacement, Flex Cables: step 11, image 1 of 1
      • Disconnect the two aluminum flex cables

      Ask FixBot

      Add Comment

    12. HTC EVO Design 4G Charging Port Replacement, Broken Bond: step 12, image 1 of 1
      • The flex cables should be the only binding and after being removed should leave you with the separate screen

      Ask FixBot

      Add Comment

    1. HTC EVO Design 4G Charging Port Replacement, Charging Port: step 13, image 1 of 2 HTC EVO Design 4G Charging Port Replacement, Charging Port: step 13, image 2 of 2
      Tool used on this step:
      Desoldering Pump
      $3.99
      Buy
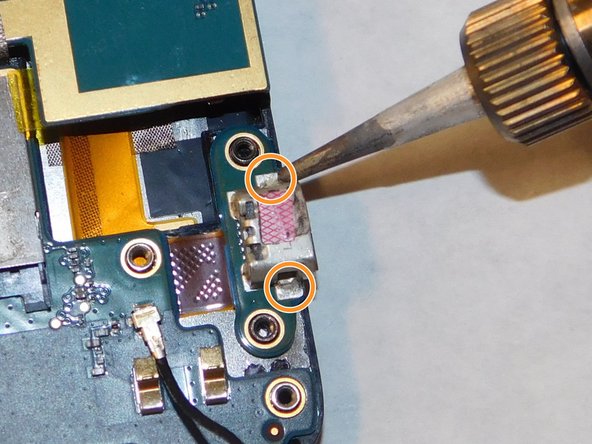
      • Use solder sucker to remove solder from the back of charging port

      • Use solder sucker to remove solder from the front of charging port

      • There are 2 soldering locations from the top view and 4 locations from the bottom view

      • Refer to the How To Solder and Desolder Connections guide if needed.

      • Solder sucker will be very hot

      Ask FixBot

      Add Comment

Conclusion

To reassemble your device, follow these instructions in reverse order.

Cancel: I did not complete this guide.

Lilian Nguyen

Member since: 03/02/17

208 Reputation

2 Guides authored

Team

IUPUI, Team S3-G2, Harley Spring 2017 Member of IUPUI, Team S3-G2, Harley Spring 2017

IUPUI-HARLEY-S17S3G2

4 Members

23 Guides authored

0 Guide Comments

Add Comment

View Statistics:

Past 24 Hours: 0

Past 7 Days: 0

Past 30 Days: 33

All Time: 791