Free Shipping on Domestic Orders $75+

HP17-x116dx Fan Replacement

What you need

  1. HP17-x116dx Fan Replacement, Battery: step 1, image 1 of 1
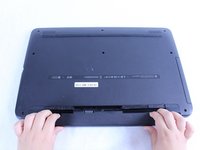
    • Turn off your computer before starting. Place the back of your computer face up to ensure you are facing the battery.

    Ask FixBot

    Add Comment

  2. HP17-x116dx Fan Replacement: step 2, image 1 of 2 HP17-x116dx Fan Replacement: step 2, image 2 of 2
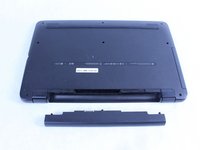
    • Find the battery latches.

    • Slide the latches towards the center of the device.

    Ask FixBot

    Add Comment

  3. HP17-x116dx Fan Replacement: step 3, image 1 of 2 HP17-x116dx Fan Replacement: step 3, image 2 of 2
    • Remove the old battery by pulling it towards you. Replace the old battery with the new one and follow these steps in reverse order to reassemble your device.

    Ask FixBot

    Add Comment

  4. HP17-x116dx Fan Replacement, Fan: step 4, image 1 of 2 HP17-x116dx Fan Replacement, Fan: step 4, image 2 of 2
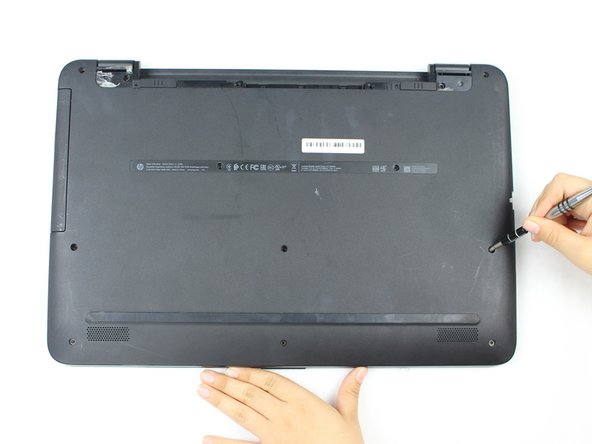
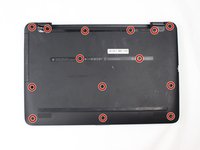
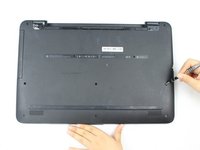
    • Remove the fourteen 8 mm screws with the Phillips #1 screwdriver.

    Ask FixBot

    Add Comment

  5. HP17-x116dx Fan Replacement: step 5, image 1 of 2 HP17-x116dx Fan Replacement: step 5, image 2 of 2
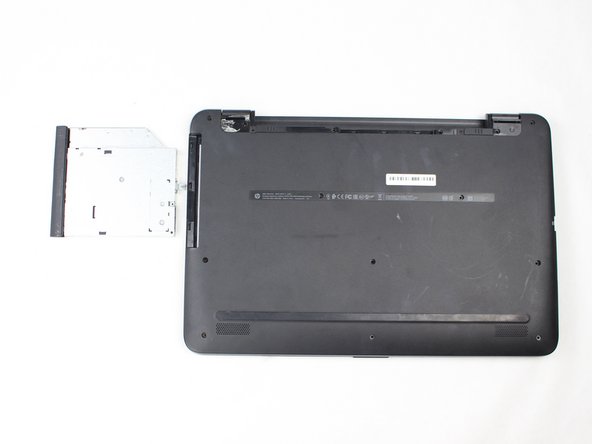
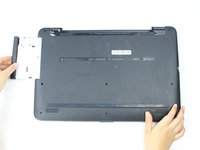
    • Once the screws are removed, carefully remove the CD player port.

    Ask FixBot

    Add Comment

  6. HP17-x116dx Fan Replacement: step 6, image 1 of 2 HP17-x116dx Fan Replacement: step 6, image 2 of 2
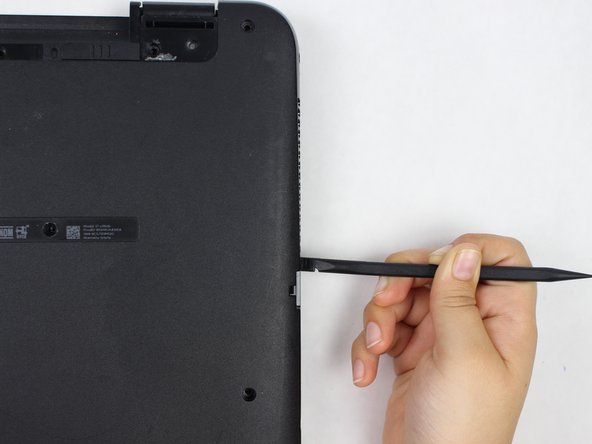
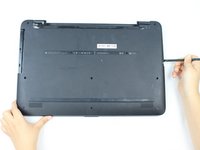
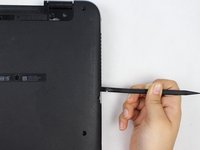
    • Once you have removed the CD player port, use the spudger tool to carefully remove the back panel.

    Ask FixBot

    Add Comment

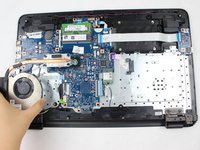
  7. HP17-x116dx Fan Replacement: step 7, image 1 of 1
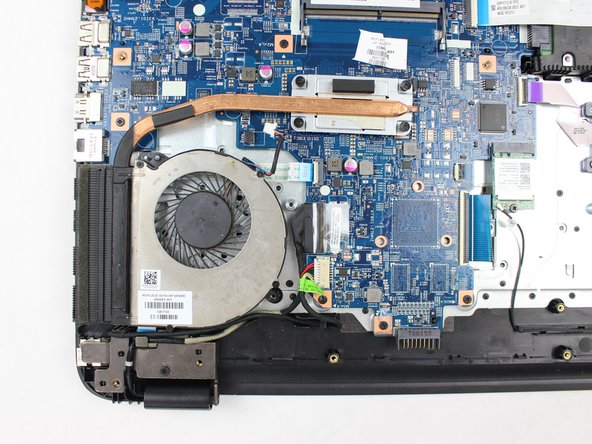
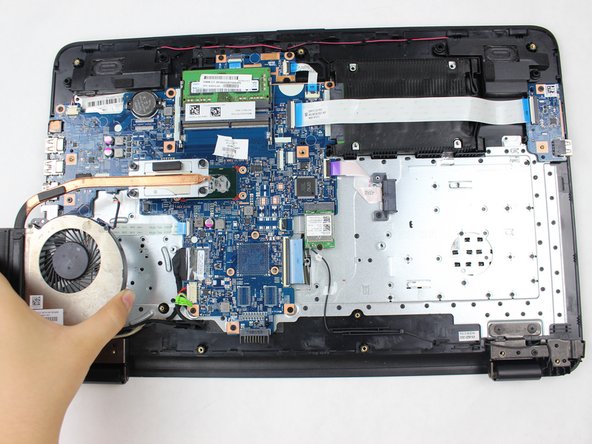
    • Once you remove the back panel you will see your fan on the bottom left side of your laptop.

    Ask FixBot

    Add Comment

  8. HP17-x116dx Fan Replacement: step 8, image 1 of 3 HP17-x116dx Fan Replacement: step 8, image 2 of 3 HP17-x116dx Fan Replacement: step 8, image 3 of 3
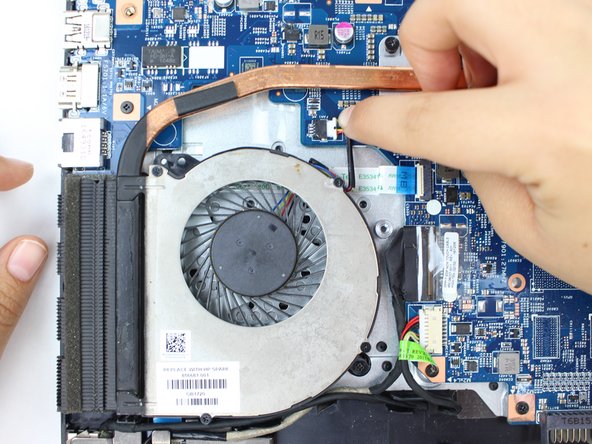
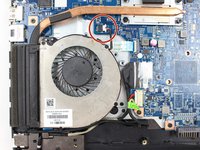
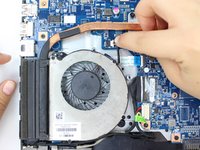
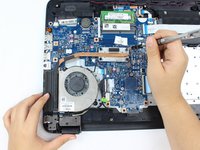
    • To remove the fan, start by unplugging the fan from the motherboard.

    Ask FixBot

    Add Comment

  9. HP17-x116dx Fan Replacement: step 9, image 1 of 3 HP17-x116dx Fan Replacement: step 9, image 2 of 3 HP17-x116dx Fan Replacement: step 9, image 3 of 3
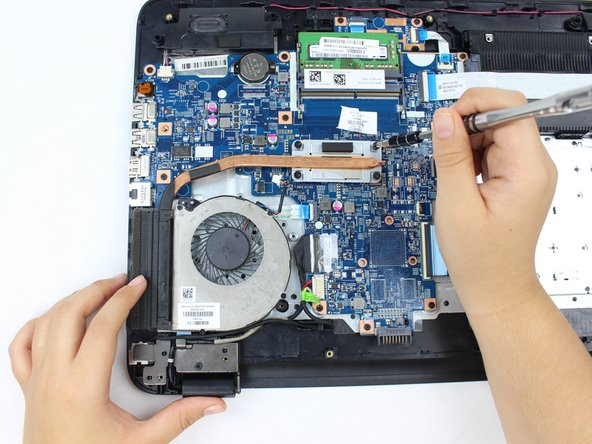
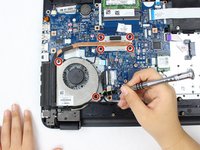
    • Once the fan is unplugged from the motherboard, remove the 6 mm screws with a Phillips #1 screwdriver that are connecting the fan to the laptop. Remove the fan.

    Ask FixBot

    Add Comment

  10. HP17-x116dx Fan Replacement: step 10, image 1 of 1
    • Once the fan is removed, you will see the hot plate that transfers the heat from the laptop to the fan. You will need to add thermal paste to the hot plate before placing your replacement fan back on.

    Ask FixBot

    Add Comment

  11. HP17-x116dx Fan Replacement: step 11, image 1 of 1
    • Once you have placed your thermal paste on the hot plate, take your replacement fan and place it back where the old fan was. To reassemble your laptop, follow these steps in reverse order.

    Ask FixBot

    Add Comment

Conclusion

To reassemble your device, follow these instructions in reverse order.

Cancel: I did not complete this guide.

3 other people completed this guide.

1 Guide Comment

Hola, se le puede instalar una memoria optane a éste modelo?

Henry - Reply Share

Add Comment

View Statistics:

Past 24 Hours: 0

Past 7 Days: 6

Past 30 Days: 41

All Time: 1,667