Free Shipping on Domestic Orders $75+

HP w2216h Power Supply Replacement

What you need

    1. HP w2216h Power Supply Replacement, Screen: step 1, image 1 of 1
      • 'Make sure you are grounded, the power supply is not connected and you are wearing safety goggles.

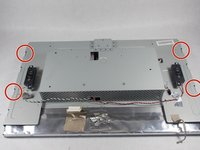
      • Use the Philips #000 screwdriver to remove the 4 round12mm screws on the back panel.

      Ask FixBot

      Add Comment

    2. HP w2216h Power Supply Replacement: step 2, image 1 of 2 HP w2216h Power Supply Replacement: step 2, image 2 of 2
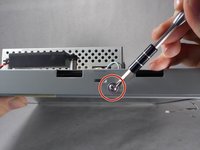
      • Using a Philips #000 head remove 2 flat 12 mm screws above stand mounting bracket.

      • Using a PH1 Philips head with the 150 mm flexible extension remove 1 Philips head screw under the stand mounting bracket.

      • Stand will easily pull off.

      Ask FixBot

      Add Comment

    3. HP w2216h Power Supply Replacement: step 3, image 1 of 3 HP w2216h Power Supply Replacement: step 3, image 2 of 3 HP w2216h Power Supply Replacement: step 3, image 3 of 3
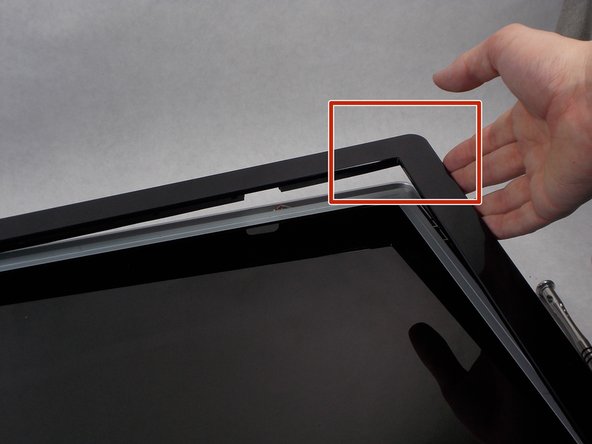
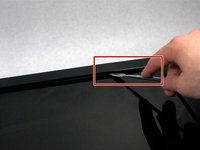
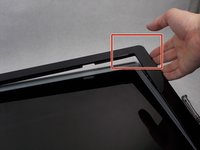
      • Do not put the metal spudger between the metal and the glass. It needs to go under the bezel and above the metal.

      • Turn monitor so that the screen is facing you.

      • Pry the black bezel from above the metal by placing your metal spudger between the bezel and the metal and twisting the tool slightly.

      • The best places to pry are in the lower left and lower right corners of the black bezel.

      Ask FixBot

      Add Comment

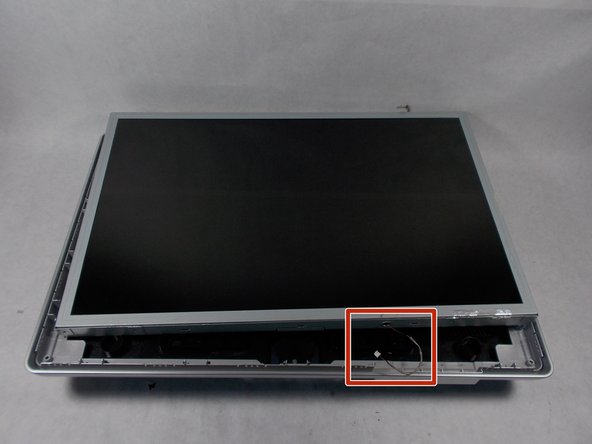
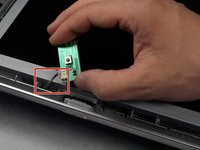
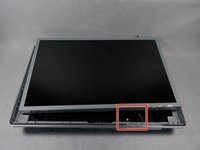
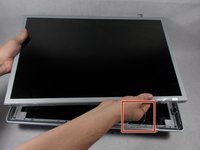
    4. HP w2216h Power Supply Replacement: step 4, image 1 of 3 HP w2216h Power Supply Replacement: step 4, image 2 of 3 HP w2216h Power Supply Replacement: step 4, image 3 of 3
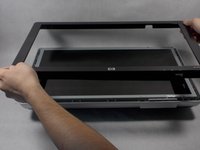
      • Be careful of the wires attaching the power button and the control buttons. Show extreme caution to ensure the button is not damaged.

      • Lift the screen assembly from the plastic housing from the corners.

      Ask FixBot

      Add Comment

    5. HP w2216h Power Supply Replacement: step 5, image 1 of 2 HP w2216h Power Supply Replacement: step 5, image 2 of 2
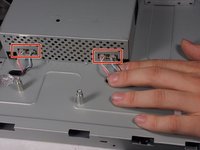
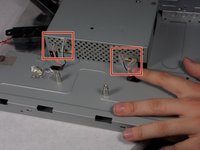
      • Remove the 4 connectors from the left side of the monitor on the back.

      Ask FixBot

      Add Comment

    6. HP w2216h Power Supply Replacement: step 6, image 1 of 3 HP w2216h Power Supply Replacement: step 6, image 2 of 3 HP w2216h Power Supply Replacement: step 6, image 3 of 3
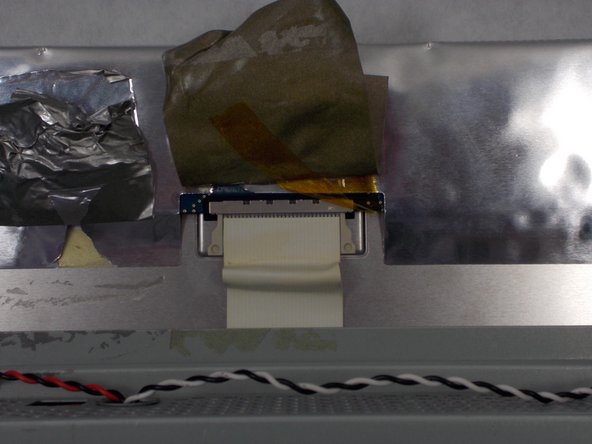
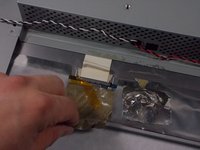
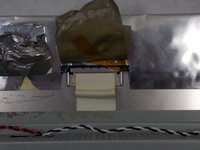
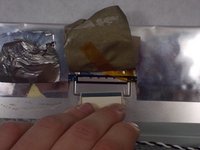
      • Lift the gray tape of the top of the monitor to expose the ribbon cable.

      • Remove the ribbon cable by sliding the connector towards the center of the screen assembly.

      • Lift the reflective tape next to the gray tape.

      Ask FixBot

      Add Comment

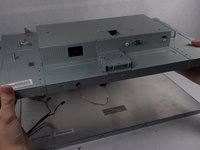
    7. HP w2216h Power Supply Replacement: step 7, image 1 of 3 HP w2216h Power Supply Replacement: step 7, image 2 of 3 HP w2216h Power Supply Replacement: step 7, image 3 of 3
      • Remove the 4 PH1 8mm Philips round screws on the outer edge of the screen's assembly.

      • Lift the screen from the screen assembly.

      Ask FixBot

      Add Comment

    1. HP w2216h Power Supply Replacement, Power Supply: step 8, image 1 of 1
      • Monitor power supplies can be dangerous. Read ifixit's monitor safety guide before working with power supplies.

      • Remove the cables connecting the power supply to the display port.

      Ask FixBot

      Add Comment

    2. HP w2216h Power Supply Replacement: step 9, image 1 of 1
      • Remove the four 8mm Phillips #000 head screws connecting the power supply to the screen assembly.

      Ask FixBot

      Add Comment

    3. HP w2216h Power Supply Replacement: step 10, image 1 of 1
      • Lift the power supply vertically out of the screen assembly

      Ask FixBot

      Add Comment

Conclusion

To reassemble your device, follow these instructions in reverse order.

Cancel: I did not complete this guide.

One other person completed this guide.

Branflakes222

Member since: 03/25/16

399 Reputation

2 Guides authored

Team

0 Guide Comments

Add Comment

View Statistics:

Past 24 Hours: 3

Past 7 Days: 24

Past 30 Days: 87

All Time: 1,554