Free Shipping on Domestic Orders $75+

HP iPAQ h4155 Back Case Replacement

What you need

    1. HP iPAQ h4155 Back Case Replacement, Battery: step 1, image 1 of 1
      • While sliding the silver release tab up, simultaneously lift the cover up from the left side.

      Ask FixBot

      Add Comment

    2. HP iPAQ h4155 Back Case Replacement: step 2, image 1 of 1
      • Push the tab left to right to remove the cover.

      Ask FixBot

      Add Comment

    3. HP iPAQ h4155 Back Case Replacement: step 3, image 1 of 1
      • Now, lift the battery up and away from the device to remove it.

      Ask FixBot

      Add Comment

    1. HP iPAQ h4155 Back Case Replacement, Back Case: step 4, image 1 of 1
      • Remove the four silver screws using the T5 Torx Screwdriver (T5 x .25 in).

      Ask FixBot

      Add Comment

    2. HP iPAQ h4155 Back Case Replacement: step 5, image 1 of 1
      • Remove the single black screw that is located beneath the HP sticker with the T5 Torx Screwdriver.

      Ask FixBot

      Add Comment

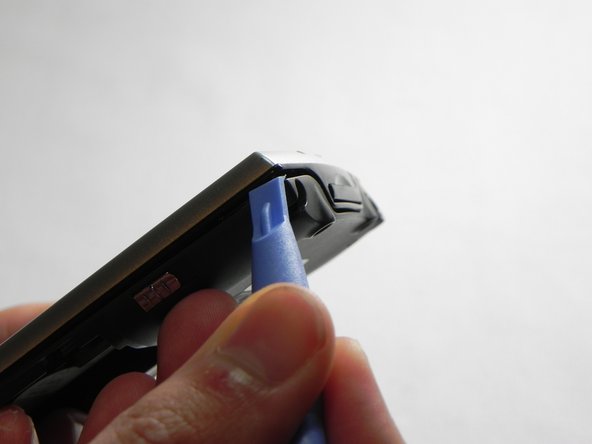
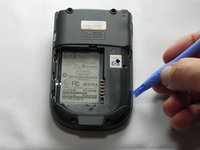
    3. HP iPAQ h4155 Back Case Replacement: step 6, image 1 of 2 HP iPAQ h4155 Back Case Replacement: step 6, image 2 of 2
      • Next, use your plastic removal tool to separate the gray back from the black center piece.

      • For better results, start the separation at the corner piece.

      Ask FixBot

      Add Comment

    4. HP iPAQ h4155 Back Case Replacement: step 7, image 1 of 1
      • Remove the back case.

      Ask FixBot

      Add Comment

Conclusion

To reassemble your device, follow these instructions in reverse order.

Cancel: I did not complete this guide.

3 other people completed this guide.

John Pagliero

Member since: 01/27/11

957 Reputation

7 Guides authored

0 Guide Comments

Add Comment

View Statistics:

Past 24 Hours: 4

Past 7 Days: 36

Past 30 Days: 117

All Time: 1,568