Introduction
Is your screen for your HP iPAQ H3850 cracked or not working? Don't worry, you can easily replace the screen using this guide.
The screen is a component that lets you see what you are doing on the iPAQ. It might be hard to see what is happening on the screen if it is cracked.
Before beginning this repair, make sure that the iPAQ is turned off.
What you need
-
-
-
To begin the disassembly of the device, place it on a flat surface with the screen facing down.
 Ask FixBot
-
-
-
Carefully remove the back cover using the spudger against the grooves along the sides of the iPAQ.
-
-
-
At this point, a yellow ribbon will be connecting both the front and back panels of the device. Carefully use the plastic opening tool to detach the ribbon from the connector pins.
-
-
-
-
Remove the ribbon cable connected to display logic board by pulling the plastic clips on both sides towards top of device.
-
Use plastic opening tool to carefully pull brown ribbon cable from connector.
-
-
-
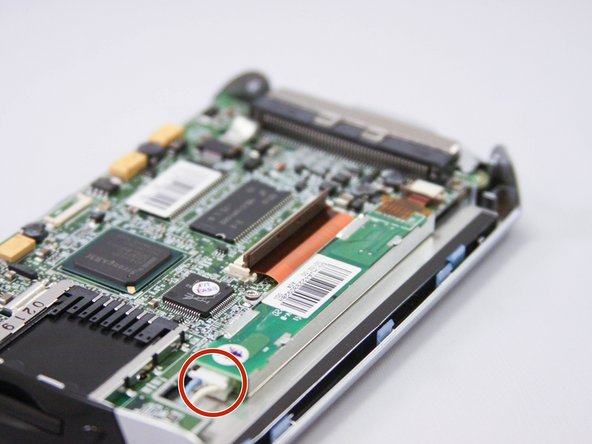
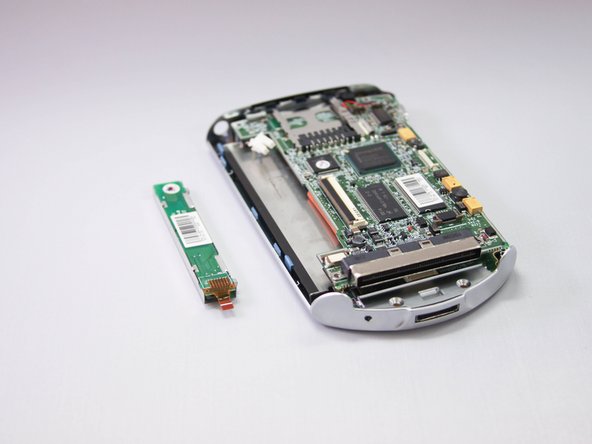
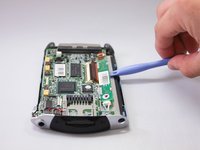
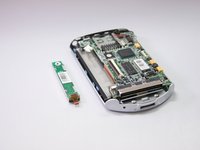
Use the plastic opening tool to carefully remove the display logic board from its housing.
-
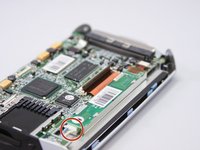
Unplug connector from the opposite end of the display logic board.
-
Completely remove component.
-
-
-
Flip up black plastic clip on large ribbon cable connector located towards center of mother board.
-
Use plastic opening tool to carefully remove ribbon cable from connector.
-
-
Tool used on this step:Tweezers$4.99
-
Locate clear/grey ribbon cable in bottom corner of device.
-
Gently pry cable out of connector with plastic opening tool.
-
Use hands or tweezers to remove if necessary.
-
-
-
Remove three small screws from each corner of the motherboard using phillips head screwdriver.
-
Use your hands/plastic opening tool to carefully lift the mother board out of housing.
-
Place the motherboard to the side.
-
-
-
Locate the four blue plastic clips surrounding the square screen housing.
-
Pry back clips with your hands.
-
Use the plastic opening tool to remove the entire screen assembly from the housing.
-
-




To reassemble your device, follow these instructions in reverse order.
Cancel: I did not complete this guide.
One other person completed this guide.

Team

Eastern Washington University, Team 1-3, Plummer Spring 2015 Member of Eastern Washington University, Team 1-3, Plummer Spring 2015
EWU-PLUMMER-S15S1G3
4 Members
48 Guides authored
