Introduction
If you need to replace the buttons on your HP iPAQ H3850, then this guide will help you. This repair should be your first step if the buttons of your iPAQ are not working. If the buttons still don't function after this repair, there might be a more serious problem with your device.
If you need more help with fixing your HP iPAQ H3850 device, check out our troubleshooting guide which has information on the buttons replacement as well as other related fixes.
Before beginning this repair, be sure to completely turn off your device and disconnect it from all cords and power sources. Additionally, take caution in using any sharp tools.
What you need
-
-
-
To begin the disassembly of the device, place it on a flat surface with the screen facing down.
 Ask FixBot
-
-
-
Carefully remove the back cover using the plastic opening tool against the grooves along the sides of the iPAQ.
-
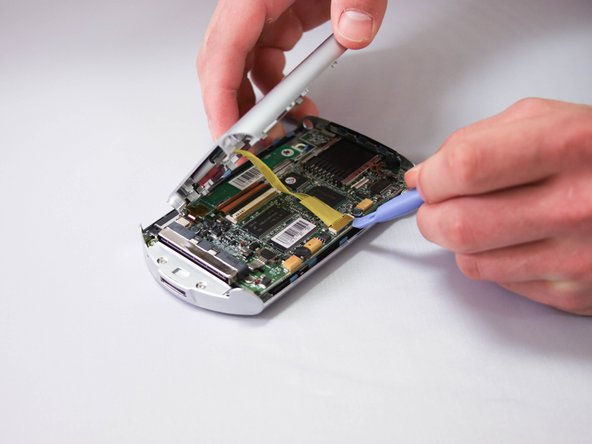
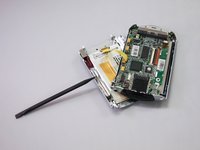
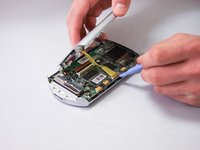
At this point, a yellow ribbon will be connecting both the front and back panels of the device. Carefully use the plastic opening tool to detach the ribbon from the connector pins.
-
-
-
-
Remove the ribbon cable connected to the display motherboard by pulling the plastic clips on both sides towards the top of the device.
-
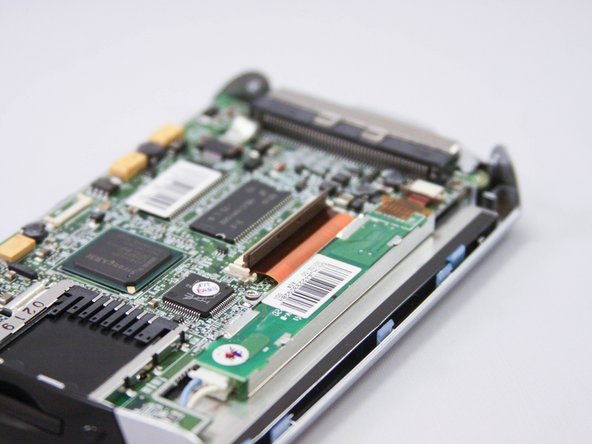
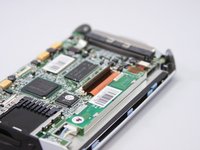
Use a plastic opening tool to carefully pull the brown ribbon cable from the connector.
-
-
-
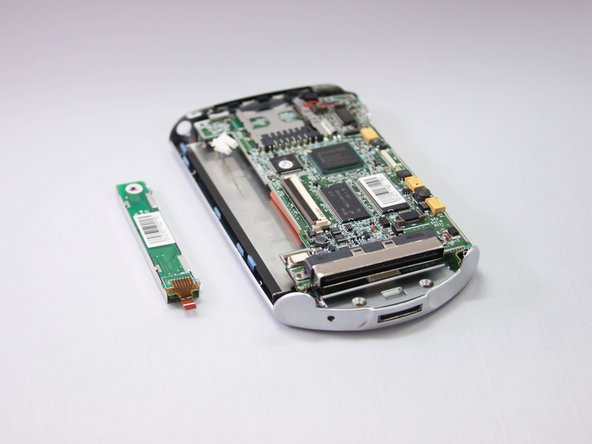
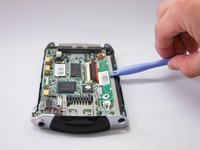
Use the plastic opening tool to carefully remove the display motherboard from its housing.
-
Unplug the connector from the opposite end of the display motherboard.
-
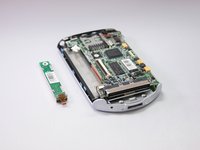
Completely remove the component.
-
-
-
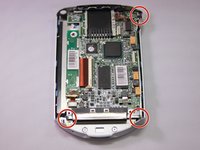
Remove three small screws from the corners of the motherboard using a Phillips head screwdriver.
-
Use your hands or plastic opening tool to carefully lift the motherboard out of its housing.
-
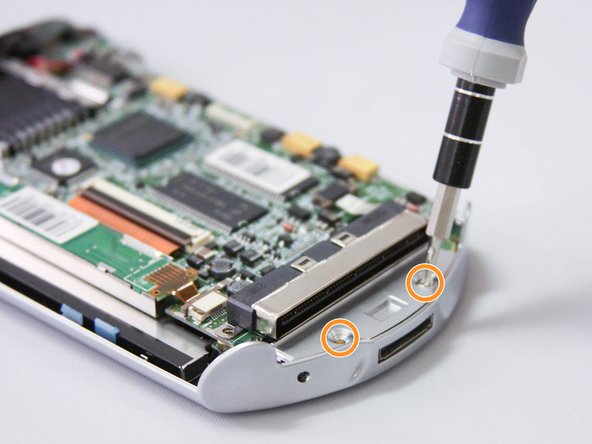
Remove two screws from the silver cover using a Phillips #00 screwdriver.
-
-
-
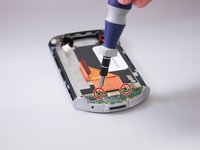
Use a Phillips #00 screwdriver to remove the two screws at the bottom of the device.
-
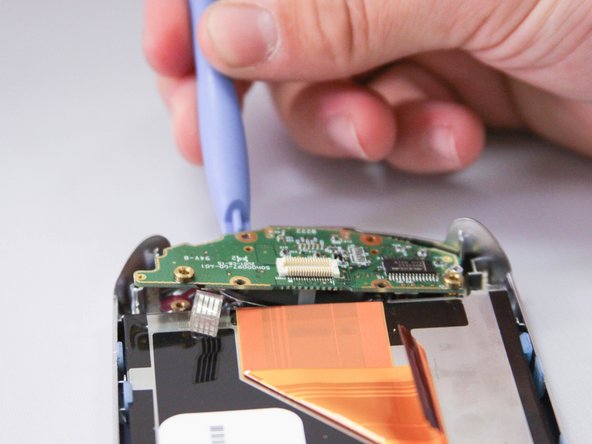
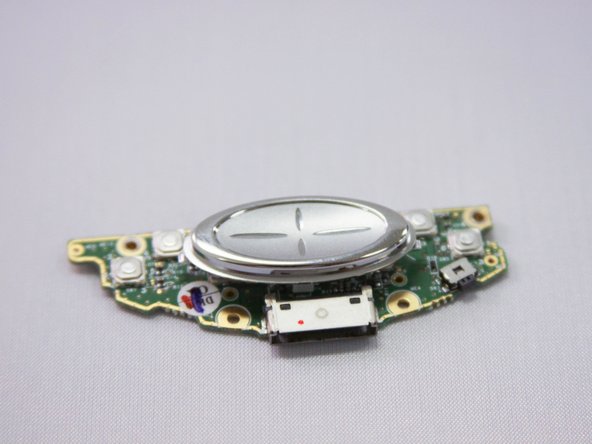
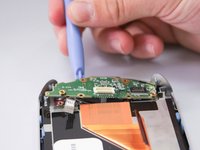
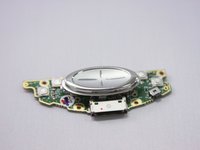
Use a plastic opening tool to remove the button motherboard.
-
-






To reassemble your device, follow these instructions in reverse order.

Team

Eastern Washington University, Team 1-3, Plummer Spring 2015 Member of Eastern Washington University, Team 1-3, Plummer Spring 2015
EWU-PLUMMER-S15S1G3
4 Members
48 Guides authored
