Free Shipping on Domestic Orders $75+

HP dv5-1125nr WLAN Card Replacement

What you need

    1. HP dv5-1125nr WLAN Card Replacement, Battery: step 1, image 1 of 1
      • Ensure your computer is shut down. Removing the battery while the laptop is still on may corrupt your files. Remove any power adapters and cords connected to the laptop body.

      • Slide the switch to the left until the release clicks.

      Ask FixBot

      Add Comment

    2. HP dv5-1125nr WLAN Card Replacement: step 2, image 1 of 1
      • Remove the battery.

      • The release switch may need to be held down while removing the battery.

      Ask FixBot

      Add Comment

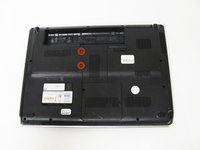
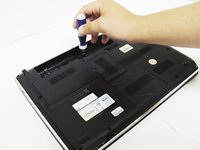
    1. HP dv5-1125nr WLAN Card Replacement, Hard Drive: step 3, image 1 of 2 HP dv5-1125nr WLAN Card Replacement, Hard Drive: step 3, image 2 of 2
      • Remove the two 5mm Phillips screws on the hard drive cover using a Phillips #00 screwdriver.

      Ask FixBot

      Add Comment

    2. HP dv5-1125nr WLAN Card Replacement: step 4, image 1 of 1
      • Remove the plastic hard drive cover.

      Ask FixBot

      Add Comment

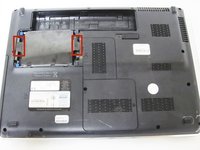
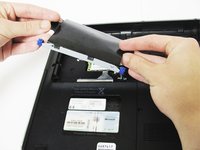
    3. HP dv5-1125nr WLAN Card Replacement: step 5, image 1 of 2 HP dv5-1125nr WLAN Card Replacement: step 5, image 2 of 2
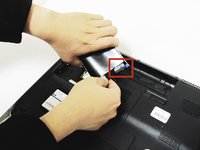
      • Pull up on the two plastic flaps on the hard drive enclosure to remove it.

      Ask FixBot

      Add Comment

    4. HP dv5-1125nr WLAN Card Replacement: step 6, image 1 of 2 HP dv5-1125nr WLAN Card Replacement: step 6, image 2 of 2
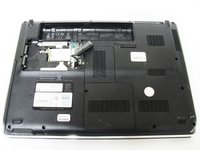
      • Gently lift the ribbon cable away from the hard drive enclosure to free the drive.

      Ask FixBot

      Add Comment

    5. HP dv5-1125nr WLAN Card Replacement: step 7, image 1 of 2 HP dv5-1125nr WLAN Card Replacement: step 7, image 2 of 2
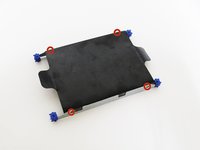
      • Locate four 2mm Phillips screws on the side of the enclosure and remove them using a Phillips #00 screwdriver.

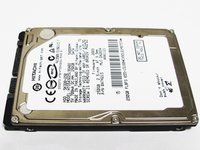
      • Slide the hard drive out of the enclosure to complete the removal process.

      Ask FixBot

      Add Comment

    1. HP dv5-1125nr WLAN Card Replacement, WLAN Card: step 8, image 1 of 1
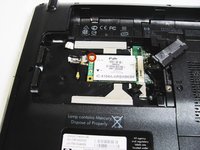
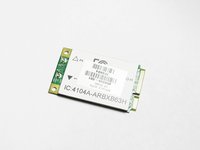
      • Locate the wireless card and the two wires attached to it.

      • Caution: Prying on the WLAN card wires in the wrong direction could damage your wireless card. Make sure to lift straight up when removing the wires.

      • Using a plastic spudger tool, carefully lift up on each wire connecting the card to unsnap the connectors.

      Ask FixBot

      Add Comment

    2. HP dv5-1125nr WLAN Card Replacement: step 9, image 1 of 2 HP dv5-1125nr WLAN Card Replacement: step 9, image 2 of 2
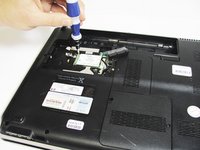
      • Locate the 2.5mm Phillips screw on the corner of the WLAN card and remove it using a Phillips #000 screwdriver.

      Ask FixBot

      Add Comment

    3. HP dv5-1125nr WLAN Card Replacement: step 10, image 1 of 2 HP dv5-1125nr WLAN Card Replacement: step 10, image 2 of 2
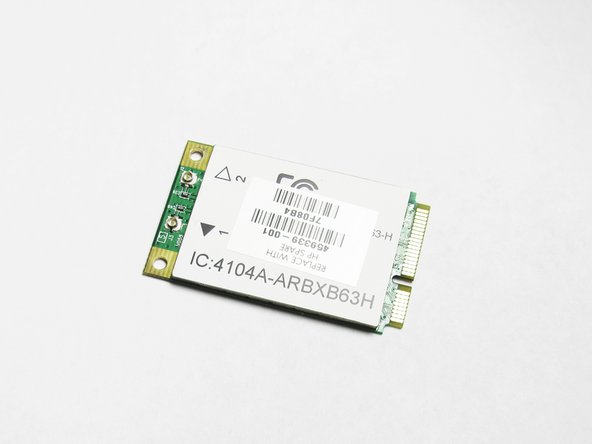
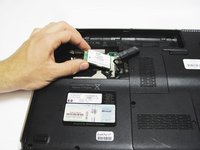
      • Upon removing the screw, the WLAN card will pop up. Keeping a natural angle, slide the card out of the slot.

      • The card is now free from your computer.

      Ask FixBot

      Add Comment

Conclusion

To reassemble your device, follow these instructions in reverse order.

Cancel: I did not complete this guide.

One other person completed this guide.

Cory Mayer

Member since: 04/01/14

891 Reputation

2 Guides authored

Team

Cal Poly, Team 9-15, Regan Spring 2014 Member of Cal Poly, Team 9-15, Regan Spring 2014

CPSU-REGAN-S14S9G15

4 Members

120 Guides authored

0 Guide Comments

Add Comment

View Statistics:

Past 24 Hours: 1

Past 7 Days: 6

Past 30 Days: 30

All Time: 1,531