
HP Stream 7 Motherboard Replacement

Justin Schnorf and 3 other contributors
Last updated on Dec 22, 2016
Views: 2.3K
View statistics:
- Past 24 Hours:
- 5
- Past 7 Days:
- 19
- Past 30 Days:
- 96
- All Time:
- 2,261
Comments: 1
1 comment on steps.
Completed: 1 2
1 person has marked this guide "completed." Will you be next?
2 people have marked this guide "completed." Including you — great job!
Favorites: 0 1
No one has favorited (and subscribed to) this guide. Will you be the first?
1 person has favorited (and subscribed to) this guide — and that's you!
Introduction
Go to step 1 ↓Before beginning, make sure you discharge any static electricity stored in your hands by either touching a metal object (preferably grounded) or using the anti-static wrist strap.
What you need
Tools
-
Spudger4.9
-


-
-
-
Make sure the tablet is powered off before beginning.
-
Gently run the plastic opening tool or your fingernails around the tablet to pry the Back Cover from the tablet.
 Ask FixBot
-
-
-
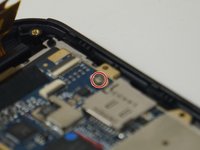
Remove the eight 5 mm Phillips 000 screws.
-
Gently run the plastic opening tool around the seam to pry the mid back cover from the tablet.
-
-
Tool used on this step:Tweezers$4.99
-
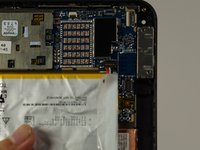
Using tweezers, gently pull the battery connector towards the battery to remove it from the System Board.
-
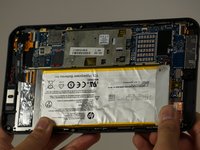
Pull the blue tabs (Not Shown) out from the tablet at an angle to remove the tape underneath the Battery.
-
-
-
-
-
Disconnect the battery from the motherboard, but leave the battery on the display panel (unless you have already taken it off).
-
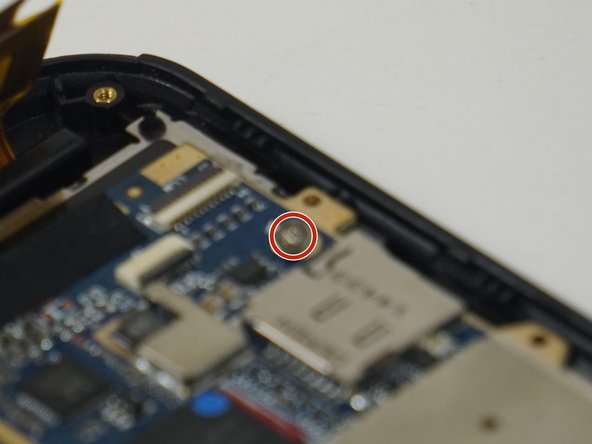
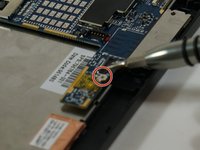
Disconnect the motherboard from the rear-facing camera, the front-facing camera, the antenna, the power button board, the screen, and the display panel using your spudger.
-
-
-





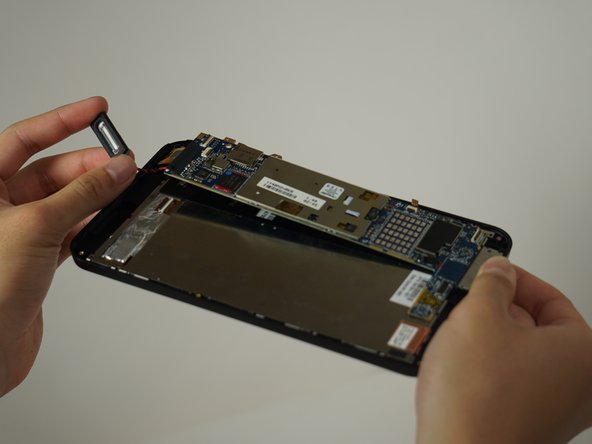
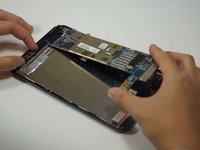
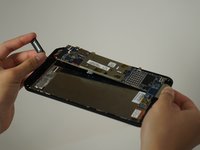
To reassemble your device, follow these instructions in reverse order.
Cancel: I did not complete this guide.
One other person completed this guide.

Team

Cal Poly, Team 18-5, Forte Fall 2016 Member of Cal Poly, Team 18-5, Forte Fall 2016
CPSU-FORTE-F16S18G5
4 Members
36 Guides authored
