Introduction
This guide will help you learn how to replace the speaker in the HP Split 13-r010dx.
What you need
-
-
-
Locate the four screws at the bottom of the device. (Note that the keyboard attachment is missing from this device.)
-
Use a Philips head #0 screwdriver to remove each of the screws (Size: 4mm)
 Ask FixBot
-
-
-
Gently wedge the plastic opening tool in between where the display and back panel meet.
-
Slowly and gently apply force to the plastic opening tool in a downwards motion to loosen the front panel from the back panel.
-
Rotate the device so that the side is facing up and repeat the previous step for the sides.
-
Do NOT attempt to wedge the plastic opening tool on the bottom . Once the sides and top are loose you are ready to continue to the next step.
-
-
-
Gently and slowly pull the front and back panel away from each other (in opposite directions). ( Pulling them apart will not separate the two panels)
-
Only separate the panels by a few inches from each other so that there is room to separate the front and back panel in the next step. Proceed to the next step.
-
-
-
-
Hold the back panel firmly and pull the front panel upwards to completely separate the front panel from the back panel.
-
The device is now ready to be repaired or replacements installed.
-
-
-
-
-
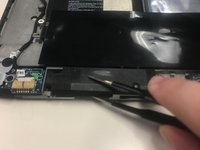
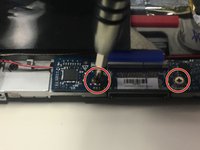
Using the PH 0 screw head unscrew each of the screws located int the upper right of the speakers.
-
-
Tool used on this step:Tweezers$4.99
-
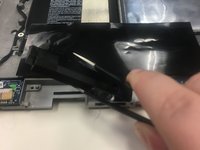
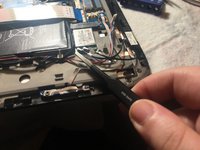
After unscrewing the speakers, gently lift the speaker out using the tweezers.
-
-
-
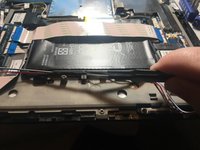
Once each speaker is out, remove the center plate in between the speakers, using the PH0 bit.
-
-
-
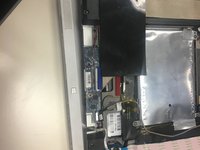
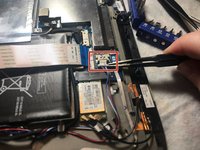
After removing the the speakers completely, using the tweezers gently remove the micro chip connection from the system.
-
Then untwist the wires from the thick black cord.
-
-






To reassemble your device, follow these instructions in reverse order.

Team

University of North Texas, Team S2-G1, Thompson Fall 2017 Member of University of North Texas, Team S2-G1, Thompson Fall 2017
UNT-THOMPSON-F17S2G1
4 Members
60 Guides authored
