Free Shipping on Domestic Orders $75+

HP Spectre x2 12-a002dx Back Camera Replacement

What you need

    1. HP Spectre x2 12-a002dx Back Camera Replacement, Screen: step 1, image 1 of 1
      • Make sure the device is powered off and the kick stand is retracted.

      • The HP Spectre should be placed on a flat surface with the keyboard detached.

      Ask FixBot

      Add Comment

    2. HP Spectre x2 12-a002dx Back Camera Replacement: step 2, image 1 of 3 HP Spectre x2 12-a002dx Back Camera Replacement: step 2, image 2 of 3 HP Spectre x2 12-a002dx Back Camera Replacement: step 2, image 3 of 3
      Tool used on this step:
      Tweezers
      $4.99
      Buy
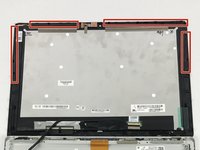
      • To remove the screen, there is an entire system of clips which need to be undone as well as 4 Phillips M1.5x2.7 screws.

      • The screws should be removed using a Phillips #000 screwdriver. There is a sticker where the laptop attaches to the keyboard.

      • Heat the sticker (if needed) and use fine point tweezers to grip the sticker and remove it.

      Ask FixBot

      Add Comment

    3. HP Spectre x2 12-a002dx Back Camera Replacement: step 3, image 1 of 3 HP Spectre x2 12-a002dx Back Camera Replacement: step 3, image 2 of 3 HP Spectre x2 12-a002dx Back Camera Replacement: step 3, image 3 of 3
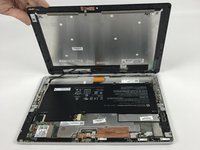
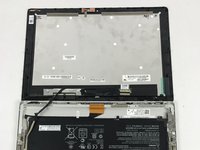
      • Use the plastic opening tools or insert a spudger to begin unclipping the system.

      • Pry the screen off once all the clips have been unclipped.

      • The screen may shatter if not already shattered (beware of flying glass).

      Ask FixBot

      Add Comment

      • This screen will break. There is double tape underneath the frame, which is not listed in here.

      Ask FixBot

      Add Comment

    4. HP Spectre x2 12-a002dx Back Camera Replacement: step 5, image 1 of 3 HP Spectre x2 12-a002dx Back Camera Replacement: step 5, image 2 of 3 HP Spectre x2 12-a002dx Back Camera Replacement: step 5, image 3 of 3
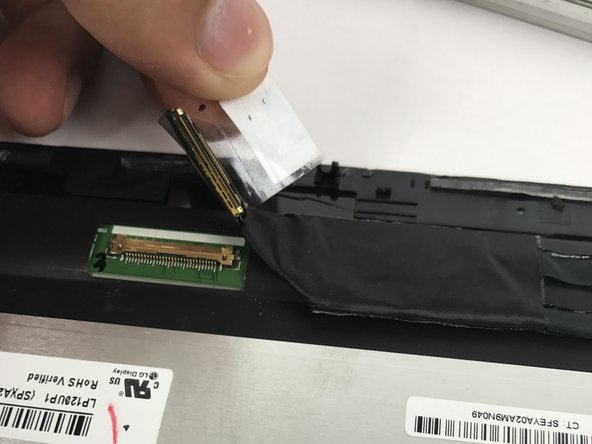
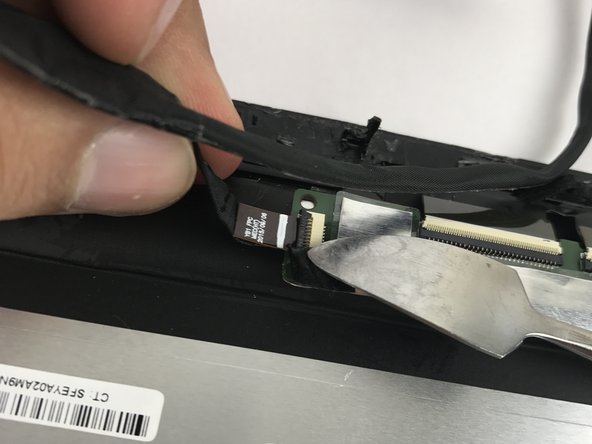
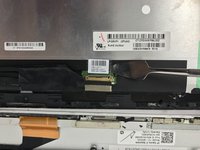
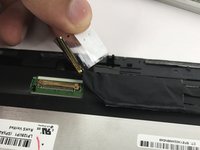
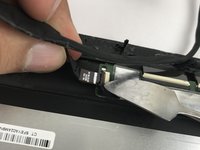
      • Remove the connecting cable of the screen and battery. Use a spudger to reveal the adhesive strip and carefully peel it off.

      • Insert a spudger to the other end and release the ZIF connectors. Detach the cable.

      • While a metal spudger is pictured, use a black nylon spudger instead because it is ESD safe.

      Ask FixBot

      Add Comment

    1. HP Spectre x2 12-a002dx Back Camera Replacement, Back Camera: step 6, image 1 of 1
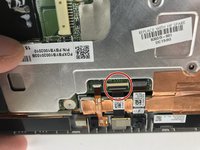
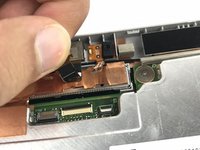
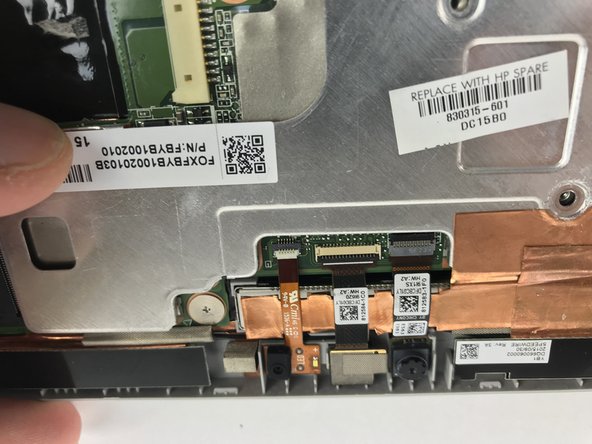
      • The HP Spectre X2 Has three Cameras: A front facing webcam( blue arrow), a rear Facing webcam (orange arrow), and a 3d camera (red box). The 3d camera is covered by tape that connects to the heat sink.

      Ask FixBot

      Add Comment

    2. HP Spectre x2 12-a002dx Back Camera Replacement: step 7, image 1 of 1
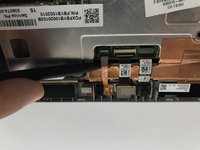
      • Begin by removing the ribbon that connects the front facing webcam to the motherboard. You can use a black nylon spudger as pictured to do this.

      Ask FixBot

      Add Comment

    3. HP Spectre x2 12-a002dx Back Camera Replacement: step 8, image 1 of 2 HP Spectre x2 12-a002dx Back Camera Replacement: step 8, image 2 of 2
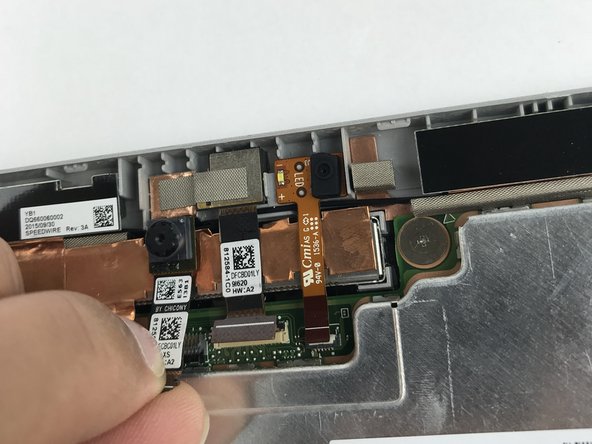
      • The Front facing webcam is secured to the HP spectre by the laptop frame and adhesive on the ribbon cable connecting the camera to the motherboard.

      • To remove the camera, peel back the ribbon cable and then slide the camera down and out of the laptop frame,

      Ask FixBot

      Add Comment

    4. HP Spectre x2 12-a002dx Back Camera Replacement: step 9, image 1 of 2 HP Spectre x2 12-a002dx Back Camera Replacement: step 9, image 2 of 2
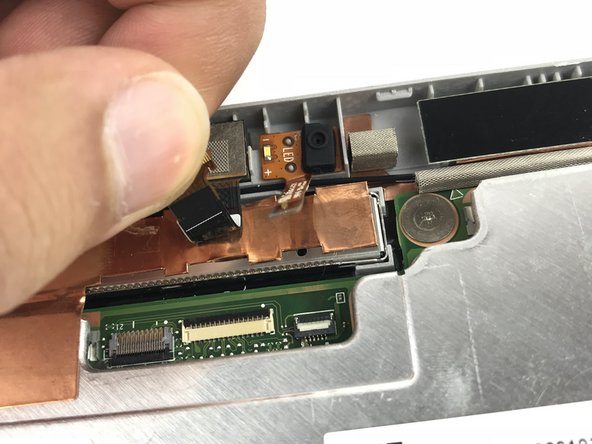
      • The rear facing webcam is secured in the same manner as the front.

      • Remove the ribbon connecting the camera to the motherboard, and slide the camera down and out of the laptop frame.

      Ask FixBot

      Add Comment

    5. HP Spectre x2 12-a002dx Back Camera Replacement: step 10, image 1 of 2 HP Spectre x2 12-a002dx Back Camera Replacement: step 10, image 2 of 2
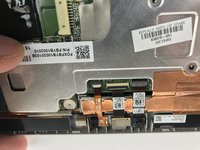
      • Next to the webcam is the Led light.

      • To replace the LED camera light, disconnect the ribbon cable from the motherboard. The LED light should slide freely out of the assembly.

      • The black nylon spudger may be used here again.

      Ask FixBot

      Add Comment

Conclusion

To reassemble your device, follow these instructions in reverse order.

Cancel: I did not complete this guide.

Talha Bin Amir

Member since: 10/23/17

684 Reputation

5 Guides authored

Team

USF Tampa, Team S10-G6, Thompson Fall 2017 Member of USF Tampa, Team S10-G6, Thompson Fall 2017

USFT-THOMPSON-F17S10G6

4 Members

60 Guides authored

0 Guide Comments

Add Comment

View Statistics:

Past 24 Hours: 1

Past 7 Days: 5

Past 30 Days: 21

All Time: 1,044