Free Shipping on Domestic Orders $75+

HP Slate 7 4601 Motherboard Replacement

What you need

  1. HP Slate 7 4601 Motherboard Replacement, Battery: step 1, image 1 of 2 HP Slate 7 4601 Motherboard Replacement, Battery: step 1, image 2 of 2
    • Begin your replacement by using a T3 or T4 Torx screwdriver.

    • Remove the two 1.4mm x 3mm Torx Head screws at the top of the device.

    Ask FixBot

    Add Comment

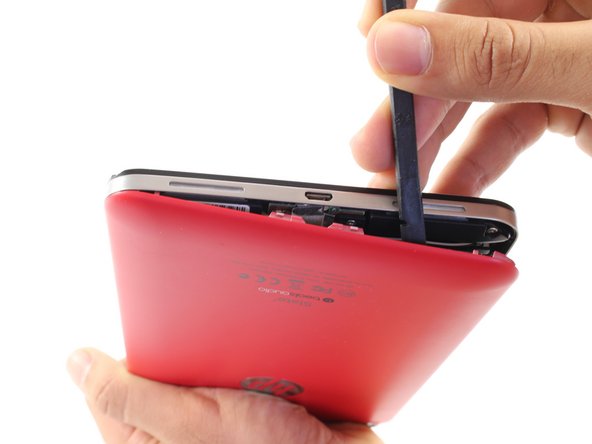
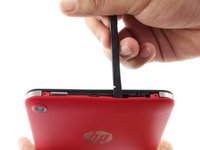
  2. HP Slate 7 4601 Motherboard Replacement: step 2, image 1 of 2 HP Slate 7 4601 Motherboard Replacement: step 2, image 2 of 2
    • With the pointed end of the spudger, remove the thin metal band.

    • It is easiest to remove the metal band through the headphone opening.

    Ask FixBot

    Add Comment

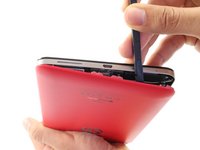
  3. HP Slate 7 4601 Motherboard Replacement: step 3, image 1 of 2 HP Slate 7 4601 Motherboard Replacement: step 3, image 2 of 2
    • Using the flat end of the spudger, pry back the rear plastic cover.

    • As you work your way around the edge, several "pop" noises will be made. These noises are caused by the plastic clips coming undone.

    Ask FixBot

    Add Comment

  4. HP Slate 7 4601 Motherboard Replacement: step 4, image 1 of 1
    • Remove the rear cover.

    Ask FixBot

    Add Comment

  5. HP Slate 7 4601 Motherboard Replacement: step 5, image 1 of 1
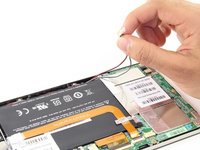
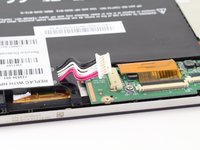
    • Locate and remove the yellow tape covering the red and white speaker wires.

    Ask FixBot

    Add Comment

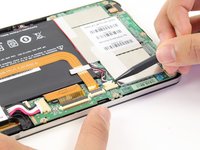
  6. HP Slate 7 4601 Motherboard Replacement: step 6, image 1 of 2 HP Slate 7 4601 Motherboard Replacement: step 6, image 2 of 2
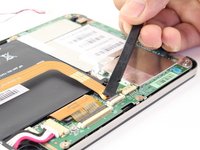
    • Using the pointed end of the spudger, push both sides of the speaker wire connector out of its base.

    • Push the same amount on both sides of the connector to avoid jamming or twisting its metal pins.

    • Do not yank or pull on the speaker wires, since they are fragile. Only push on the white connector.

    Ask FixBot

    Add Comment

  7. HP Slate 7 4601 Motherboard Replacement: step 7, image 1 of 1
    • Gently pull back the foil covering the gold charging port ribbon.

    Ask FixBot

    Add Comment

  8. HP Slate 7 4601 Motherboard Replacement: step 8, image 1 of 2 HP Slate 7 4601 Motherboard Replacement: step 8, image 2 of 2
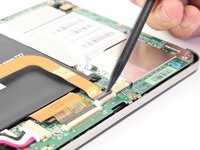
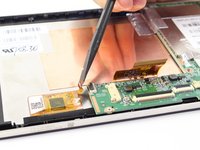
    • Using the flat end of the spudger, lift up the black panel covering the charging port connector.

    • Gently slide the charging port ribbon out from its housing.

    • It may be easier to use the pointed end of the spudger than your fingers.

    Ask FixBot

    Add Comment

  9. HP Slate 7 4601 Motherboard Replacement: step 9, image 1 of 1
    • Lift gold charging strip away from the battery.

    Ask FixBot

    Add Comment

  10. HP Slate 7 4601 Motherboard Replacement: step 10, image 1 of 2 HP Slate 7 4601 Motherboard Replacement: step 10, image 2 of 2
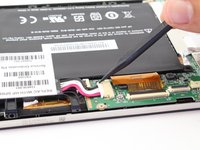
    • Push the white battery connector out of its housing using the pointed end of the spudger.

    Ask FixBot

    Add Comment

  11. HP Slate 7 4601 Motherboard Replacement: step 11, image 1 of 1
    • Using the #00 Phillips Head screwdriver, remove the 5 screws holding the battery in place.

    • The four 1.75mm x 3mm silver Phillips Head screws circled in red are interchangeable.

    • The black 1.75mm x 4mm Phillips Head screw must go back to the same spot during reassembly.

    Ask FixBot

    Add Comment

  12. HP Slate 7 4601 Motherboard Replacement: step 12, image 1 of 1
    • Lift battery out of its place and set aside.

    Ask FixBot

    Add Comment

  13. HP Slate 7 4601 Motherboard Replacement, Motherboard: step 13, image 1 of 2 HP Slate 7 4601 Motherboard Replacement, Motherboard: step 13, image 2 of 2
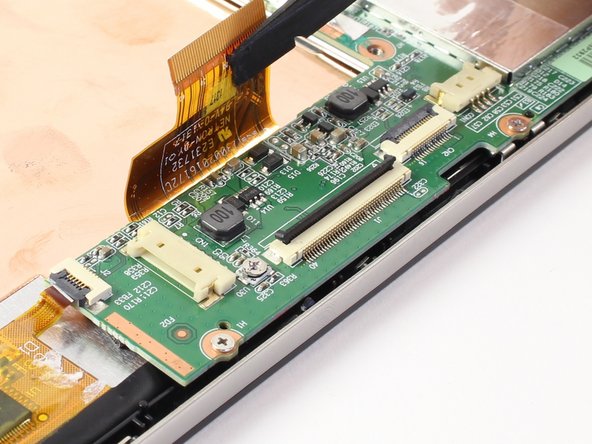
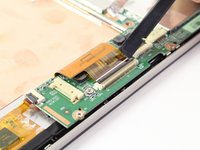
    • Disconnect the LCD screen ribbon by lifting up the black panel with the flat end of a spudger and sliding the gold strip out.

    • When reconnecting the LCD connector ribbon, make sure that it's pushed in all the way. If it isn't, there will be horizontal lines when you power the tablet on.

    Ask FixBot

    Add Comment

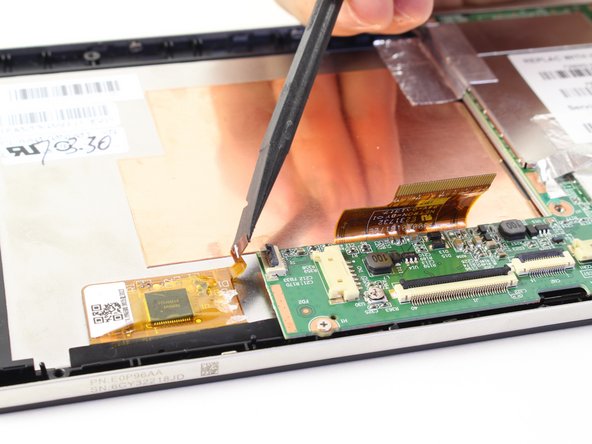
  14. HP Slate 7 4601 Motherboard Replacement: step 14, image 1 of 2 HP Slate 7 4601 Motherboard Replacement: step 14, image 2 of 2
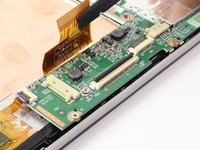
    • Likewise, disconnect the square radio chip ribbon by lifting up the black panel with a spudger and sliding the gold strip out.

    Ask FixBot

    Add Comment

  15. HP Slate 7 4601 Motherboard Replacement: step 15, image 1 of 2 HP Slate 7 4601 Motherboard Replacement: step 15, image 2 of 2
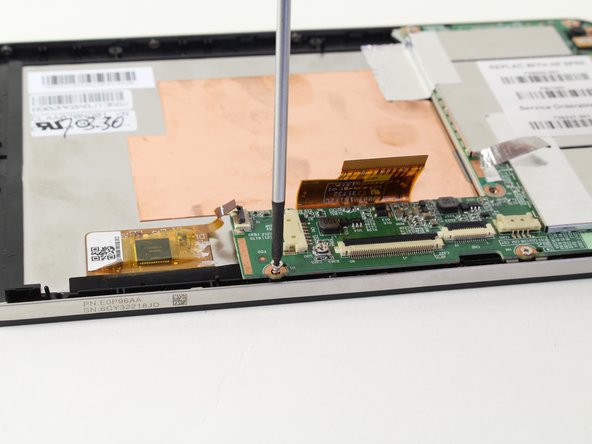
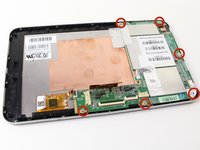
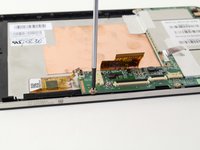
    • You will be using a #00 Phillips Head screwdriver to free the motherboard.

    • Remove the six 1.75mm x 3mm Phillips Head screws holding the motherboard to the screen.

    Ask FixBot

    Add Comment

  16. HP Slate 7 4601 Motherboard Replacement: step 16, image 1 of 2 HP Slate 7 4601 Motherboard Replacement: step 16, image 2 of 2
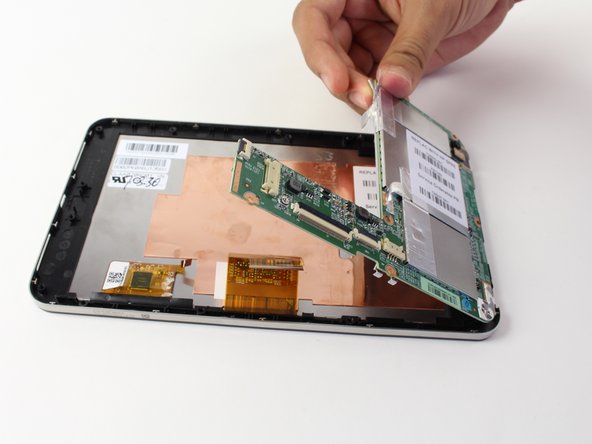
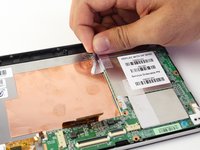
    • Using your hand, lift up the silver tape from the copper plate.

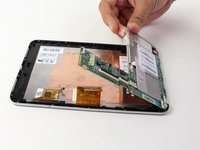
    • Lift the motherboard out of the device.

    • You may need to wiggle and work the motherboard to get it released from the device

    Ask FixBot

    Add Comment

Conclusion

To reassemble your device, follow these instructions in reverse order.

Cancel: I did not complete this guide.

4 other people completed this guide.

Davis Muxlow

Member since: 04/14/14

242 Reputation

1 Guide authored

Team

Cal Poly, Team 13-30, Maness Spring 2014 Member of Cal Poly, Team 13-30, Maness Spring 2014

CPSU-MANESS-S14S13G30

3 Members

8 Guides authored

1 Guide Comment

We have 7 inch Hp tablet please replace motherboard sir

Sushmitha - Reply Share
Add Comment

View Statistics:

Past 24 Hours: 1

Past 7 Days: 9

Past 30 Days: 56

All Time: 4,300