
HP Slate 7 4601 Front Screen Replacement

Ryan ONeill and 3 other contributors
Last updated on Jan 29, 2015
Views: 24K
View statistics:
- Past 24 Hours:
- 1
- Past 7 Days:
- 14
- Past 30 Days:
- 104
- All Time:
- 24,059
Comments: 14
14 comments on steps.
Completed: 14 15
14 people have marked this guide "completed." Will you be next?
15 people have marked this guide "completed." Including you — great job!
Favorites: 8 9
8 people have favorited (and subscribed to) this guide. Will you be next?
9 people have favorited (and subscribed to) this guide — including you!
Featured Student Guide
This guide has been the hard work of our awesome students and is found to be exceptionally cool by the iFixit staff.
Introduction
Go to step 1 ↓The front screen of your HP tablet is the toughest thing to replace - you need to go through the rest of the tablet first, starting at the back and working your way forward. The same goes for the volume buttons. In this guide, you will be removing the following:
- Back Cover
- Battery
- Charging Port
- Speaker Unit
- Motherboard
- Front LCD Screen
Prepare your required tools, a new battery for your tablet, and set aside about 30 to 40 minutes to delve into the inner workings of your HP Slate.
What you need
Tools
-
Spudger4.9


-
-
-
Begin your replacement by using a T3 or T4 Torx screwdriver.
-
Remove the two 1.4mm x 3mm Torx Head screws at the top of the device.
 Ask FixBot
-
-
-
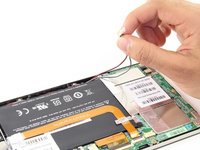
Using the pointed end of the spudger, push both sides of the speaker wire connector out of its base.
-
-
-
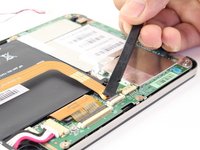
Using the flat end of the spudger, lift up the black panel covering the charging port connector.
-
Gently slide the charging port ribbon out from its housing.
-
-
-
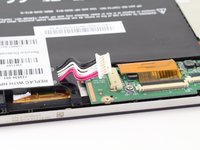
Push the white battery connector out of its housing using the pointed end of the spudger.
-
-
-
Using the #00 Phillips Head screwdriver, remove the 5 screws holding the battery in place.
-
The four 1.75mm x 3mm silver Phillips Head screws circled in red are interchangeable.
-
The black 1.75mm x 4mm Phillips Head screw must go back to the same spot during reassembly.
-
-
-
-
-
To free the speaker assembly, you will need a #00 Phillips Head screwdriver.
-
Remove the two 1.75mm x 3mm Phillips Head screws from the speaker assembly.
-
-
-
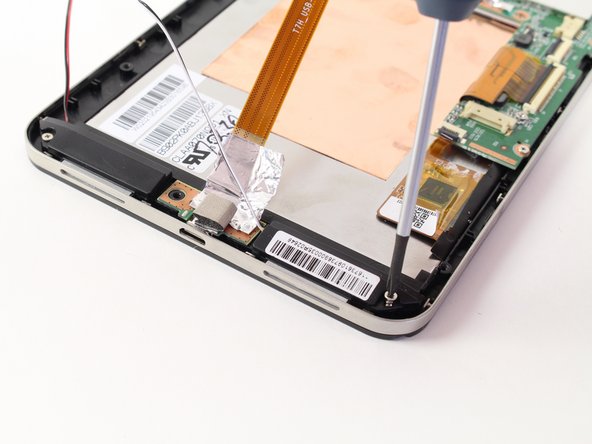
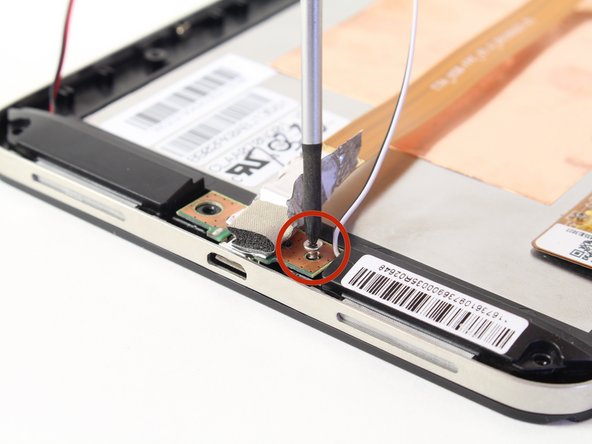
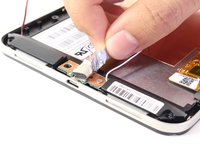
Pull back the foil overlapping the charging port to reveal another 1.75mm x 3mm Phillips Head screw.
-
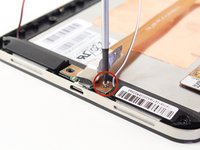
Remove the screw with a #00 Phillips Head screwdriver.
-
-
-
-
-
-
-
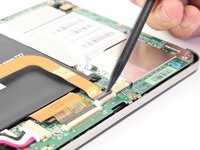
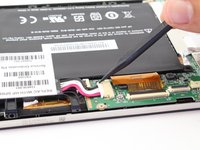
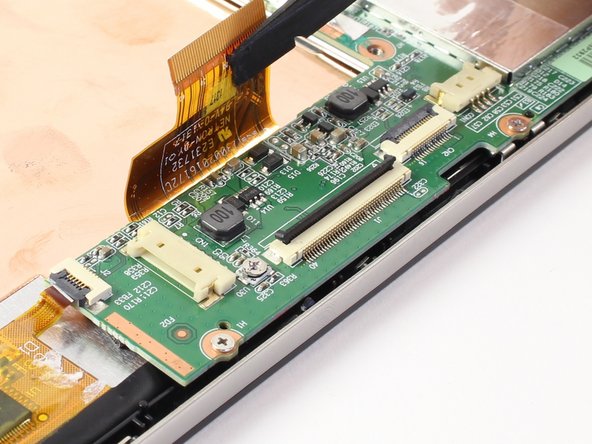
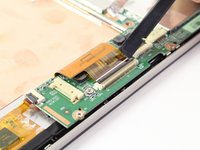
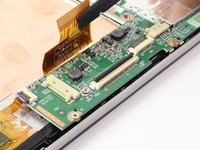
Disconnect the LCD screen ribbon by lifting up the black panel with the flat end of a spudger and sliding the gold strip out.
-
-
-
Likewise, disconnect the square radio chip ribbon by lifting up the black panel with a spudger and sliding the gold strip out.
-
-
-
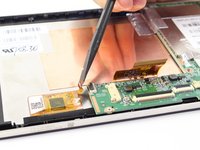
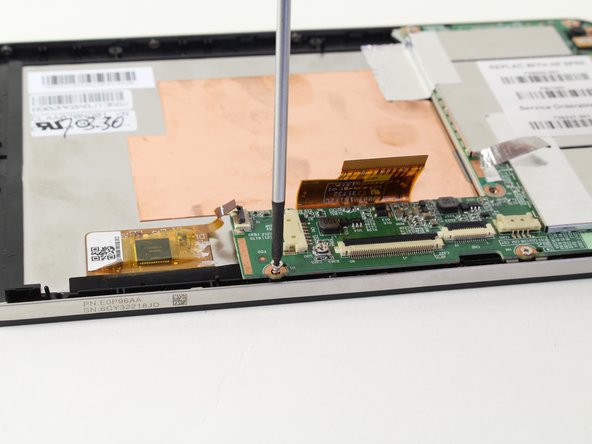
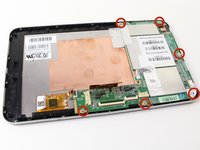
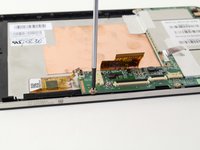
You will be using a #00 Phillips Head screwdriver to free the motherboard.
-
Remove the six 1.75mm x 3mm Phillips Head screws holding the motherboard to the screen.
-
-
-
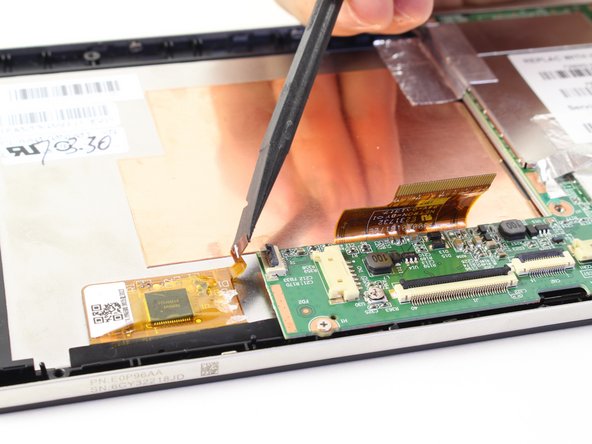
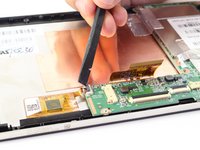
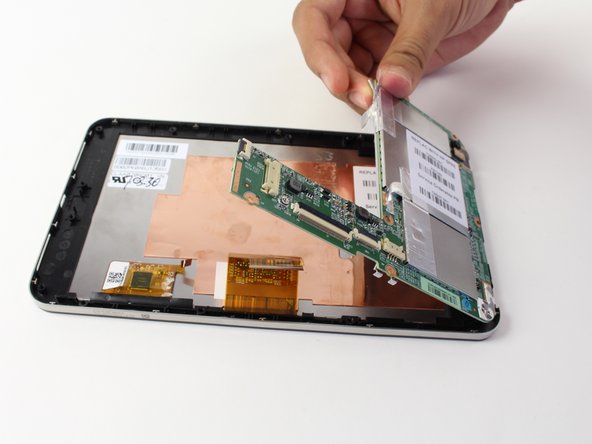
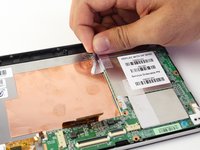
Using your hand, lift up the silver tape from the copper plate.
-
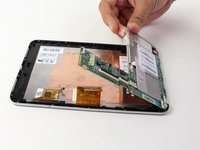
Lift the motherboard out of the device.
-
-
-
-
-
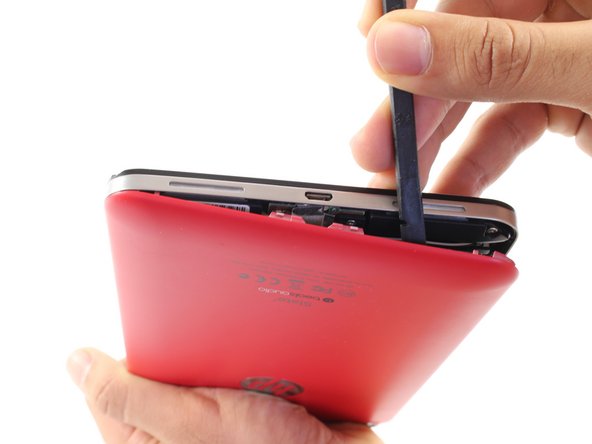
Remove the metal band surrounding the device by lifting it up out of the placement pins. Begin at one end and work your way around.
-
-
-
You now have access to the LCD screen.
-
You can replace the volume rocker by lifting it up and out of the device.
-
-


















To reassemble your device, follow these instructions in reverse order.
Cancel: I did not complete this guide.
14 other people completed this guide.

Team

Cal Poly, Team 13-30, Maness Spring 2014 Member of Cal Poly, Team 13-30, Maness Spring 2014
CPSU-MANESS-S14S13G30
3 Members
48 Guides authored
