Free Shipping on Domestic Orders $75+

HP Slate 7 4601 Charging Port Replacement

What you need

    1. HP Slate 7 4601 Charging Port Replacement, Battery: step 1, image 1 of 2 HP Slate 7 4601 Charging Port Replacement, Battery: step 1, image 2 of 2
      • Begin your replacement by using a T3 or T4 Torx screwdriver.

      • Remove the two 1.4mm x 3mm Torx Head screws at the top of the device.

      Ask FixBot

      Add Comment

    2. HP Slate 7 4601 Charging Port Replacement: step 2, image 1 of 2 HP Slate 7 4601 Charging Port Replacement: step 2, image 2 of 2
      • With the pointed end of the spudger, remove the thin metal band.

      • It is easiest to remove the metal band through the headphone opening.

      Ask FixBot

      Add Comment

    3. HP Slate 7 4601 Charging Port Replacement: step 3, image 1 of 2 HP Slate 7 4601 Charging Port Replacement: step 3, image 2 of 2
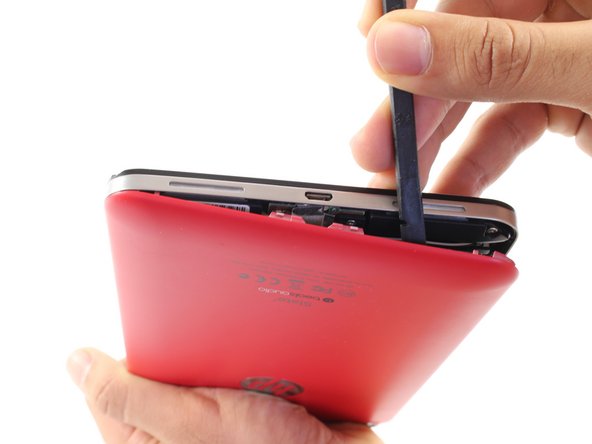
      • Using the flat end of the spudger, pry back the rear plastic cover.

      • As you work your way around the edge, several "pop" noises will be made. These noises are caused by the plastic clips coming undone.

      Ask FixBot

      Add Comment

    4. HP Slate 7 4601 Charging Port Replacement: step 4, image 1 of 1
      • Remove the rear cover.

      Ask FixBot

      Add Comment

    5. HP Slate 7 4601 Charging Port Replacement: step 5, image 1 of 1
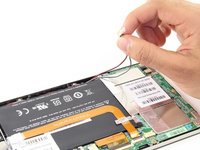
      • Locate and remove the yellow tape covering the red and white speaker wires.

      Ask FixBot

      Add Comment

    6. HP Slate 7 4601 Charging Port Replacement: step 6, image 1 of 2 HP Slate 7 4601 Charging Port Replacement: step 6, image 2 of 2
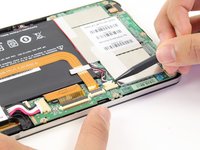
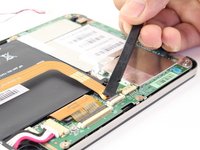
      • Using the pointed end of the spudger, push both sides of the speaker wire connector out of its base.

      • Push the same amount on both sides of the connector to avoid jamming or twisting its metal pins.

      • Do not yank or pull on the speaker wires, since they are fragile. Only push on the white connector.

      Ask FixBot

      Add Comment

    7. HP Slate 7 4601 Charging Port Replacement: step 7, image 1 of 1
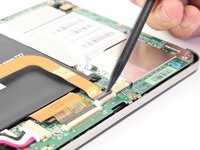
      • Gently pull back the foil covering the gold charging port ribbon.

      Ask FixBot

      Add Comment

    8. HP Slate 7 4601 Charging Port Replacement: step 8, image 1 of 2 HP Slate 7 4601 Charging Port Replacement: step 8, image 2 of 2
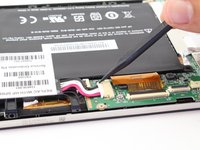
      • Using the flat end of the spudger, lift up the black panel covering the charging port connector.

      • Gently slide the charging port ribbon out from its housing.

      • It may be easier to use the pointed end of the spudger than your fingers.

      Ask FixBot

      Add Comment

    9. HP Slate 7 4601 Charging Port Replacement: step 9, image 1 of 1
      • Lift gold charging strip away from the battery.

      Ask FixBot

      Add Comment

    10. HP Slate 7 4601 Charging Port Replacement: step 10, image 1 of 2 HP Slate 7 4601 Charging Port Replacement: step 10, image 2 of 2
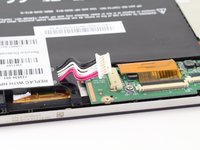
      • Push the white battery connector out of its housing using the pointed end of the spudger.

      Ask FixBot

      Add Comment

    11. HP Slate 7 4601 Charging Port Replacement: step 11, image 1 of 1
      • Using the #00 Phillips Head screwdriver, remove the 5 screws holding the battery in place.

      • The four 1.75mm x 3mm silver Phillips Head screws circled in red are interchangeable.

      • The black 1.75mm x 4mm Phillips Head screw must go back to the same spot during reassembly.

      Ask FixBot

      Add Comment

    12. HP Slate 7 4601 Charging Port Replacement: step 12, image 1 of 1
      • Lift battery out of its place and set aside.

      Ask FixBot

      Add Comment

    1. HP Slate 7 4601 Charging Port Replacement, Charging Port: step 13, image 1 of 2 HP Slate 7 4601 Charging Port Replacement, Charging Port: step 13, image 2 of 2
      • To free the speaker assembly, you will need a #00 Phillips Head screwdriver.

      • Remove the two 1.75mm x 3mm Phillips Head screws from the speaker assembly.

      Ask FixBot

      Add Comment

    2. HP Slate 7 4601 Charging Port Replacement: step 14, image 1 of 2 HP Slate 7 4601 Charging Port Replacement: step 14, image 2 of 2
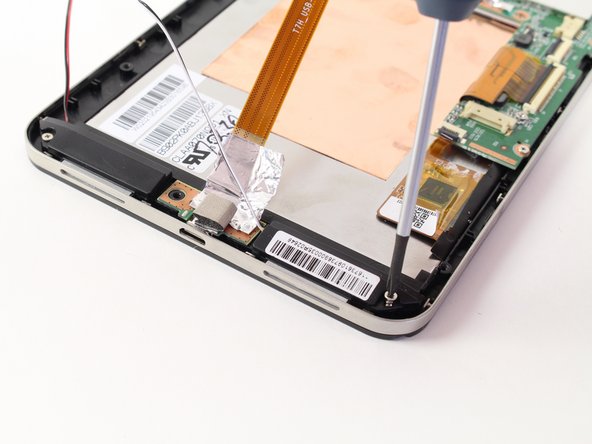
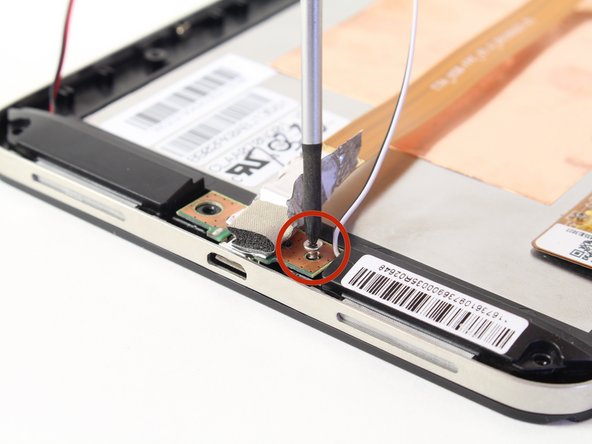
      • Pull back the foil overlapping the charging port to reveal another 1.75mm x 3mm Phillips Head screw.

      • Remove the screw with a #00 Phillips Head screwdriver.

      Ask FixBot

      Add Comment

    3. HP Slate 7 4601 Charging Port Replacement: step 15, image 1 of 1
      • Lift the charging port and set it aside.

      Ask FixBot

      Add Comment

Conclusion

To reassemble your device, follow these instructions in reverse order.

Cancel: I did not complete this guide.

34 other people completed this guide.

Raj Parekh

Member since: 04/14/14

535 Reputation

1 Guide authored

Team

Cal Poly, Team 13-30, Maness Spring 2014 Member of Cal Poly, Team 13-30, Maness Spring 2014

CPSU-MANESS-S14S13G30

3 Members

48 Guides authored

15 Guide Comments

where do you get the replacement parts for charging port

Scott Winstone - Reply Share
Since HP does not supply the replacement ribbon, or many other parts for that matter, it is easiest to search on eBay and/or Craigslist for the parts needed. I found that the UK version of Amazon and eBay offer the best availability for such parts.

Zachary - Reply Share

I had to stop at Step 1. The T4 Torx screwdriver is too big.

stevwatsn - Reply Share

My apologies for the incorrect sizing of the Torx driver; please use a T3 sized driver, as it is the next size down from the T4.

Zachary - Reply Share

do you have a product number for the charger strip?

Courtney - Reply Share

Add Comment

View Statistics:

Past 24 Hours: 4

Past 7 Days: 29

Past 30 Days: 72

All Time: 48,943