
HP ProBook 450 G4 Touch Pad Replacement

Maddy Johnson and one other contributor
Last updated on Jun 19, 2024
Views: 947
View statistics:
- Past 24 Hours:
- 2
- Past 7 Days:
- 23
- Past 30 Days:
- 90
- All Time:
- 947
Comments: 1
1 comment on steps.
Completed: 0 1
No one has marked this guide "completed." Will you be the first?
1 person has marked this guide "completed." It's you — great job!
Favorites: 0 1
No one has favorited (and subscribed to) this guide. Will you be the first?
1 person has favorited (and subscribed to) this guide — and that's you!
Introduction
Go to step 1 ↓This guide is on how to replace the touch pad on a HP ProBook 450 G4. The touch pad is the rectangle under the keyboard that acts as a mouse, or a control to the cursor on your screen. You may need to replace your touchpad for a few reasons, such as your touch pad being unresponsive, it being damaged or dented, or your touchpad is picking up movements that you aren't controlling.
What you need
Tools
-
Spudger4.9


-
-
-
Flip the laptop over.
-
Orient the laptop so the two vents on the bottom face upward and are further away from you.
 Ask FixBot
-
-
-
Use the Phillips #0 screwdriver to remove the 6.8 mm screw that secures the vent panel to the laptop.
-
Use the spudger to separate the vent panel from the laptop.
-
Slide the vent panel off the backside of the laptop.
-
-
-
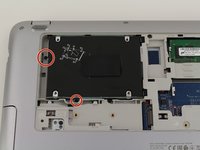
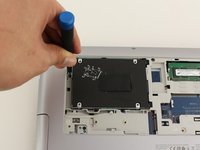
Use the Phillips #0 screwdriver to remove the black 3.2mm screw that secures the hard drive to the left side of the laptop.
-
-
-
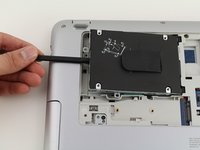
Use the spudger to lift the left side of the hard drive up.
-
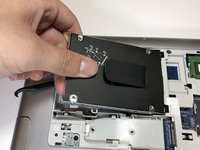
Pull the hard drive diagonally to the left to release the hard drive from the laptop.
-
-
-
-
-
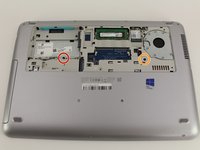
Remove the 6.6mm T8 Torx screw located below where the hard drive used to be.
-
Remove the 6.6mm T8 Torx screw located below and to the left of the circular, silver and black fan.
-
-
-
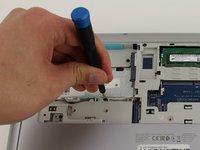
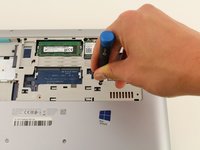
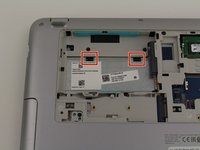
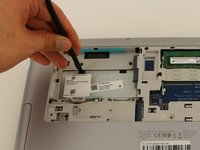
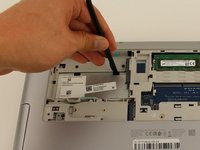
Use the spudger to press down on the two black tabs that are underneath where the hard drive used to be.
-
Apply pressure to the black tabs until they release and pop out.
-
-
-
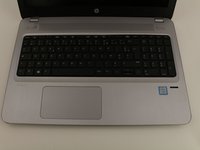
Orient the laptop so the keyboard is facing upwards and towards you.
-
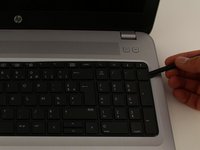
Insert the spudger in between the edge of the keyboard and the computer frame.
-
Slide the spudger around the edge of the keyboard until the keyboard is loose.
-
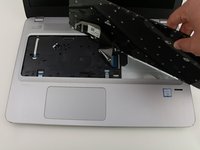
Gently pull the keyboard away from the body of the laptop.
-
-
-
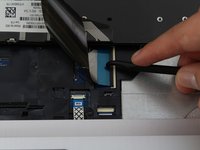
Use a spudger to gently lift up the black locking bar on the keyboard connector.
-
Slide the keyboard ribbon out of the connector.
-
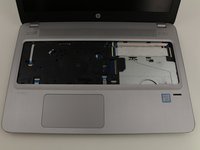
Remove the keyboard.
-
-
-
-
-
Flip the laptop back over so it is facing upwards.
-
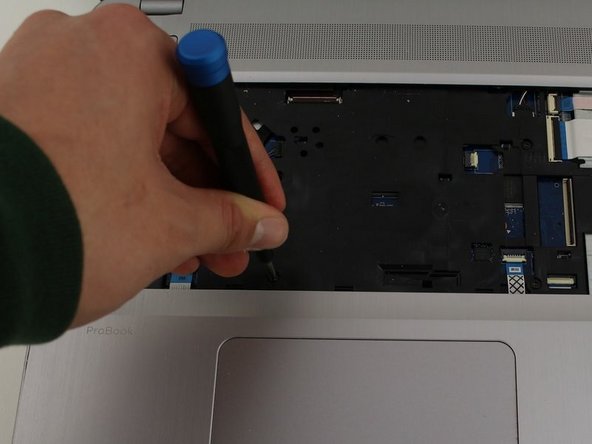
Remove the six 6.6 mm screws underneath where the keyboard used to be using a T8 Torx screwdriver.
-
-
-
-
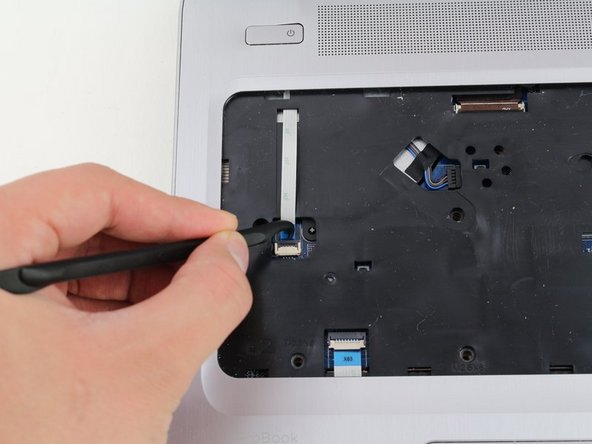
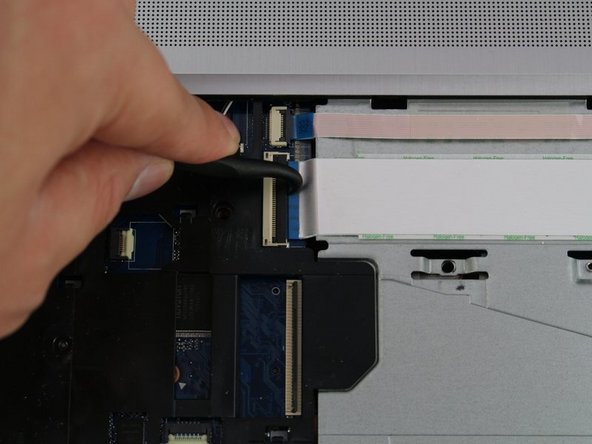
Use the spudger to disconnect the nine cable connectors that secure the top case of the laptop to the body of the laptop.
-
-
-
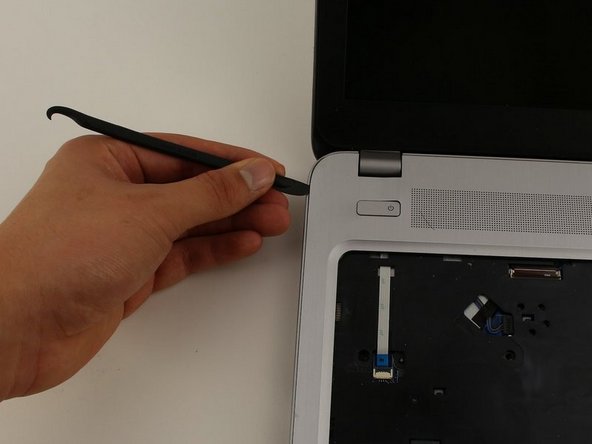
Insert the spudger in between the top case of the laptop and its outer frame.
-
Slide the spudger around the edge of the laptop until the case comes off.
-
Remove the top case.
-
-
-
Flip the top cover over.
-
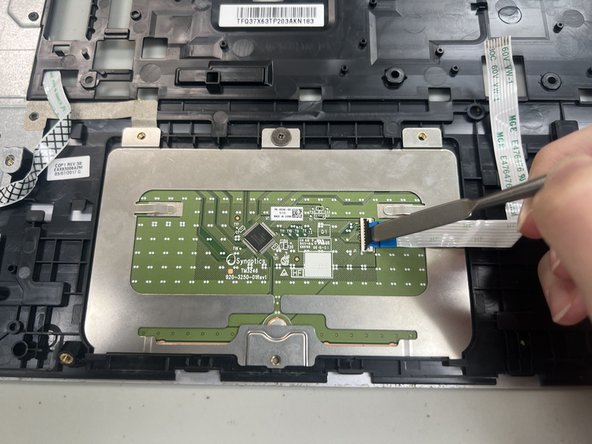
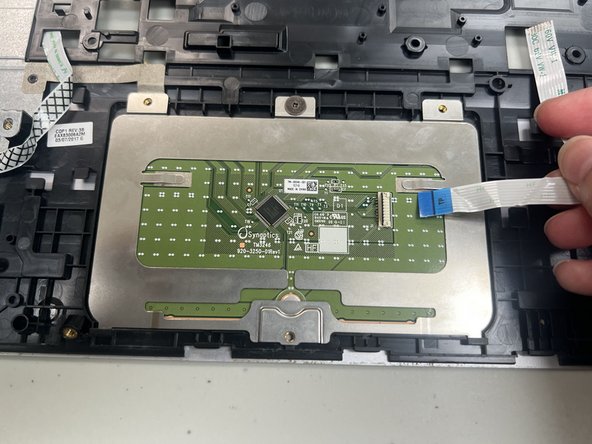
Use the spudger to disconnect the cable connector labeled TP.
-
-
-
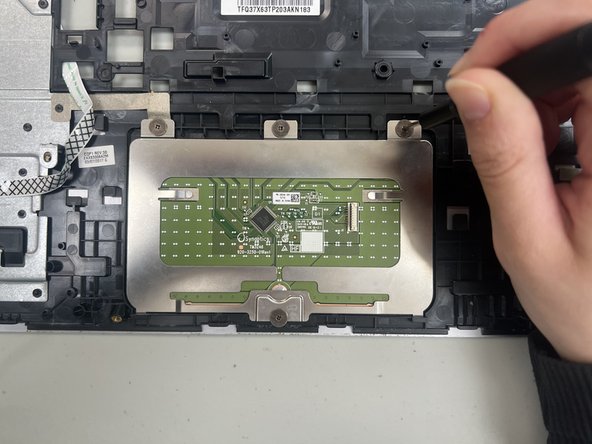
Remove the four M2 1.9 mm screws holding the touchpad down.
-
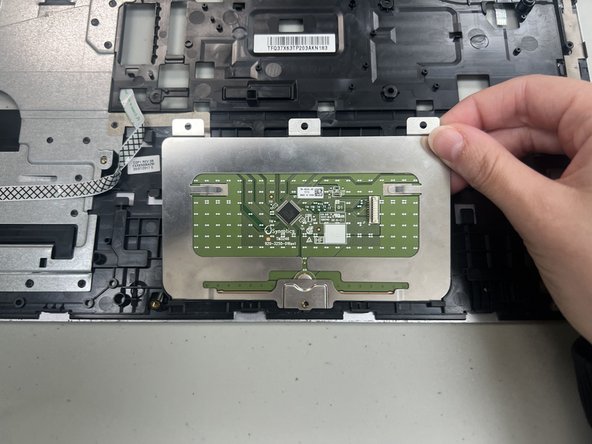
Lift the touchpad up and out from the top.
-
-























To reassemble your device, follow these instructions in reverse order.

Team

University of North Texas, Team 5-3, Coppersmith Spring 2024 Member of University of North Texas, Team 5-3, Coppersmith Spring 2024
UNT-COPPERSMITH-S24S5G3
4 Members
60 Guides authored
