Free Shipping on Domestic Orders $75+

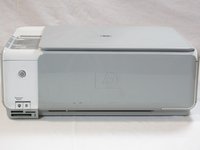
HP Photosmart c3180 Control Panel Circuitry Replacement

What you need

  1. HP Photosmart c3180 Control Panel Circuitry Replacement, Top Panel of HP Photosmart c3180 printer: step 1, image 1 of 2 HP Photosmart c3180 Control Panel Circuitry Replacement, Top Panel of HP Photosmart c3180 printer: step 1, image 2 of 2
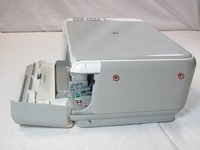
    • Before disassembling your printer, be sure that the printer has been unplugged to avoid any risk of injury.

    • Rotate the printer 90 degrees counter clockwise so that the side panel next to control panel is facing you.

    • Remove the two T10 12mm Torx screws from the left side panel.

    Ask FixBot

    Add Comment

  2. HP Photosmart c3180 Control Panel Circuitry Replacement: step 2, image 1 of 2 HP Photosmart c3180 Control Panel Circuitry Replacement: step 2, image 2 of 2
    • Firmly pull the the back of the side panel until it separates from the body of the printer.

    • Rotate the side panel upwards while pulling it towards yourself to remove the panel.

    Ask FixBot

    Add Comment

  3. HP Photosmart c3180 Control Panel Circuitry Replacement: step 3, image 1 of 2 HP Photosmart c3180 Control Panel Circuitry Replacement: step 3, image 2 of 2
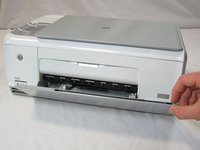
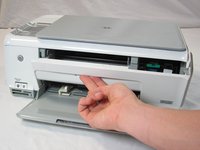
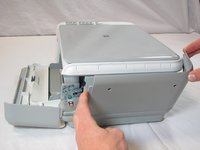
    • Rotate the printer 90 degrees clockwise.

    • Grasp the paper tray and rotate it down.

    • Insert your fingers into the slot in the printer door and pull to rotate the gate down.

    Ask FixBot

    Add Comment

  4. HP Photosmart c3180 Control Panel Circuitry Replacement: step 4, image 1 of 2 HP Photosmart c3180 Control Panel Circuitry Replacement: step 4, image 2 of 2
    • Rotate the printer 90 degrees clockwise.

    • Remove the two T10 12 mm Torx screws.

    • Grasp both sides of the side panel and pull it forward to remove the panel.

    Ask FixBot

    Add Comment

  5. HP Photosmart c3180 Control Panel Circuitry Replacement: step 5, image 1 of 2 HP Photosmart c3180 Control Panel Circuitry Replacement: step 5, image 2 of 2
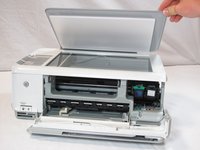
    • Rotate the printer 90 degrees counter clockwise.

    • Lift the scanner lid to expose the scanner glass.

    Ask FixBot

    Add Comment

  6. HP Photosmart c3180 Control Panel Circuitry Replacement: step 6, image 1 of 1
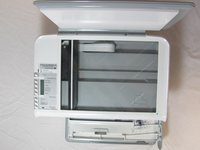
    • Remove the two T10 12 mm Torx screws.

    • Do not attempt to lift the top panel off the printer yet because it is still connected to the printer body by a cable.

    Ask FixBot

    Add Comment

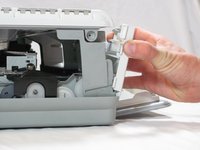
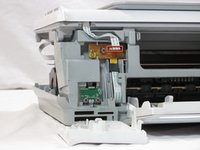
  7. HP Photosmart c3180 Control Panel Circuitry Replacement: step 7, image 1 of 2 HP Photosmart c3180 Control Panel Circuitry Replacement: step 7, image 2 of 2
    • Rotate the printer 90 degrees counter clockwise.

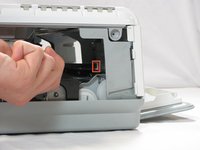
    • Inside the printer is a small white tab. Press it inward with a spudger until a pop is heard.

    • Remove the front panel by grasping its front and pulling away from the printer.

    Ask FixBot

    Add Comment

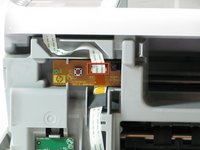
  8. HP Photosmart c3180 Control Panel Circuitry Replacement: step 8, image 1 of 2 HP Photosmart c3180 Control Panel Circuitry Replacement: step 8, image 2 of 2
    • Rotate the printer 90 degrees clockwise.

    • Remove the cable connecting the top panel of the printer to the power button assembly.

    Ask FixBot

    Add Comment

  9. HP Photosmart c3180 Control Panel Circuitry Replacement: step 9, image 1 of 1
    • Carefully lift the top panel of the printer away from the printer body.

    Ask FixBot

    Add Comment

  10. HP Photosmart c3180 Control Panel Circuitry Replacement, Control Panel Circuitry: step 10, image 1 of 1
    • Set aside the printer body.

    • Remove the three T10 12 mm Torx screws from the back of control panel circuit board.

    Ask FixBot

    Add Comment

  11. HP Photosmart c3180 Control Panel Circuitry Replacement: step 11, image 1 of 1
    • Using both hands, carefully lift the control panel circuit board from the top panel of the printer.

    Ask FixBot

    Add Comment

Conclusion

To reassemble your device, follow these instructions in reverse order.

Cancel: I did not complete this guide.

4 other people completed this guide.

Jim

Member since: 10/06/11

1,638 Reputation

10 Guides authored

Team

Cal Poly, Team 20-30, Maness Fall 2011 Member of Cal Poly, Team 20-30, Maness Fall 2011

CPSU-MANESS-F11S20G30

4 Members

25 Guides authored

0 Guide Comments

Add Comment

View Statistics:

Past 24 Hours: 1

Past 7 Days: 11

Past 30 Days: 53

All Time: 5,035