Free Shipping on Domestic Orders $75+

HP Photosmart Premium C309g TouchSmart Display Screen Replacement

What you need

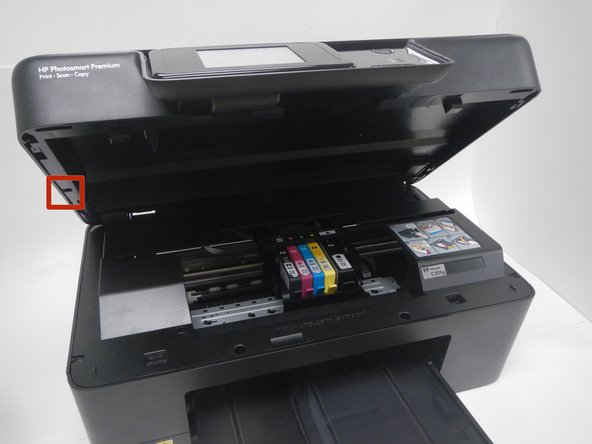
  1. HP Photosmart Premium C309g TouchSmart Display Screen  Replacement, TouchSmart Display Screen: step 1, image 1 of 1
    • Open the top of printer. The printer should appear as shown.

    Ask FixBot

    Add Comment

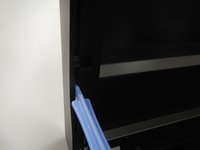
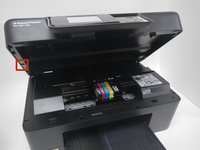
  2. HP Photosmart Premium C309g TouchSmart Display Screen  Replacement: step 2, image 1 of 2 HP Photosmart Premium C309g TouchSmart Display Screen  Replacement: step 2, image 2 of 2
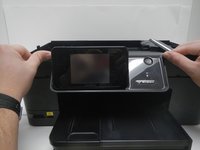
    • Use the blue plastic opening tool to pry the trim pieces all the way around the printer.

    • Loosen the pieces around the edges before pulling to remove from the printer.

    • Pull the (4) trim pieces off and set them aside.

    Ask FixBot

    Add Comment

  3. HP Photosmart Premium C309g TouchSmart Display Screen  Replacement: step 3, image 1 of 2 HP Photosmart Premium C309g TouchSmart Display Screen  Replacement: step 3, image 2 of 2
    • Using the blue plastic opening tool, pull from the middle and then slide back to remove the side panels.

    • The side trim pieces need to be removed before the front trim pieces.

    Ask FixBot

    Add Comment

  4. HP Photosmart Premium C309g TouchSmart Display Screen  Replacement: step 4, image 1 of 1
    • Using the T9 Torx Security screwdriver bit, unscrew the five 12mm screws shown.

    Ask FixBot

    Add Comment

  5. HP Photosmart Premium C309g TouchSmart Display Screen  Replacement: step 5, image 1 of 1
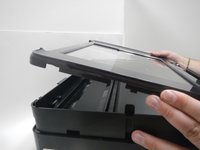
    • The scanner flap is attached by a clip that can be dislodged by pulling it gently away from the printer.

    • Keeping the scanner flap upright, slide it toward the unattached clip in order to dislodge the second clip.

    • Both clips will come unattached and you can set the scanner flap aside.

    Ask FixBot

    Add Comment

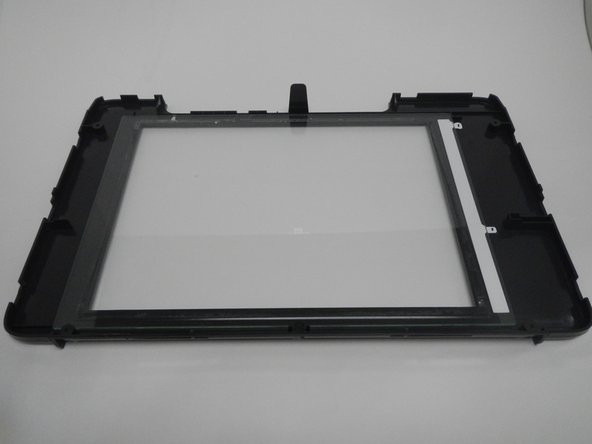
  6. HP Photosmart Premium C309g TouchSmart Display Screen  Replacement: step 6, image 1 of 2 HP Photosmart Premium C309g TouchSmart Display Screen  Replacement: step 6, image 2 of 2
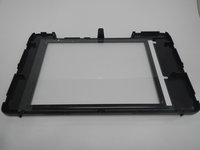
    • Lift the scanner glass piece from the printer and set it aside.

    Ask FixBot

    Add Comment

  7. HP Photosmart Premium C309g TouchSmart Display Screen  Replacement: step 7, image 1 of 1
    • Gently pull the display screen away from the printer.

    • Locate & unscrew the two 12mm screws using the T9 Torx Security screwdriver bit.

    Ask FixBot

    Add Comment

  8. HP Photosmart Premium C309g TouchSmart Display Screen  Replacement: step 8, image 1 of 2 HP Photosmart Premium C309g TouchSmart Display Screen  Replacement: step 8, image 2 of 2
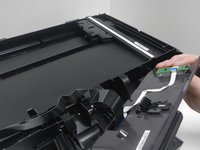
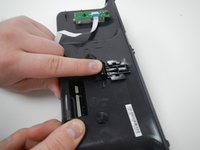
    • Place thumb and forefinger where shown and pull this piece away from the printer.

    • Do not pull it away too hard. The piece is still connected by wiring ribbon.

    Ask FixBot

    Add Comment

  9. HP Photosmart Premium C309g TouchSmart Display Screen  Replacement: step 9, image 1 of 2 HP Photosmart Premium C309g TouchSmart Display Screen  Replacement: step 9, image 2 of 2
    Tool used on this step:
    Tweezers
    $4.99
    Buy
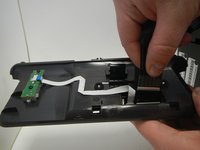
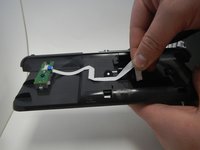
    • Pull both wiring ribbons out from the display screen piece. This will separate the piece from the printer.

    • Use tweezers if necessary.

    Ask FixBot

    Add Comment

  10. HP Photosmart Premium C309g TouchSmart Display Screen  Replacement: step 10, image 1 of 2 HP Photosmart Premium C309g TouchSmart Display Screen  Replacement: step 10, image 2 of 2
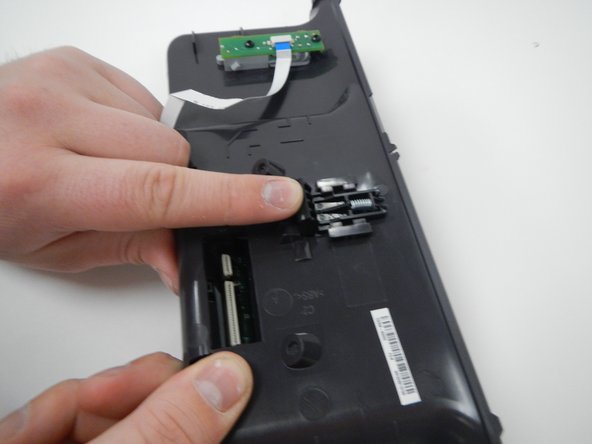
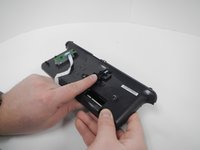
    • Push forward and down to release the retaining piece. This will detach the display screen from the front panel.

    Ask FixBot

    Add Comment

  11. HP Photosmart Premium C309g TouchSmart Display Screen  Replacement: step 11, image 1 of 1
    • Set the display screen face down.

    • Locate and unscrew all four 12mm screws on the back on the display screen using the T9 Torx Security screwdriver bit.

    Ask FixBot

    Add Comment

  12. HP Photosmart Premium C309g TouchSmart Display Screen  Replacement: step 12, image 1 of 1
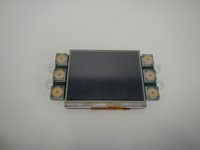
    • Lift the back of the display screen to remove it.

    Ask FixBot

    Add Comment

  13. HP Photosmart Premium C309g TouchSmart Display Screen  Replacement: step 13, image 1 of 2 HP Photosmart Premium C309g TouchSmart Display Screen  Replacement: step 13, image 2 of 2
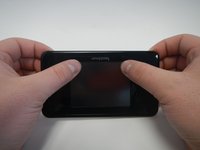
    • Place hands as shown and push with your thumbs to detach the plastic from the screen.

    Ask FixBot

    Add Comment

Conclusion

To reassemble your device, follow these instructions in reverse order.

Cancel: I did not complete this guide.

One other person completed this guide.

Laura

Member since: 10/23/14

706 Reputation

3 Guides authored

Team

Michigan Tech, Team 1-2, Lauer Fall 2014 Member of Michigan Tech, Team 1-2, Lauer Fall 2014

MTU-LAUER-F14S1G2

3 Members

5 Guides authored

1 Guide Comment

where can i get replacement part

fernando - Reply Share

Add Comment

View Statistics:

Past 24 Hours: 0

Past 7 Days: 4

Past 30 Days: 16

All Time: 1,518