Free Shipping on Domestic Orders $75+

HP Photosmart D110a Printer Hood Assembly Replacement

What you need

  1. HP Photosmart D110a Printer Hood Assembly Replacement, Printer Hood Assembly: step 1, image 1 of 1
    • Pull down both front panels to open the printer. Lift the scanner flap upward by pulling down on it; there are two mouth pieces that need to be pulled down.

    • Adjust the flap covering the scanner upward, as shown.

    Ask FixBot
  2. HP Photosmart D110a Printer Hood Assembly Replacement: step 2, image 1 of 1
    • Pull the scanner flap gently away from the printer to release its two clips.

    Ask FixBot
  3. HP Photosmart D110a Printer Hood Assembly Replacement: step 3, image 1 of 1
    • Locate the three screws on top of the printer.

    • The orange circle shows a fourth screw located behind the power panel. Ignore this one for now, as directions to remove this screw are in Step 5.

    Ask FixBot
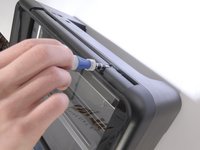
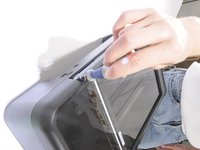
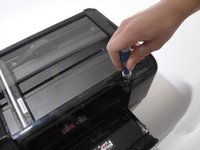
  4. HP Photosmart D110a Printer Hood Assembly Replacement: step 4, image 1 of 3 HP Photosmart D110a Printer Hood Assembly Replacement: step 4, image 2 of 3 HP Photosmart D110a Printer Hood Assembly Replacement: step 4, image 3 of 3
    • Using a T-9 screwdriver, remove the three screws from the printer's top.

    Ask FixBot
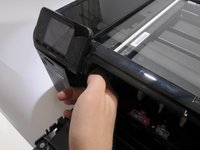
  5. HP Photosmart D110a Printer Hood Assembly Replacement: step 5, image 1 of 2 HP Photosmart D110a Printer Hood Assembly Replacement: step 5, image 2 of 2
    • To remove the power button panel:

    • Reach inside the printer's front opening.

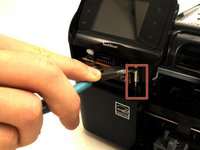
    • Press the small clip behind the power button.

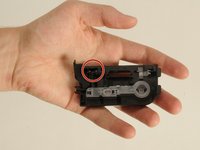
    • A picture of the power button panel removed is provided to show the location of the clip that needs to be pressed.

    • Pull the panel out from right to left.

    Ask FixBot
  6. HP Photosmart D110a Printer Hood Assembly Replacement: step 6, image 1 of 2 HP Photosmart D110a Printer Hood Assembly Replacement: step 6, image 2 of 2
    • Remove the fourth screw, which was covered by the power button panel.

    • Do not try and torque the screw from an angle. This will ruin the screw's head, and make it even more difficult to remove the screw. Only remove it as already described.

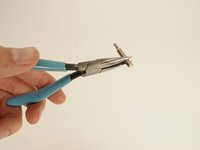
    • This screw is placed awkwardly. We found holding a T9 bit in a pair of needle nose pliers gave us enough leverage to pull it up.

    Ask FixBot
  7. HP Photosmart D110a Printer Hood Assembly Replacement: step 7, image 1 of 3 HP Photosmart D110a Printer Hood Assembly Replacement: step 7, image 2 of 3 HP Photosmart D110a Printer Hood Assembly Replacement: step 7, image 3 of 3
    • With a partner's help:

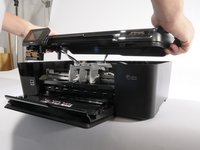
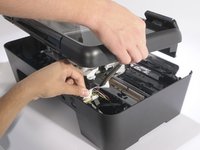
    • Have one person lift the hood 2-3 inches.

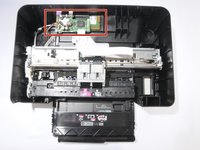
    • Have the other person disconnect the three cables from the motherboard (the green PCB) to the hood by gently pulling upward on them.

    • Remove the hood completely.

    Ask FixBot
Conclusion

To reassemble your device, follow these instructions in reverse order.

One other person completed this guide.

Alessandro Andreatta

Member since: 04/01/11

111 Reputation

1 Guide authored

Team

Cal Poly, Team 10-38, Forte Spring 2011 Member of Cal Poly, Team 10-38, Forte Spring 2011

CPSU-FORTE-S11S10G38

5 Members

10 Guides authored

0 Guide Comments

Add Comment

View Statistics:

Past 24 Hours: 1

Past 7 Days: 12

Past 30 Days: 92

All Time: 3,617