Free Shipping on Domestic Orders $75+

HP Photosmart 935 Plastic Casing Replacement

What you need

  1. HP Photosmart 935 Plastic Casing Replacement, Batteries: step 1, image 1 of 2 HP Photosmart 935 Plastic Casing Replacement, Batteries: step 1, image 2 of 2
    • Flip the camera over so the bottom of the camera is facing you.

    Ask FixBot

    Add Comment

    • Turn the mode dial to the OFF position.

    Ask FixBot

    Add Comment

  2. HP Photosmart 935 Plastic Casing Replacement: step 3, image 1 of 2 HP Photosmart 935 Plastic Casing Replacement: step 3, image 2 of 2
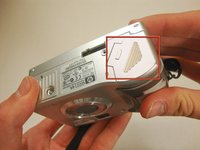
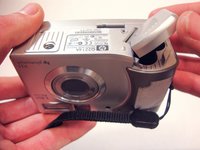
    • Slide the bottom cover in the direction of the arrow to open it.

    Ask FixBot

    Add Comment

  3. HP Photosmart 935 Plastic Casing Replacement: step 4, image 1 of 1
    • Pull out the batteries.

    Ask FixBot

    Add Comment

  4. HP Photosmart 935 Plastic Casing Replacement, Plastic Casing: step 5, image 1 of 1
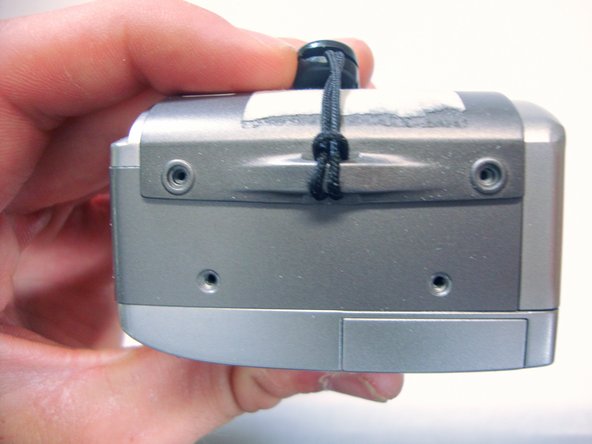
    • Use a Phillips #00 screwdriver to remove the two 4.7 mm screws in the bottom of the plastic casing.

    Ask FixBot

    Add Comment

  5. HP Photosmart 935 Plastic Casing Replacement: step 6, image 1 of 2 HP Photosmart 935 Plastic Casing Replacement: step 6, image 2 of 2
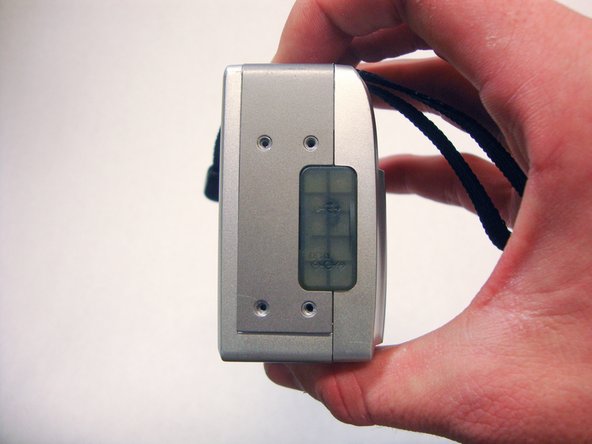
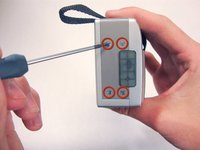
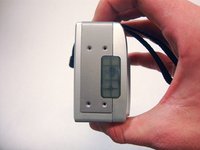
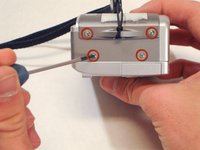
    • Remove the four 4.7 mm screws on the left side of the camera.

    Ask FixBot

    Add Comment

  6. HP Photosmart 935 Plastic Casing Replacement: step 7, image 1 of 2 HP Photosmart 935 Plastic Casing Replacement: step 7, image 2 of 2
    • Remove the four 4.7 mm screws on the opposite side of the camera.

    Ask FixBot

    Add Comment

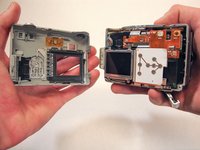
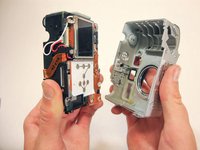
  7. HP Photosmart 935 Plastic Casing Replacement: step 8, image 1 of 3 HP Photosmart 935 Plastic Casing Replacement: step 8, image 2 of 3 HP Photosmart 935 Plastic Casing Replacement: step 8, image 3 of 3
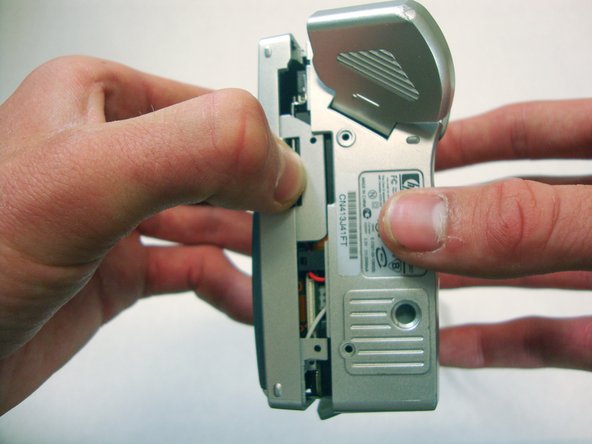
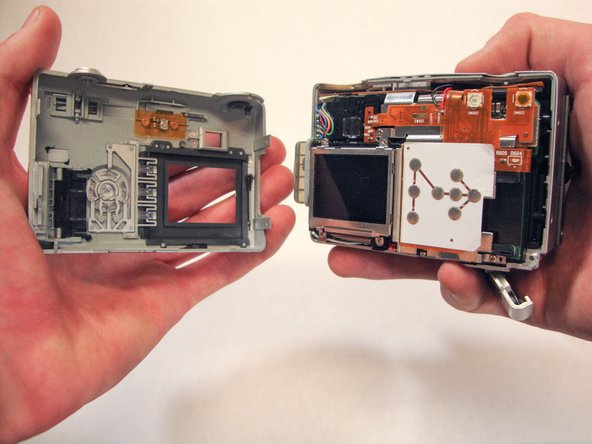
    • Use your thumbs to pry the case apart.

    • It is easiest to pry the case apart if you start at the bottom.

    • The case should come apart with minimal effort. If it doesn't, you can use a spudger or plastic opening tool to pry it open.

    Ask FixBot

    Add Comment

  8. HP Photosmart 935 Plastic Casing Replacement: step 9, image 1 of 1
    • This step requires a significant amount of force.

    • Pull the bottom half of the inner camera out of the case by half an inch. This may be difficult.

    Ask FixBot

    Add Comment

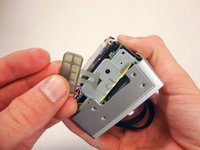
  9. HP Photosmart 935 Plastic Casing Replacement: step 10, image 1 of 2 HP Photosmart 935 Plastic Casing Replacement: step 10, image 2 of 2
    • While pulling the camera out of the case, note the small soft plastic cover on the side. This cover will detach from the rest of the device.

    • Once the bottom of the inner camera is pulled out, pull the device out completely.

    • Use a firm grasp when removing the device from the case for stability and control.

    Ask FixBot

    Add Comment

Conclusion

To reassemble your device, follow these instructions in reverse order.

Cancel: I did not complete this guide.

Clay Young

Member since: 04/04/12

245 Reputation

2 Guides authored

Team

Cal Poly, Team 15-13, Forte Spring 2012 Member of Cal Poly, Team 15-13, Forte Spring 2012

CPSU-FORTE-S12S15G13

5 Members

10 Guides authored

0 Guide Comments

Add Comment

View Statistics:

Past 24 Hours: 1

Past 7 Days: 10

Past 30 Days: 48

All Time: 2,197