Free Shipping on Domestic Orders $75+

HP Pavilion ze5000 Keyboard Replacement

What you need

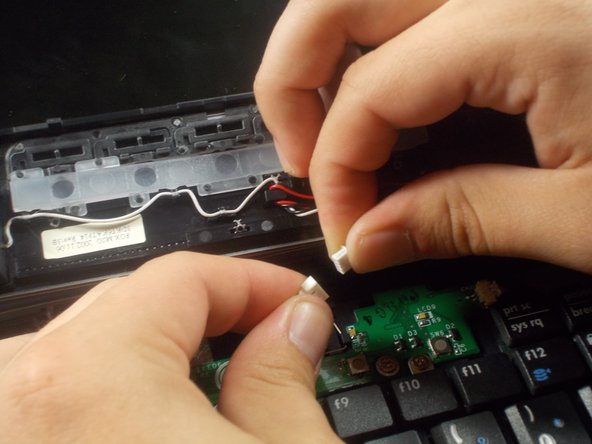
    1. HP Pavilion ze5000 Keyboard Replacement, Keyboard: step 1, image 1 of 3 HP Pavilion ze5000 Keyboard Replacement, Keyboard: step 1, image 2 of 3 HP Pavilion ze5000 Keyboard Replacement, Keyboard: step 1, image 3 of 3
      • Remove the two 5mm Phillips #0 screws from the hinges

      Ask FixBot

      Add Comment

    2. HP Pavilion ze5000 Keyboard Replacement: step 2, image 1 of 2 HP Pavilion ze5000 Keyboard Replacement: step 2, image 2 of 2
      Tool used on this step:
      Tweezers
      $4.99
      Buy
      • Open the device as if you were going to use the device. Using Tweezers, pry the hinges from underneath the screen

      • Not much force is needed to pull the hinges off once the tweezers are properly positioned

      Ask FixBot

      Add Comment

    3. HP Pavilion ze5000 Keyboard Replacement: step 3, image 1 of 2 HP Pavilion ze5000 Keyboard Replacement: step 3, image 2 of 2
      • Remove the wire connection by gently pulling on the fuse and connection itself.

      • Do not pull on the wires, as this can remove the wires from the connection, destroying the fuse.

      Ask FixBot

      Add Comment

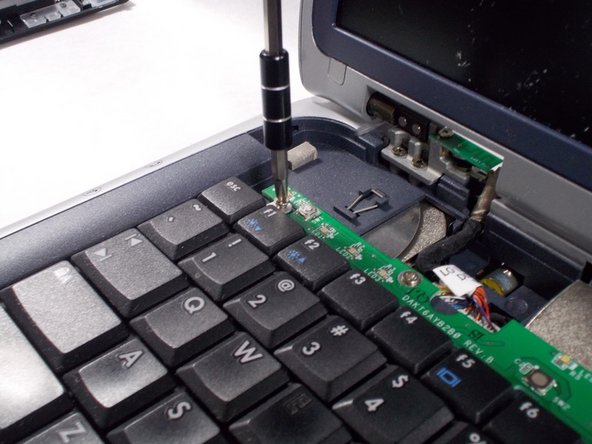
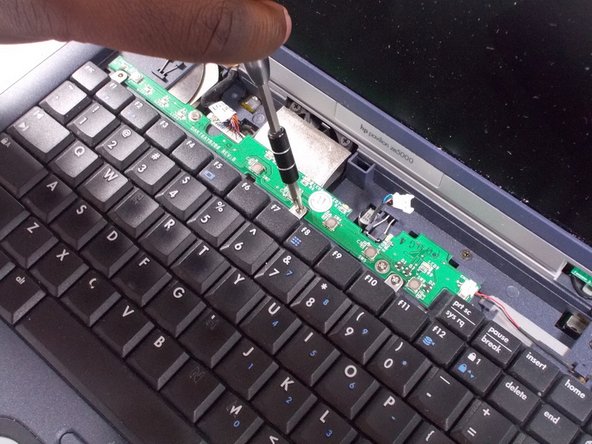
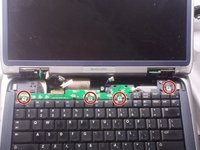
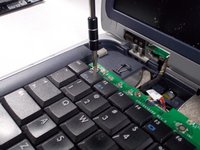
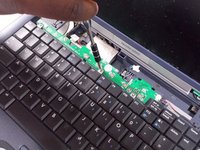
    4. HP Pavilion ze5000 Keyboard Replacement: step 4, image 1 of 3 HP Pavilion ze5000 Keyboard Replacement: step 4, image 2 of 3 HP Pavilion ze5000 Keyboard Replacement: step 4, image 3 of 3
      • Remove the four 4.0 mm Phillips #0 connecting the keyboard to the frame

      Ask FixBot

      Add Comment

    5. HP Pavilion ze5000 Keyboard Replacement: step 5, image 1 of 2 HP Pavilion ze5000 Keyboard Replacement: step 5, image 2 of 2
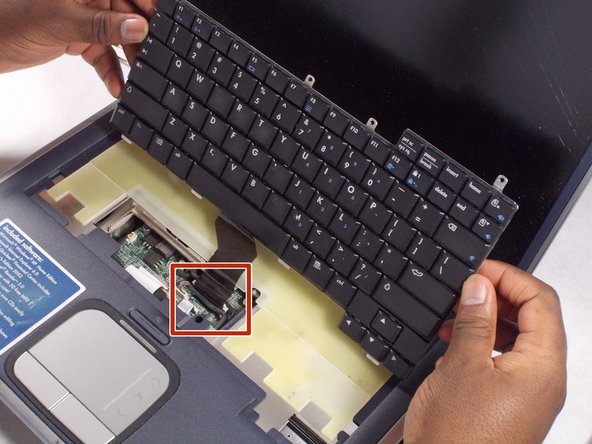
      • Gently lift the keyboard up from the frame so that you can see the ribbon still connected.

      Ask FixBot

      Add Comment

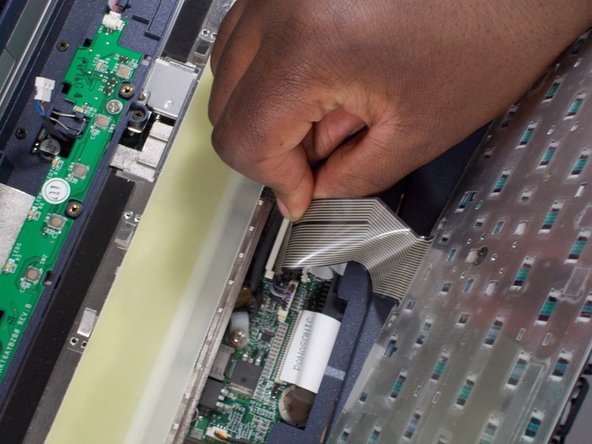
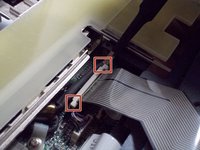
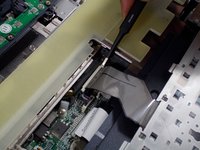
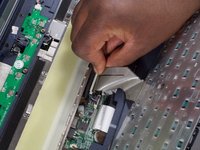
    6. HP Pavilion ze5000 Keyboard Replacement: step 6, image 1 of 3 HP Pavilion ze5000 Keyboard Replacement: step 6, image 2 of 3 HP Pavilion ze5000 Keyboard Replacement: step 6, image 3 of 3
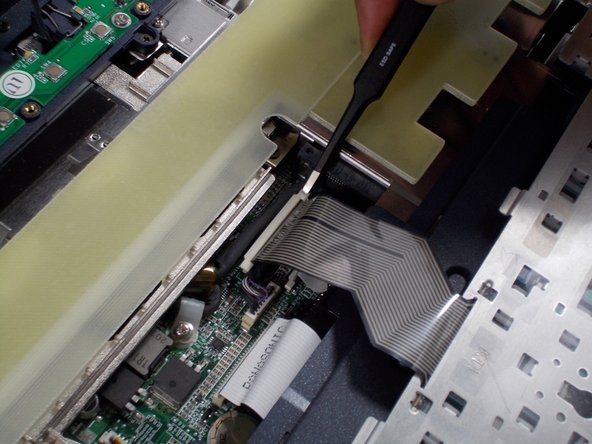
      • Remove the ribbon by gently pulling up the ends of the white receiver it is inserted in to.

      • You may need to use tweezers for this part.

      • During reassembly, when inserting the ribbon, you will hear a quiet, clicking sound when pushing down on the ends of the receiver. Hearing this ensures the ribbon is in place.

      Ask FixBot

      Add Comment

Conclusion

To reassemble your device, follow these instructions in reverse order starting at step 5.

Cancel: I did not complete this guide.

One other person completed this guide.

Eric Beaudry

Member since: 03/06/18

823 Reputation

3 Guides authored

Team

0 Guide Comments

Add Comment

View Statistics:

Past 24 Hours: 2

Past 7 Days: 9

Past 30 Days: 31

All Time: 498