Introduction
Use this guide to replace or upgrade the RAM in your 14-inch HP Pavilion x360 laptop.
Note: This procedure was written using a model 14-dw1010wm HP Pavilion x360 14 Convertible Laptop PC, but is fully compatible with any 14-inch HP Pavilion x360 laptops with model numbers starting with 14-dw or 14m-dw.
This laptop has two RAM slots that support DDR4 SO-DIMM memory modules.
What you need
-
-
-
Fully shut down your laptop and unplug all cables.
 Ask FixBot
-
-
-
-
-
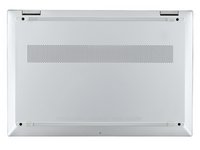
Flip your laptop over so the rubber feet are facing up.
-
-
-
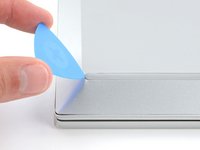
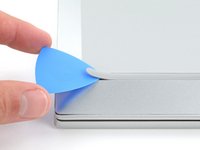
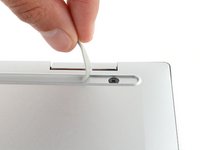
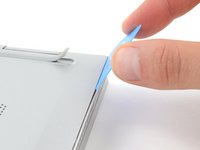
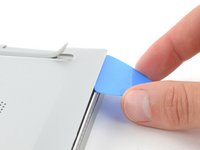
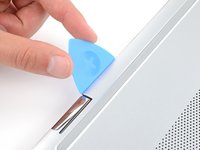
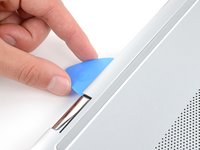
Use an opening pick to peel up an end of the front rubber foot until you can grip it with your fingers.
-
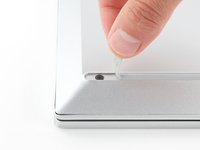
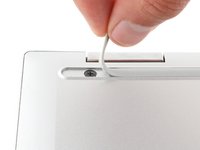
Peel up the end of the foot with your fingers just until the hidden screw underneath is exposed—you don't need to fully remove the foot.
-
-
Tool used on this step:Tesa 61395 Tape$8.95
-
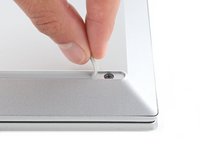
Peel up the other ends of the feet to expose the three remaining screws.
-
Press down firmly on the ends of the feet to secure them into their recesses.
-
If the foot adhesive doesn't remain tacky enough to readhere, you can use double-sided tape such as Tesa Tape.
-
-
-
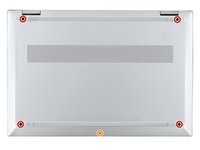
Use a Phillips screwdriver to remove the five screws securing the back cover:
-
Four larger 6.7 mm-long black screws
-
One smaller 2.9 mm-long silver screw
-
-
-
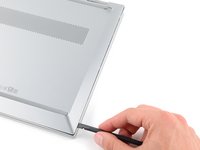
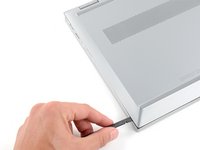
Insert the flat side of an opening pick into the seam between the top right corner of the back cover and the frame.
-
Pry up to release the clips securing the back cover.
-
-
-
-
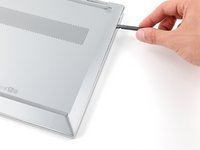
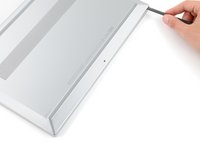
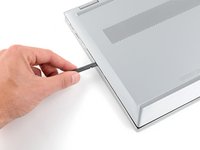
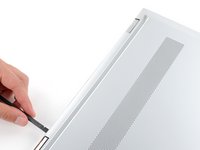
Insert the flat end of a spudger into the gap you just created.
-
Slide the spudger down to the bottom right corner to release the clips on the right edge.
-
-
-
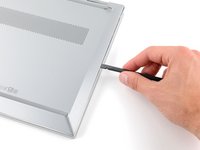
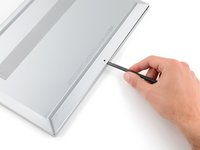
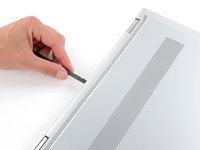
Insert the flat end of a spudger between the bottom right corner of the back cover and frame.
-
Slide the spudger to the bottom left corner to release the clips.
-
-
-
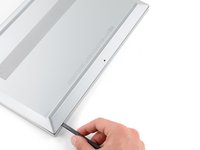
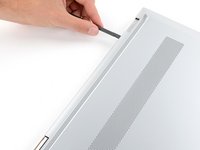
Insert the flat end of a spudger between the bottom left corner of the back cover and frame.
-
Slide the spudger up to the top left corner to release the clips on the left edge.
-
-
-
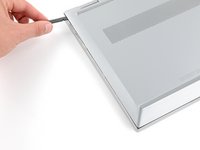
Insert the flat side of an opening pick into the seam between the top edge of the back cover and frame, just to the right of the left hinge.
-
Pry up to release the clips.
-
-
-
Insert the flat end of a spudger into the gap you just created.
-
Slide the spudger towards the right hinge to release the remaining clips.
-
-
-
-
-
Use a Phillips screwdriver to remove the four 4.6 mm-long screws securing the battery.
-
-
Tool used on this step:Tweezers$4.99
-
Gently lift the upper edge of the battery to disconnect its socket from the motherboard.
-
Remove the battery.
-
-
-
-
-
Use the flat end of a spudger to pry up around the edges of the metal shield covering the sticks of RAM.
-
-
-
Your laptop has two memory slots, each with a pair of metal arms that secure a stick of RAM.
-
Simultaneously push out the metal arms on each side of a stick of RAM until they disengage and the stick pops up at a slight angle.
-
-
-
Pull the stick of RAM out of its socket to remove it.
-
Repeat for a second stick of RAM.
-
-




















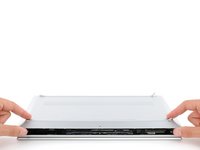
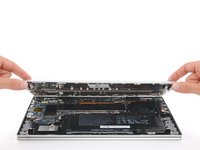
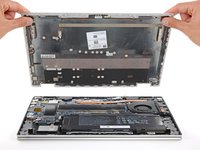


To reassemble your device, follow these instructions in reverse order.
Take your e-waste to an R2 or e-Stewards certified recycler.
Repair didn’t go as planned? Try some basic troubleshooting, or ask our Answers community for help.
Cancel: I did not complete this guide.
2 other people completed this guide.


