Free Shipping on Domestic Orders $75+

HP Pavilion g6-1b79dx Bottom Panel Replacement

Views: 2.6K

View statistics:

Past 24 Hours:
1
Past 7 Days:
23
Past 30 Days:
101
All Time:
2,637
Comments: 0

No one has left comments on this guide. Will you be first?

Go to guide comments
Completed: 2

2 people have marked this guide "completed." Will you be next?

Favorites: 0

No one has favorited (and subscribed to) this guide. Will you be the first?

Time Required: 5 minutes
Difficulty: Easy
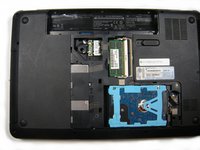
HP Pavilion g6-1b79dx Bottom Panel Replacement

Introduction

Go to step 1 ↓

If the bottom panel is damaged or needs to be moved to reach another component of the laptop this is a guide to remove it.

What you need

Tools

  • Phillips #00 Screwdriver
    4.9
  • Spudger
    4.9
    1. HP Pavilion g6-1b79dx Bottom Panel Replacement, Battery: step 1, image 1 of 1
      • Flip the computer so the bottom is facing up with the battery away from you.

      • Turn off the computer and disconnect the charger.

      Ask FixBot

      Add Comment

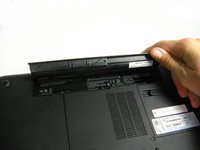
    2. HP Pavilion g6-1b79dx Bottom Panel Replacement: step 2, image 1 of 2 HP Pavilion g6-1b79dx Bottom Panel Replacement: step 2, image 2 of 2
      • Slide the battery switch to the left until the battery unlatches from the base of the laptop.

      Ask FixBot

      Add Comment

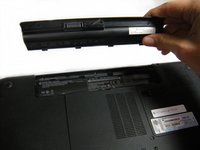
    3. HP Pavilion g6-1b79dx Bottom Panel Replacement: step 3, image 1 of 2 HP Pavilion g6-1b79dx Bottom Panel Replacement: step 3, image 2 of 2
      • Lift the battery from its compartment away from the laptop.

      Ask FixBot

      Add Comment

    1. HP Pavilion g6-1b79dx Bottom Panel Replacement, Bottom Panel: step 4, image 1 of 1
      • Loosen the two 5.7 mm screws on the bottom panel using a PH00 screwdriver.

      • The screws do not come out of the panel due to small washers. Do not try to remove the screws completely.

      Ask FixBot

      Add Comment

    2. HP Pavilion g6-1b79dx Bottom Panel Replacement: step 5, image 1 of 1
      • Use the metal spudger all around the panel to pop it up from the base.

      • When working with electronics, it's important to choose a tool that's ESD-safe to avoid accidental damage to the device. The regular black nylon spudger or a plastic opening tool should be used whenever possible.

      • Using your finger is acceptable but not entirely recommended. Be gentle if you choose to use your hands.

      Ask FixBot

      Add Comment

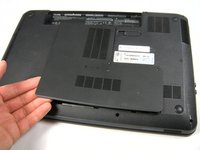
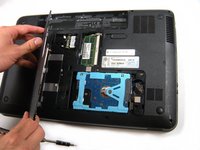
    3. HP Pavilion g6-1b79dx Bottom Panel Replacement: step 6, image 1 of 3 HP Pavilion g6-1b79dx Bottom Panel Replacement: step 6, image 2 of 3 HP Pavilion g6-1b79dx Bottom Panel Replacement: step 6, image 3 of 3
      • With your hands, lift the panel completely off the base of the laptop.

      Ask FixBot

      Add Comment

Conclusion

To reassemble your device, follow these instructions in reverse order.

Cancel: I did not complete this guide.

2 other people completed this guide.

Rachel Gallegos

Member since: 09/22/15

873 Reputation

5 Guides authored

Team

Baylor, Team 10-12, Williams Fall 2015 Member of Baylor, Team 10-12, Williams Fall 2015

BU-WILLIAMS-F15S10G12

3 Members

96 Guides authored

0 Guide Comments

Add Comment

View Statistics:

Past 24 Hours: 1

Past 7 Days: 23

Past 30 Days: 101

All Time: 2,637