Free Shipping on Domestic Orders $75+

HP Pavilion g4-1117dx Screen Replacement

What you need

    1. HP Pavilion g4-1117dx Screen Replacement, Battery: step 1, image 1 of 1
      • Slide pill shaped tab to the other side of the channel.

      Ask FixBot

      Add Comment

      • Remove battery while keeping the tab to the side.

      Ask FixBot

      Add Comment

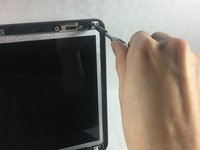
    1. HP Pavilion g4-1117dx Screen Replacement, Screen: step 3, image 1 of 3 HP Pavilion g4-1117dx Screen Replacement, Screen: step 3, image 2 of 3 HP Pavilion g4-1117dx Screen Replacement, Screen: step 3, image 3 of 3
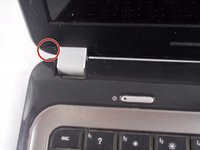
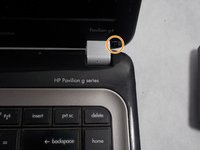
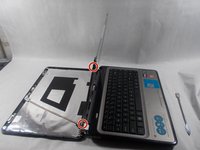
      • Remove two triangular shaped screw covers in the bottom corners of the monitor near the hinges.

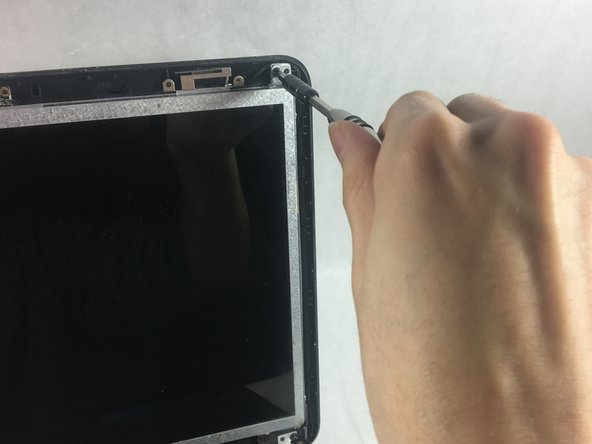
      • Unscrew the two 4.0 mm JIS #0 screws holding the hinge covers.

      Ask FixBot

      Add Comment

    2. HP Pavilion g4-1117dx Screen Replacement: step 4, image 1 of 1
      • Pry off the monitor border cover.

      Ask FixBot

      Add Comment

    3. HP Pavilion g4-1117dx Screen Replacement: step 5, image 1 of 2 HP Pavilion g4-1117dx Screen Replacement: step 5, image 2 of 2
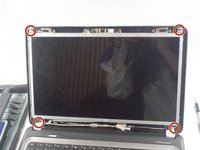
      • Remove four 4.0mm JIS #0 screws located at each corner of the monitor.

      Ask FixBot

      Add Comment

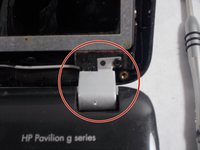
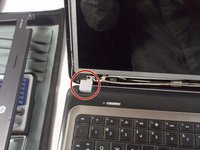
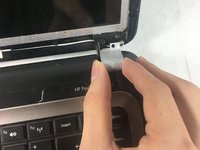
    4. HP Pavilion g4-1117dx Screen Replacement: step 6, image 1 of 3 HP Pavilion g4-1117dx Screen Replacement: step 6, image 2 of 3 HP Pavilion g4-1117dx Screen Replacement: step 6, image 3 of 3
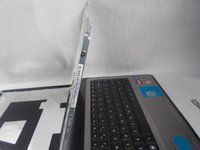
      • Remove the two silver hinge covers.

      Ask FixBot

      Add Comment

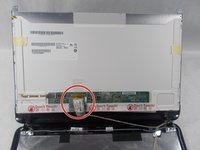
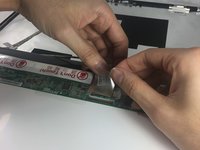
    5. HP Pavilion g4-1117dx Screen Replacement: step 7, image 1 of 2 HP Pavilion g4-1117dx Screen Replacement: step 7, image 2 of 2
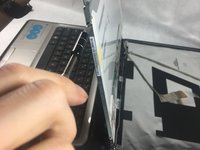
      • Unplug at golden connector.

      Ask FixBot

      Add Comment

    6. HP Pavilion g4-1117dx Screen Replacement: step 8, image 1 of 3 HP Pavilion g4-1117dx Screen Replacement: step 8, image 2 of 3 HP Pavilion g4-1117dx Screen Replacement: step 8, image 3 of 3
      • Remove four 3.0mm JIS #0 screws, two on each side of the screen.

      Ask FixBot

      Add Comment

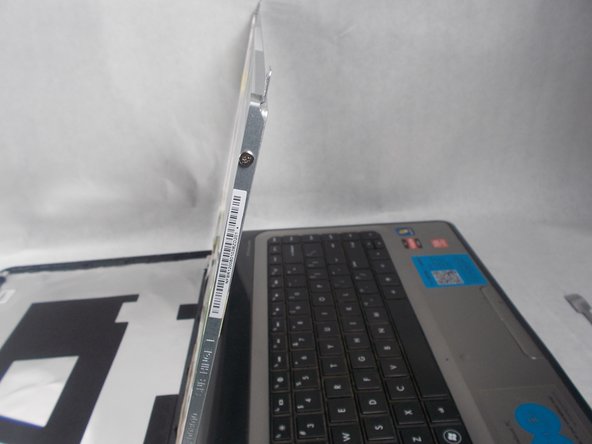
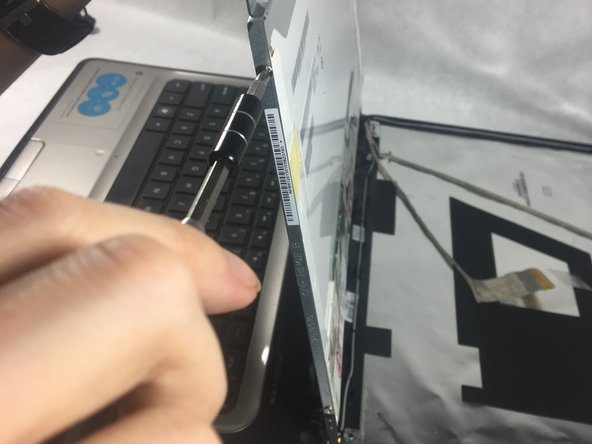
    7. HP Pavilion g4-1117dx Screen Replacement: step 9, image 1 of 1
      • Carefully remove the screen.

      Ask FixBot

      Add Comment

Conclusion

To reassemble your device, follow these instructions in reverse order.

Cancel: I did not complete this guide.

2 other people completed this guide.

Robert Hamilton

Member since: 03/01/18

1,213 Reputation

10 Guides authored

Team

2 Guide Comments

nice very informative

S i n o for pc - Reply Share

Uma pergunta pra colocar uma tela nova nesse mesmo modelo o processo de montagem e o mesmo que o de desmontagem ?

Maisa Mariana - Reply Share

Add Comment

View Statistics:

Past 24 Hours: 1

Past 7 Days: 8

Past 30 Days: 38

All Time: 1,344