Free Shipping on Domestic Orders $75+

HP Pavilion dv6-2158nr LCD Monitor Replacement

What you need

    1. HP Pavilion dv6-2158nr LCD Monitor Replacement, Battery: step 1, image 1 of 3 HP Pavilion dv6-2158nr LCD Monitor Replacement, Battery: step 1, image 2 of 3 HP Pavilion dv6-2158nr LCD Monitor Replacement, Battery: step 1, image 3 of 3
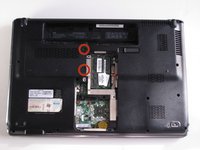
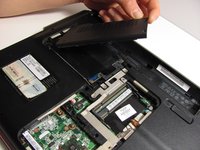
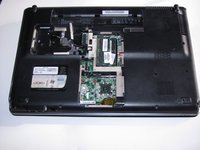
      • Locate the battery on the bottom side of the laptop.

      • Slide the release switch and the battery will pop out.

      • Remove the battery

      Ask FixBot

      Add Comment

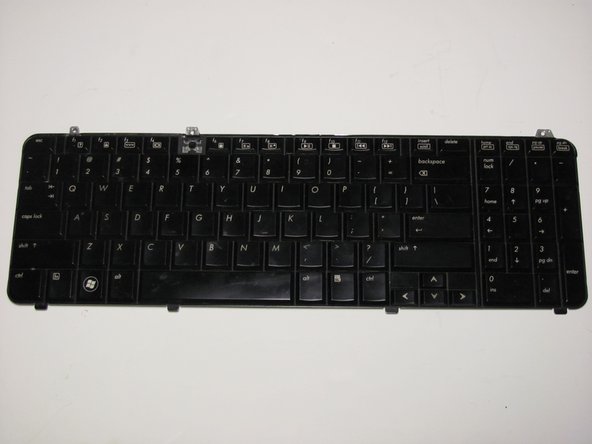
    1. HP Pavilion dv6-2158nr LCD Monitor Replacement, Keyboard: step 2, image 1 of 3 HP Pavilion dv6-2158nr LCD Monitor Replacement, Keyboard: step 2, image 2 of 3 HP Pavilion dv6-2158nr LCD Monitor Replacement, Keyboard: step 2, image 3 of 3
      • Using a Philips #1 Loosen the three 7mm captive screws that secure the memory module compartment cover to the computer.

      • Lift the rear edge of the cover, swing it up and to the front, and remove the cover.

      Ask FixBot

      Add Comment

    2. HP Pavilion dv6-2158nr LCD Monitor Replacement: step 3, image 1 of 2 HP Pavilion dv6-2158nr LCD Monitor Replacement: step 3, image 2 of 2
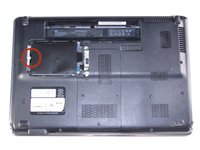
      • Loosen the two 6mm captive screws that secure the hard drive port bezel cover to the computer, using a Philips #1.

      • Lift the right side of the hard drive port bezel cover, swing it up and to the left, and remove the cover.

      Ask FixBot

      Add Comment

    3. HP Pavilion dv6-2158nr LCD Monitor Replacement: step 4, image 1 of 3 HP Pavilion dv6-2158nr LCD Monitor Replacement: step 4, image 2 of 3 HP Pavilion dv6-2158nr LCD Monitor Replacement: step 4, image 3 of 3
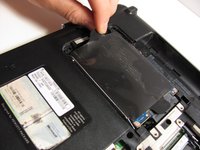
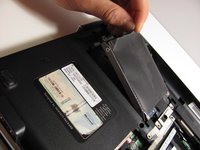
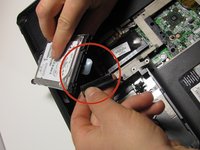
      • Use the Mylar tab to lift the hard drive up, and then slide it to the left to release it from the hard drive bay.

      Ask FixBot

      Add Comment

    4. HP Pavilion dv6-2158nr LCD Monitor Replacement: step 5, image 1 of 2 HP Pavilion dv6-2158nr LCD Monitor Replacement: step 5, image 2 of 2
      • Disconnect the hard drive cable from the system board.

      • Remove the hard drive from the hard drive bay and set it aside.

      Ask FixBot

      Add Comment

    5. HP Pavilion dv6-2158nr LCD Monitor Replacement: step 6, image 1 of 2 HP Pavilion dv6-2158nr LCD Monitor Replacement: step 6, image 2 of 2
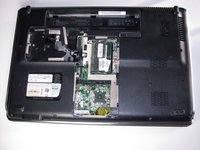
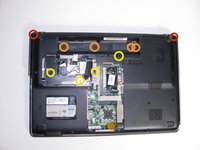
      • With laptop upside down locate the three sets of screws that fasten the keyboard and switch cover.

      • Two Phillips 7mm screws that secure the switch cover to the computer.

      • Four Phillips 4.0mm screws that secure the switch cover to the computer. (these are inside the battery bay)

      • Four Philips 7mm screws that secure the keyboard to the computer.

      • Remove all ten screws.

      Ask FixBot

      Add Comment

    6. HP Pavilion dv6-2158nr LCD Monitor Replacement: step 7, image 1 of 2 HP Pavilion dv6-2158nr LCD Monitor Replacement: step 7, image 2 of 2
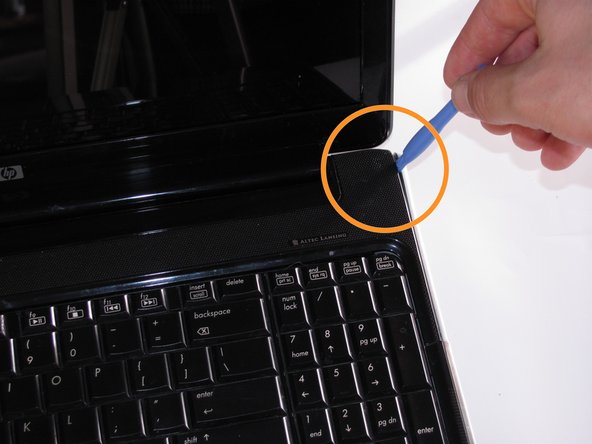
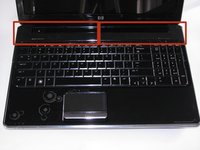
      • Turn the computer over, and locate the Switch Cover.

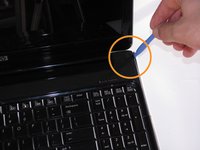
      • Using the Safe Pry Tool, un-clip the Switch Cover until it detaches from the computer.

      • The clips will need careful prying to unhook.

      Ask FixBot

      Add Comment

    7. HP Pavilion dv6-2158nr LCD Monitor Replacement: step 8, image 1 of 3 HP Pavilion dv6-2158nr LCD Monitor Replacement: step 8, image 2 of 3 HP Pavilion dv6-2158nr LCD Monitor Replacement: step 8, image 3 of 3
      • Slide the Switch Cover onto the LCD Monitor, exposing the Speaker Assembly.

      • There are two ribbon cables still attached to the speaker assembly

      • Detach the two ribbon cables from the speaker assembly.

      Ask FixBot

      Add Comment

    8. HP Pavilion dv6-2158nr LCD Monitor Replacement: step 9, image 1 of 3 HP Pavilion dv6-2158nr LCD Monitor Replacement: step 9, image 2 of 3 HP Pavilion dv6-2158nr LCD Monitor Replacement: step 9, image 3 of 3
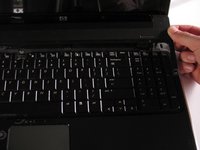
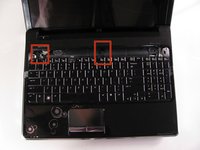
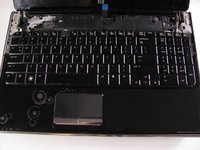
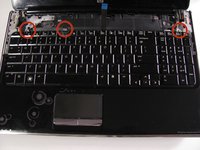
      • Remove the three silver Phillips 3.5mm screws that secure the keyboard to the computer.

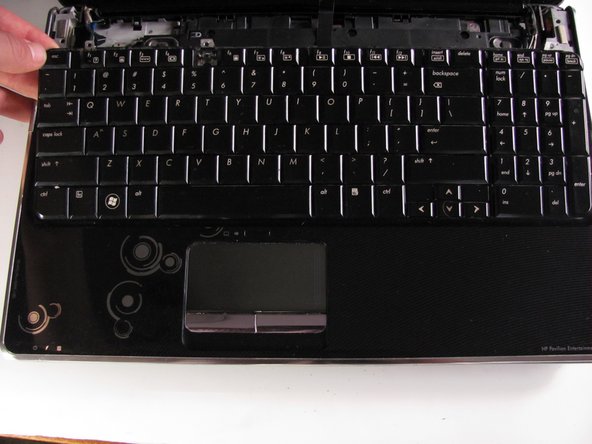
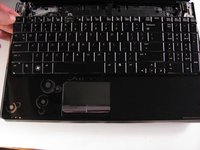
      • Lift the rear edge of the keyboard and slide the keyboard back until the keyboard connector on the system board is accessible.

      Ask FixBot

      Add Comment

    9. HP Pavilion dv6-2158nr LCD Monitor Replacement: step 10, image 1 of 3 HP Pavilion dv6-2158nr LCD Monitor Replacement: step 10, image 2 of 3 HP Pavilion dv6-2158nr LCD Monitor Replacement: step 10, image 3 of 3
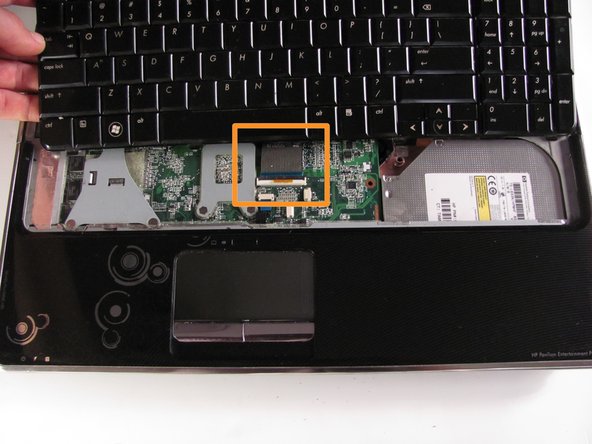
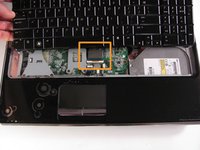
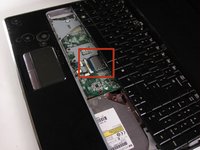
      • Unhinge the zero insertion force (ZIF) connector to release the ribbon cable then pull gently on the cable to release.

      • You need to unhinge the blue plastic to release the ribbon cable from the main board.

      • The keyboard can now be lifted off and set aside.

      Ask FixBot

      Add Comment

    1. HP Pavilion dv6-2158nr LCD Monitor Replacement, LCD Monitor: step 11, image 1 of 3 HP Pavilion dv6-2158nr LCD Monitor Replacement, LCD Monitor: step 11, image 2 of 3 HP Pavilion dv6-2158nr LCD Monitor Replacement, LCD Monitor: step 11, image 3 of 3
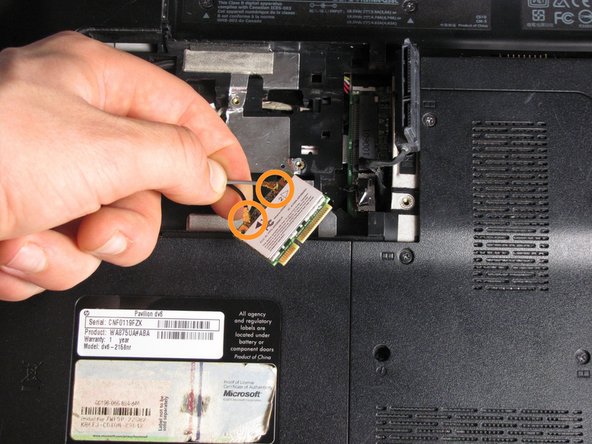
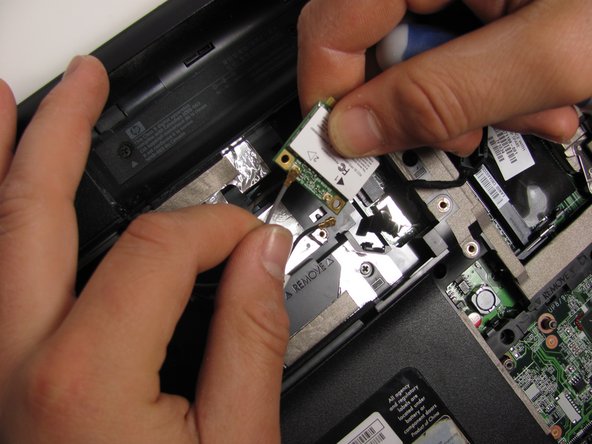
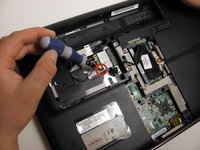
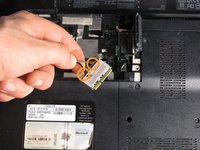
      • Remove the 3mm screw that secures the WLAN module to the computer. (The edge of the module opposite the slot rises away from the computer.)

      • Remove the WLAN module by pulling it away from the slot at an angle.

      • Disconnect the two WLAN antenna cables from the WLAN module.

      Ask FixBot

      Add Comment

    2. HP Pavilion dv6-2158nr LCD Monitor Replacement: step 12, image 1 of 3 HP Pavilion dv6-2158nr LCD Monitor Replacement: step 12, image 2 of 3 HP Pavilion dv6-2158nr LCD Monitor Replacement: step 12, image 3 of 3
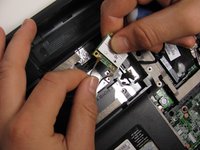
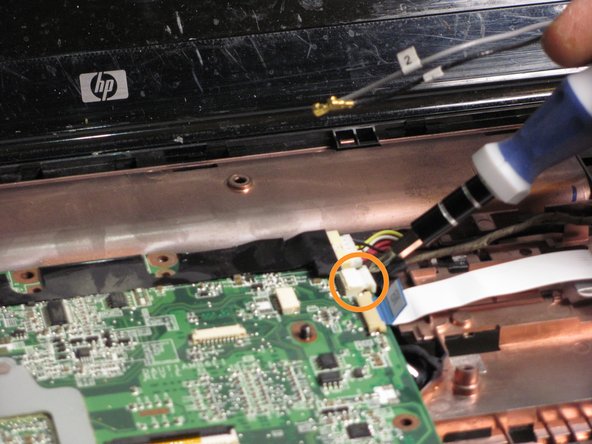
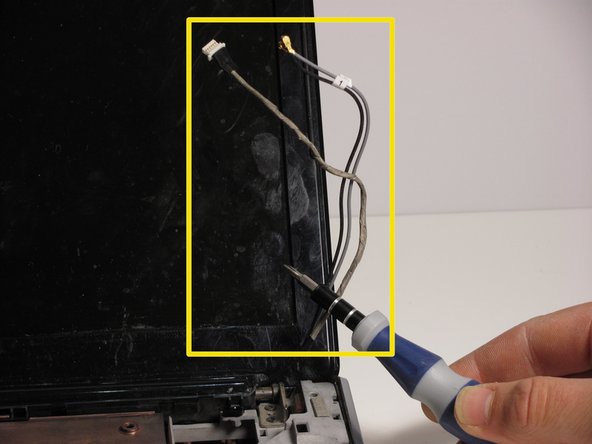
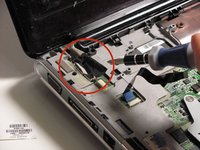
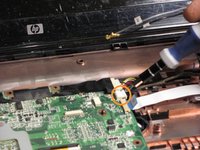
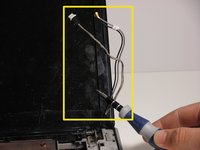
      • Disconnect the display panel cable by use pulling upward on cable tabs.

      • Disconnect the webcam/microphone cable from the system board.

      • Remove the WLAN antenna cables and the webcam/ microphone cable from the clips built into the top cover.

      Ask FixBot

      Add Comment

    3. HP Pavilion dv6-2158nr LCD Monitor Replacement: step 13, image 1 of 2 HP Pavilion dv6-2158nr LCD Monitor Replacement: step 13, image 2 of 2
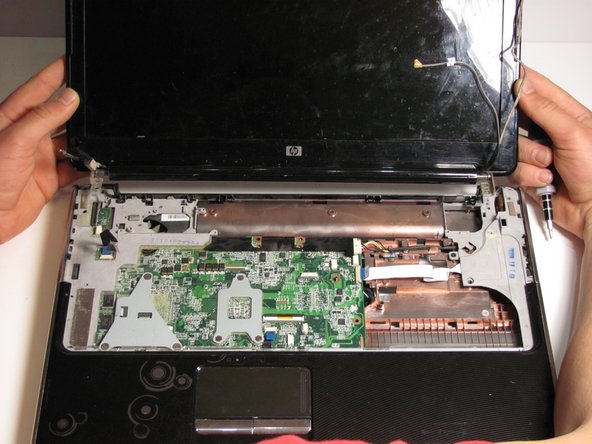
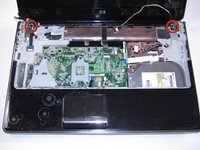
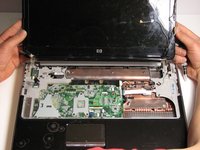
      • Remove the four Phillips 7mm screws that secure the display assembly to the computer.

      • Lift the display assembly straight up and remove it.

      Ask FixBot

      Add Comment

    4. HP Pavilion dv6-2158nr LCD Monitor Replacement: step 14, image 1 of 2 HP Pavilion dv6-2158nr LCD Monitor Replacement: step 14, image 2 of 2
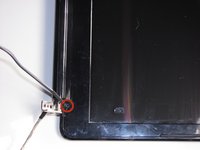
      • Remove the two Phillips 5mm screws that secure the display hinge to the display panel.

      • The screws are behind plastic stickers and are very easy to bend.

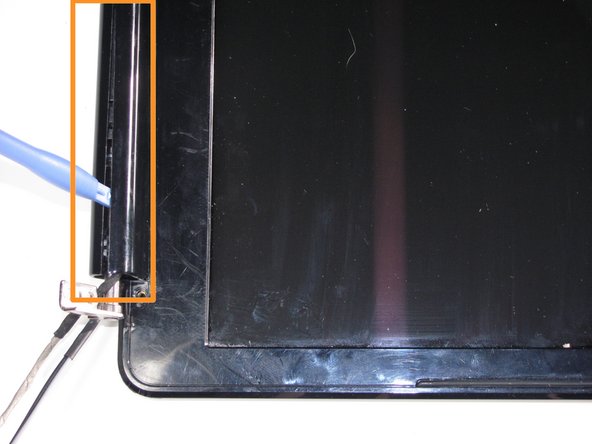
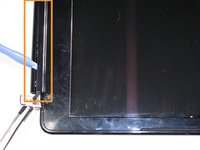
      • Use a prying tool to flex the plastic around the monitor display to release the clips holding the display case together.

      • Use caution when using prying tool and avoid damaging bezel clips.

      Ask FixBot

      Add Comment

    5. HP Pavilion dv6-2158nr LCD Monitor Replacement: step 15, image 1 of 1
      • Remove the display bezel to uncover the LCD display

      • Remove eight screws that fasten the LCD display.

      • two Phillips PM2.5×5.0 screws from the top corners.

      • six Phillips M2.5×5.0 screws from the display hinges

      Ask FixBot

      Add Comment

    6. HP Pavilion dv6-2158nr LCD Monitor Replacement: step 16, image 1 of 3 HP Pavilion dv6-2158nr LCD Monitor Replacement: step 16, image 2 of 3 HP Pavilion dv6-2158nr LCD Monitor Replacement: step 16, image 3 of 3
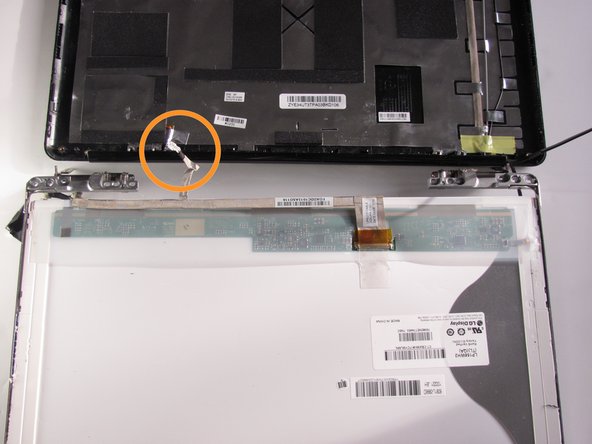
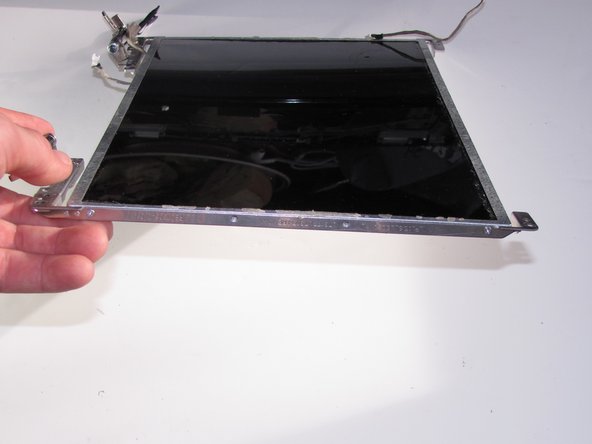
      • Flex the bottom of the display panel and release the display hinges

      • Place the LCD Monitor next to the display panel by flipping it over the display hinges.

      • Disconnect the display LED cable from the display panel cable and remove the display panel.

      Ask FixBot

      Add Comment

    7. HP Pavilion dv6-2158nr LCD Monitor Replacement: step 17, image 1 of 2 HP Pavilion dv6-2158nr LCD Monitor Replacement: step 17, image 2 of 2
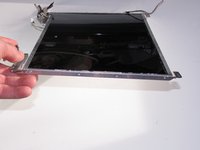
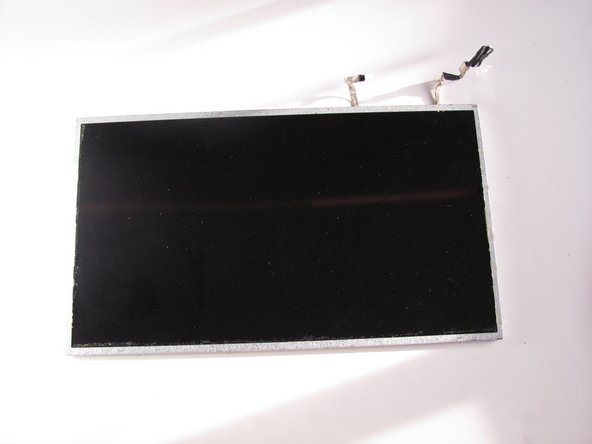
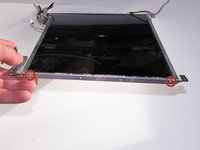
      • Using the Philips #1, Remove four 7mm screws from the LCD Monitor frame.

      • There are two screws on each side of the LCD Monitor.

      • Remove the LCD Monitor from the frame.

      Ask FixBot

      Add Comment

Conclusion

To reassemble your device, follow these instructions in reverse order.

Cancel: I did not complete this guide.

8 other people completed this guide.

Chad

Member since: 01/13/14

1,123 Reputation

6 Guides authored

Team

Cal Poly, Team 10-34, Maness Winter 2014 Member of Cal Poly, Team 10-34, Maness Winter 2014

CPSU-MANESS-W14S10G34

4 Members

72 Guides authored

0 Guide Comments

Add Comment

View Statistics:

Past 24 Hours: 0

Past 7 Days: 6

Past 30 Days: 29

All Time: 6,989