Free Shipping on Domestic Orders $75+

HP Pavilion dv1000 Hard Drive Replacement

What you need

    1. HP Pavilion dv1000 Hard Drive Replacement, Battery: step 1, image 1 of 1
      • Shut down the computer.

      • Disconnect all external devices and cables from the computer.

      Ask FixBot

      Add Comment

    2. HP Pavilion dv1000 Hard Drive Replacement: step 2, image 1 of 1
      • Flip the laptop over.

      Ask FixBot

      Add Comment

    3. HP Pavilion dv1000 Hard Drive Replacement: step 3, image 1 of 2 HP Pavilion dv1000 Hard Drive Replacement: step 3, image 2 of 2
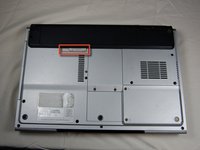
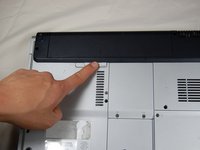
      • Locate the gray sliding tab next to the black bar where the battery is located.

      • Slide the gray sliding tab to the left until you hear a distinct click.

      • The inside edge of the battery should pop up.

      Ask FixBot

      Add Comment

    4. HP Pavilion dv1000 Hard Drive Replacement: step 4, image 1 of 3 HP Pavilion dv1000 Hard Drive Replacement: step 4, image 2 of 3 HP Pavilion dv1000 Hard Drive Replacement: step 4, image 3 of 3
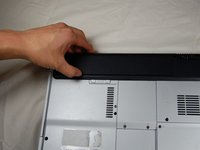
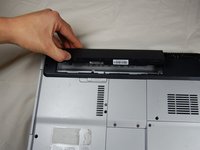
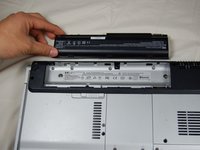
      • Grasp the inside edge of the battery.

      • Lift the inside edge of the battery up to detach the battery from the laptop.

      Ask FixBot

      Add Comment

    1. HP Pavilion dv1000 Hard Drive Replacement, Hard Drive: step 5, image 1 of 1
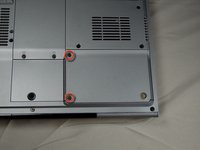
      • With the battery removed, locate the hard drive access panel.

      Ask FixBot

      Add Comment

    2. HP Pavilion dv1000 Hard Drive Replacement: step 6, image 1 of 3 HP Pavilion dv1000 Hard Drive Replacement: step 6, image 2 of 3 HP Pavilion dv1000 Hard Drive Replacement: step 6, image 3 of 3
      • Identify the two screws that attach the hard drive access panel.

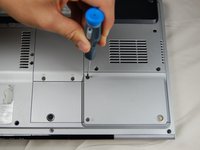
      • Remove the identified screws with your #00 Philips screwdriver.

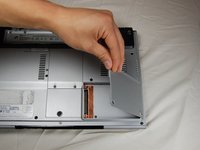
      • Lift the left edge of the access panel up and to the right to detach the hard drive access panel from the laptop.

      Ask FixBot

      Add Comment

    3. HP Pavilion dv1000 Hard Drive Replacement: step 7, image 1 of 1
      • This particular laptop does not contain a hard drive-- yours will.

      • Identify the plastic tab located on the left side of the hard drive.

      • Grasp the tab, gently lift up, and slide the tab to the left to remove the hard drive from the laptop.

      • If you wish to replace your hard drive with another, the hard drive has a metal bracket screwed onto the sides of the casing. Unscrew the bracket from the old hard drive and screw it onto the new hard drive before inserting into the laptop.

      Ask FixBot

      Add Comment

Conclusion

To reassemble your device, follow these instructions in reverse order.

Cancel: I did not complete this guide.

4 other people completed this guide.

John Park

Member since: 04/06/11

276 Reputation

2 Guides authored

Team

Cal Poly, Team 10-37, Forte Spring 2011 Member of Cal Poly, Team 10-37, Forte Spring 2011

CPSU-FORTE-S11S10G37

5 Members

96 Guides authored

1 Guide Comment

Worked as advertised. Thank you! I wanted to recover the drive before sending off to e-waste recyclers

gresquer - Reply Share

Add Comment

View Statistics:

Past 24 Hours: 2

Past 7 Days: 14

Past 30 Days: 43

All Time: 13,104