Free Shipping on Domestic Orders $75+

HP Pavilion N3350 Screen Assembly Replacement

What you need

    1. HP Pavilion N3350 Screen Assembly Replacement, Screen Assembly: step 1, image 1 of 2 HP Pavilion N3350 Screen Assembly Replacement, Screen Assembly: step 1, image 2 of 2
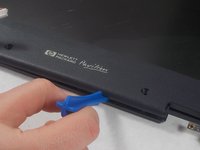
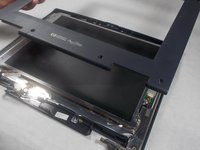
      • Open your laptop. Beneath the screen, there is a large plastic piece that contains slots for a speaker, the power button, and numerous indicator lights.

      • To remove this, pry it open with a spudger tool gently. It should pop out of place.

      Ask FixBot

      Add Comment

    2. HP Pavilion N3350 Screen Assembly Replacement: step 2, image 1 of 2 HP Pavilion N3350 Screen Assembly Replacement: step 2, image 2 of 2
      • Gently use a spudger tool or your fingers to disconnect the LCD cable from the screen.

      • This is one of three connectors that needs to be undone to disconnect the screen from the laptop.

      Ask FixBot

      Add Comment

    3. HP Pavilion N3350 Screen Assembly Replacement: step 3, image 1 of 3 HP Pavilion N3350 Screen Assembly Replacement: step 3, image 2 of 3 HP Pavilion N3350 Screen Assembly Replacement: step 3, image 3 of 3
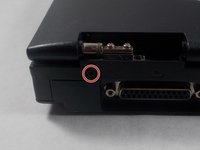
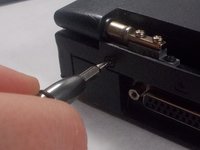
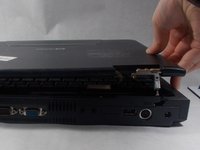
      • Remove the 1 cm screw with a Phillips #1 screwdriver to allow the screen and top of the laptop to be separated from the keyboard and bottom.

      • Lift the entire top away from the bottom, and set bottom half of the laptop aside.

      Ask FixBot

      Add Comment

    4. HP Pavilion N3350 Screen Assembly Replacement: step 4, image 1 of 3 HP Pavilion N3350 Screen Assembly Replacement: step 4, image 2 of 3 HP Pavilion N3350 Screen Assembly Replacement: step 4, image 3 of 3
      • Remove the 6 rubber screw caps with a metal spudger.

      • After removing the 6 rubber screw caps, use a Phillips #1 screwdriver to unscrew the six 6mm screws.

      Ask FixBot

      Add Comment

    5. HP Pavilion N3350 Screen Assembly Replacement: step 5, image 1 of 2 HP Pavilion N3350 Screen Assembly Replacement: step 5, image 2 of 2
      • To separate the plastic cover, use a plastic opening tool to undo each plastic connecting clip between the two.

      • You can find the plastic connecting clips by sliding the plastic opening tool along the seam between the two plastic covers.

      • Remove the top plastic cover once all connections have been released.

      Ask FixBot

      Add Comment

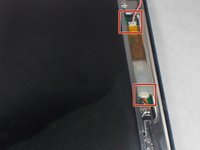
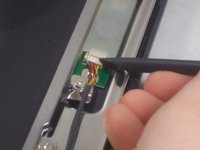
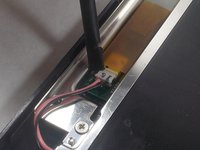
    6. HP Pavilion N3350 Screen Assembly Replacement: step 6, image 1 of 3 HP Pavilion N3350 Screen Assembly Replacement: step 6, image 2 of 3 HP Pavilion N3350 Screen Assembly Replacement: step 6, image 3 of 3
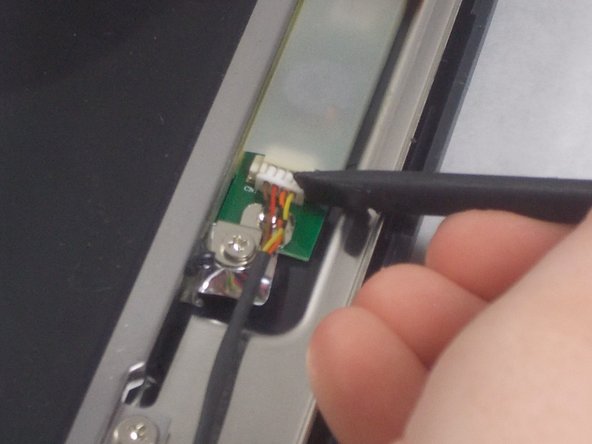
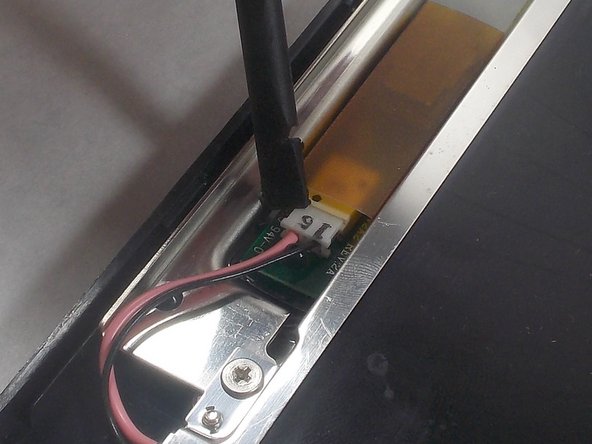
      • Disconnect the connectors using a plastic opening tool.

      • Once these two connectors are released, the screen should be electronically freed from the rest of the laptop.

      Ask FixBot

      Add Comment

    7. HP Pavilion N3350 Screen Assembly Replacement: step 7, image 1 of 1
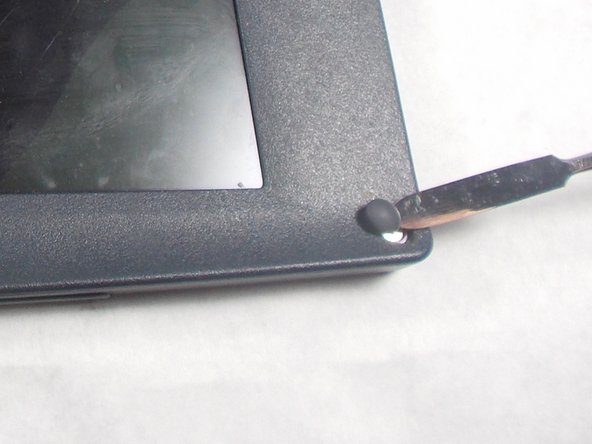
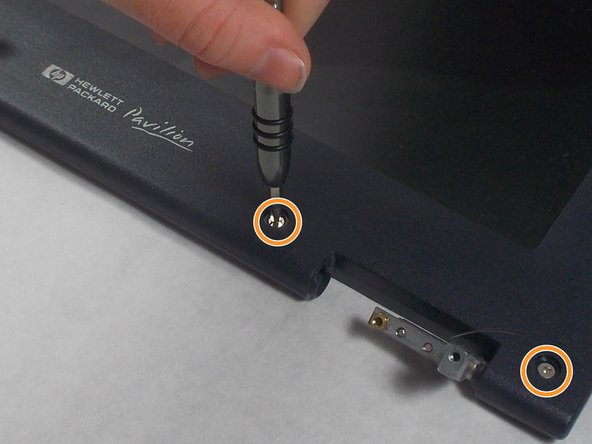
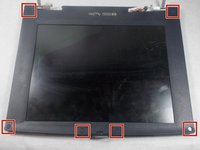
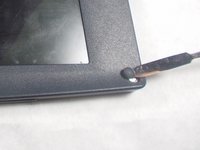
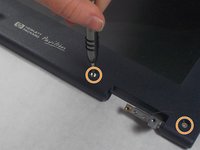
      • At each corner, there is a 1 centimeter silver screw connecting the screen frame to the laptop. Remove these using a Phillips #1 Screwdriver.

      Ask FixBot

      Add Comment

    8. HP Pavilion N3350 Screen Assembly Replacement: step 8, image 1 of 3 HP Pavilion N3350 Screen Assembly Replacement: step 8, image 2 of 3 HP Pavilion N3350 Screen Assembly Replacement: step 8, image 3 of 3
      Tool used on this step:
      Tweezers
      $4.99
      Buy
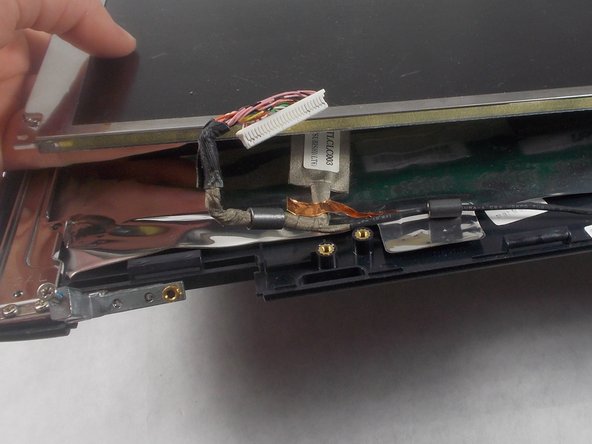
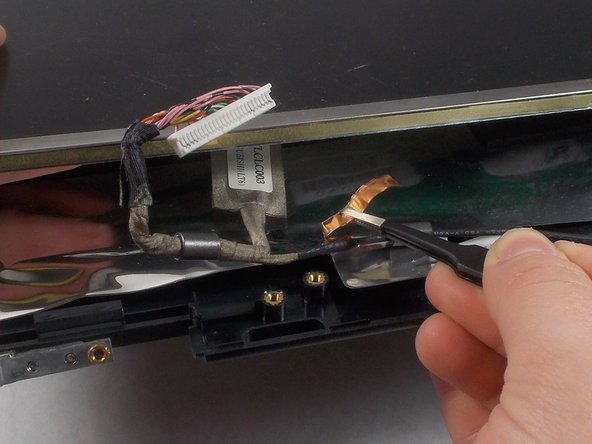
      • There should be thin piece of copper 'tape' holding the LCD cable down. Remove this gently with tweezers.

      • Remove the screen from the device.

      Ask FixBot

      Add Comment

Conclusion

To reassemble your device, follow these instructions in reverse order.

Cancel: I did not complete this guide.

One other person completed this guide.

Emily Hatstat

Member since: 03/19/18

481 Reputation

4 Guides authored

Team

0 Guide Comments

Add Comment

View Statistics:

Past 24 Hours: 1

Past 7 Days: 8

Past 30 Days: 33

All Time: 615