
HP Pavilion G60-630US Power Button Replacement
![[deleted]](https://assets.cdn.ifixit.com/static/images/avatars/User/ifixit/avatar-11.thumbnail)
[deleted] and 2 other contributors
Last updated on Dec 18, 2017
Views: 2.9K
View statistics:
- Past 24 Hours:
- 4
- Past 7 Days:
- 34
- Past 30 Days:
- 116
- All Time:
- 2,946
Comments: 3
2 comments on steps, 1 guide comment.
Go to guide commentsCompleted: 0 1
No one has marked this guide "completed." Will you be the first?
1 person has marked this guide "completed." It's you — great job!
Favorites: 0 1
No one has favorited (and subscribed to) this guide. Will you be the first?
1 person has favorited (and subscribed to) this guide — and that's you!
Introduction
Go to step 1 ↓The power button may not be turning on the laptop. There may be a disconnect of wires or the power bar chip may be defective. If the power button is not working or broken and it needs to be replaced, the following steps show how to replace the components that make the power button work.
What you need
Tools
-
Spudger4.9


-
-
-
Turn your laptop over so the bottom is facing up.
-
Locate the battery latch and slide the latch switch all the way to the left.
 Ask FixBot
-
-
-
-
-
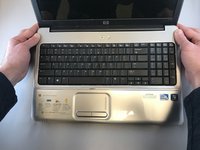
Open the laptop normally.
-
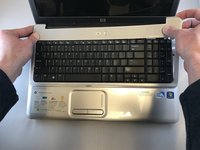
Using your fingers (or a spudger if needed), loosen the silver cover surrounding the keyboard.
-
-
-
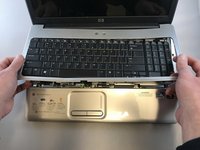
Carefully place your hands underneath the now loosened keyboard and locate the ribbon keeping the keyboard connected to the laptop.
-
Locate the tabs keeping the ribbon in place.
-
Gently push the tabs inward to release the ribbon and to detach the keyboard.
-
Carefully remove the keyboard and place it off to the side.
-
-
-
-
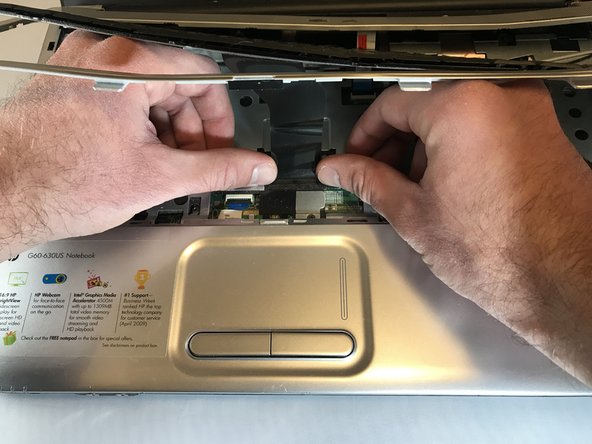
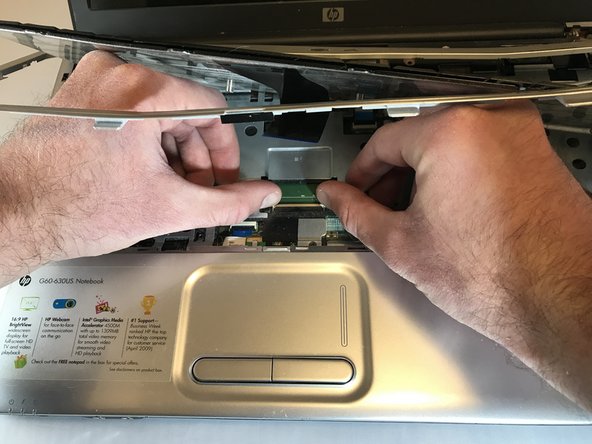
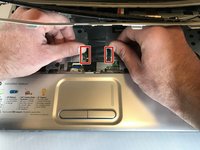
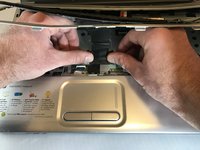
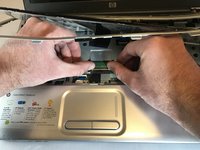
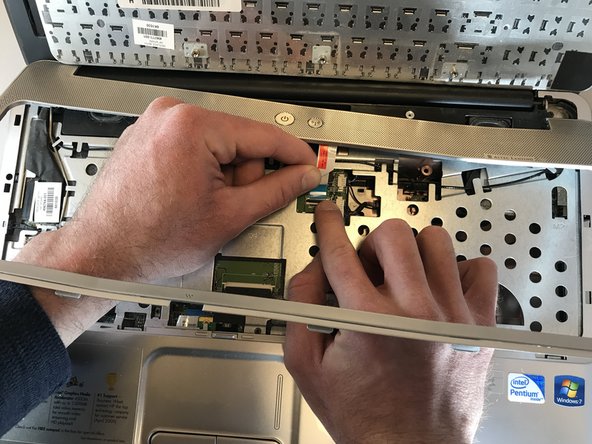
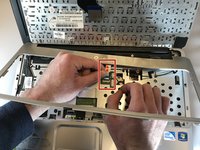
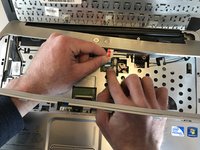
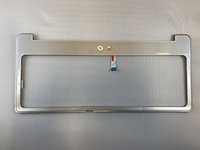
Locate the ribbon keeping the power button attached to the laptop.
-
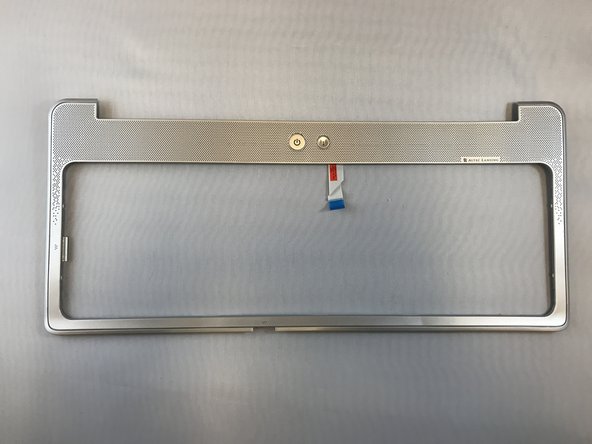
Push the tab attaching the ribbon to the laptop to detach the silver border and the power button.
-
-
-
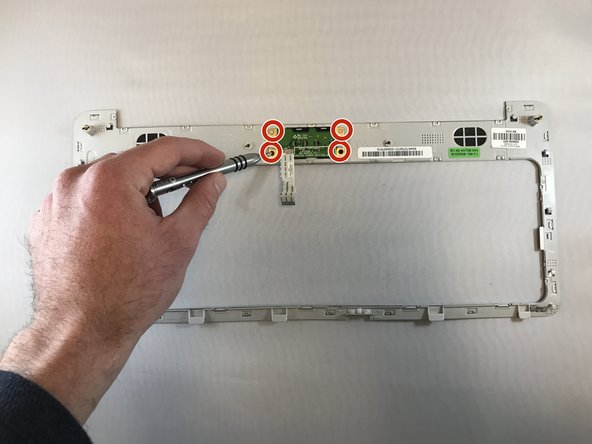
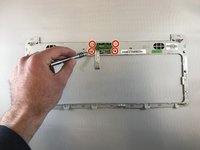
Flip the silver border over to expose the underside of the power bar.
-
Unscrew the 4 screws keeping the power bar in place. Place the screws off the the side.
-
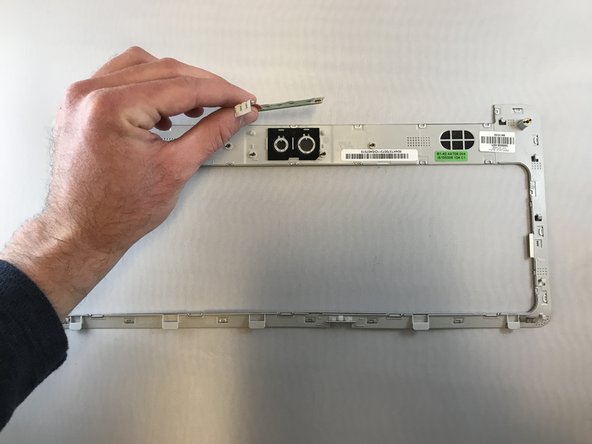
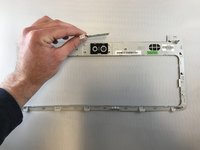
Carefully remove the power bar.
-
-





To reassemble your device, follow these instructions in reverse order.

1 Guide Comment
You have neglected to speak about removal of 5 screws from the bottom of the laptop! 3 inside the battery compartment and 2 on the corners of the laptop. Removal of these allow removal of the bezel and keyboard. Failure to remove these screws will cause damage to the keyboard and bezel!
