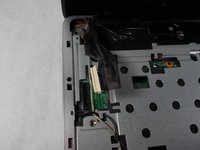
Free Shipping on Domestic Orders $75+

HP Pavilion G60-247CL Fan Replacement

Views: 648

View statistics:

Past 24 Hours:
1
Past 7 Days:
12
Past 30 Days:
67
All Time:
648
Comments: 0

No one has left comments on this guide. Will you be first?

Go to guide comments
Completed: 0

No one has marked this guide "completed." Will you be the first?

Favorites: 0

No one has favorited (and subscribed to) this guide. Will you be the first?

Time Required: 45 minutes
Difficulty: Difficult
Scenic Route

This guide's procedure isn't the most efficient way to get the job done, but still may be useful in some circumstances.

Needs Better Images

Better photos will improve this guide. Help out by taking, editing, or uploading new ones!

Step Trimmer

This guide has unnecessary steps. Trim them to be more concise!

Better Introduction

Improve this guide by completing or revising its introduction.

HP Pavilion G60-247CL Fan Replacement

Introduction

Go to step 1 ↓

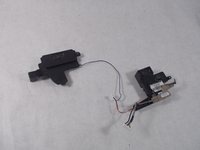
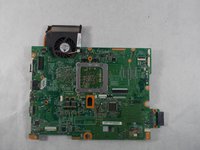
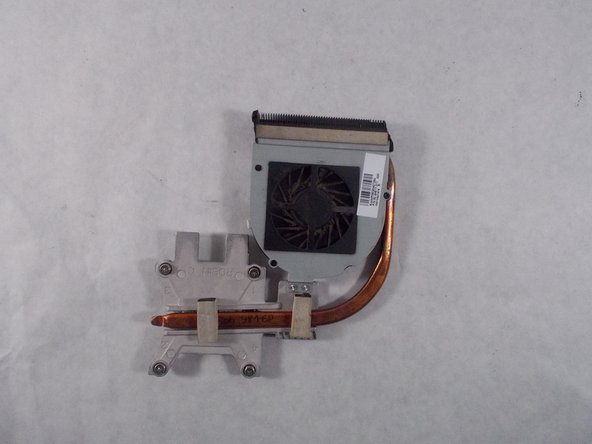
This guide will show you how to replace the fan of the HP Pavilion G60-247CL.

What you need

Tools

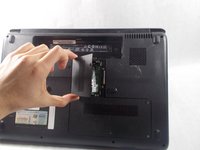
    1. HP Pavilion G60-247CL Fan Replacement, Battery: step 1, image 1 of 3 HP Pavilion G60-247CL Fan Replacement, Battery: step 1, image 2 of 3 HP Pavilion G60-247CL Fan Replacement, Battery: step 1, image 3 of 3
      • Press down and to the right on the battery lock slide.

      • Once slid over to the right the battery will pop up and out.

      Ask FixBot

      Add Comment

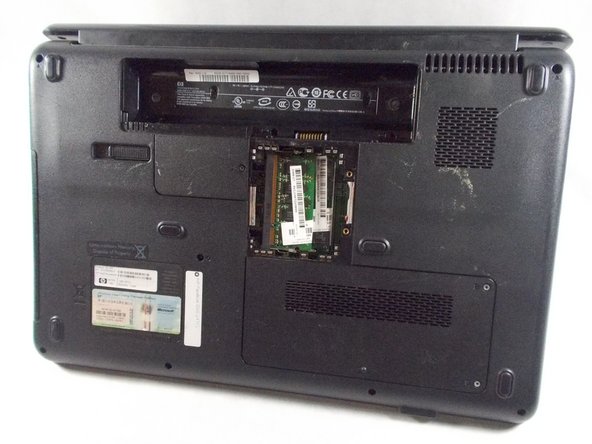
    1. HP Pavilion G60-247CL Fan Replacement, RAM: step 2, image 1 of 1
      • Locate RAM access door on the bottom side of the laptop.

      Ask FixBot

      Add Comment

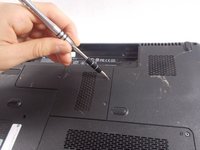
    2. HP Pavilion G60-247CL Fan Replacement: step 3, image 1 of 3 HP Pavilion G60-247CL Fan Replacement: step 3, image 2 of 3 HP Pavilion G60-247CL Fan Replacement: step 3, image 3 of 3
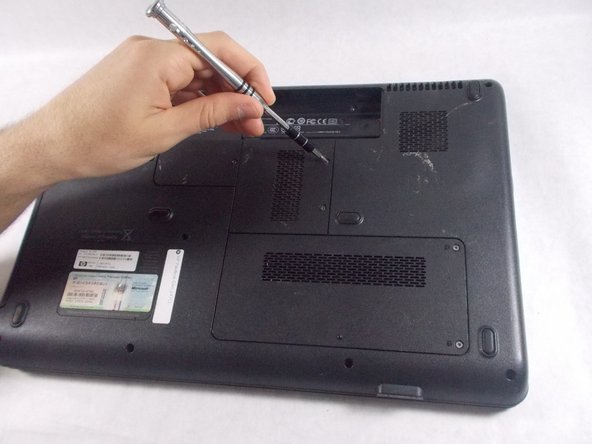
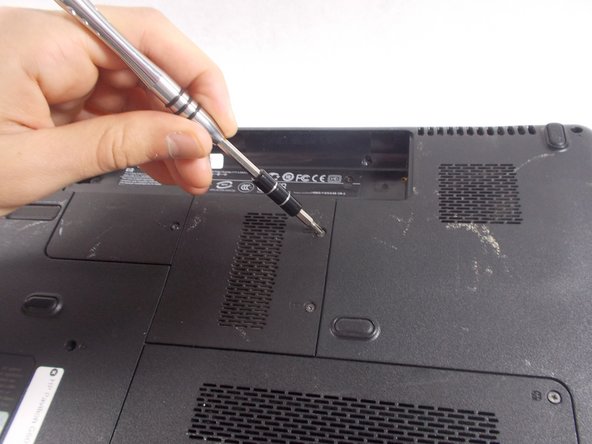
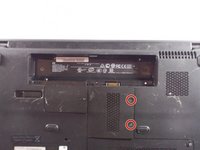
      • Remove the two screws holding down the RAM access door with a Phillips #1 screwdriver.

      Ask FixBot

      Add Comment

    3. HP Pavilion G60-247CL Fan Replacement: step 4, image 1 of 2 HP Pavilion G60-247CL Fan Replacement: step 4, image 2 of 2
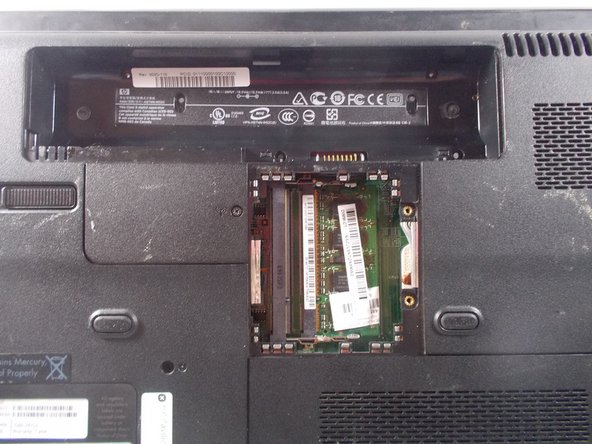
      • Lift up on the RAM cover and remove it to reveal RAM sticks.

      Ask FixBot

      Add Comment

    4. HP Pavilion G60-247CL Fan Replacement: step 5, image 1 of 2 HP Pavilion G60-247CL Fan Replacement: step 5, image 2 of 2
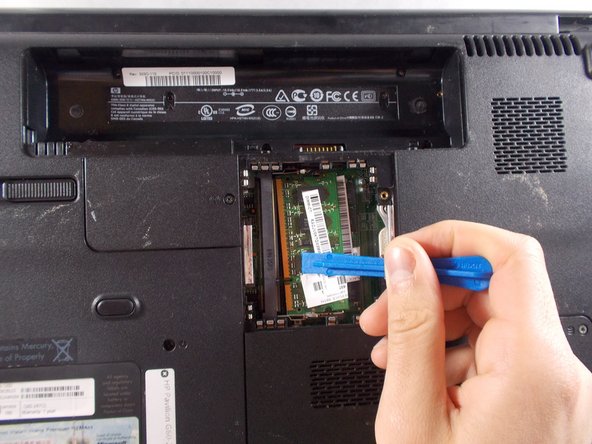
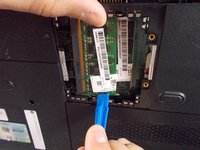
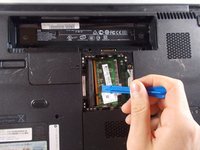
      • Gently pull apart the two metal tabs located on both sides of the stick of RAM.

      Ask FixBot

      Add Comment

    5. HP Pavilion G60-247CL Fan Replacement: step 6, image 1 of 1
      • Gently lift the RAM stick up and out of its seat.

      Ask FixBot

      Add Comment

    6. HP Pavilion G60-247CL Fan Replacement: step 7, image 1 of 1
      • Repeat the previous two steps for the remaining stick of RAM.

      Ask FixBot

      Add Comment

    1. HP Pavilion G60-247CL Fan Replacement, Screen: step 8, image 1 of 1
      • Remove the seven Phillips #1 screws from the back side of the laptop.

      Ask FixBot

      Add Comment

    2. HP Pavilion G60-247CL Fan Replacement: step 9, image 1 of 2 HP Pavilion G60-247CL Fan Replacement: step 9, image 2 of 2
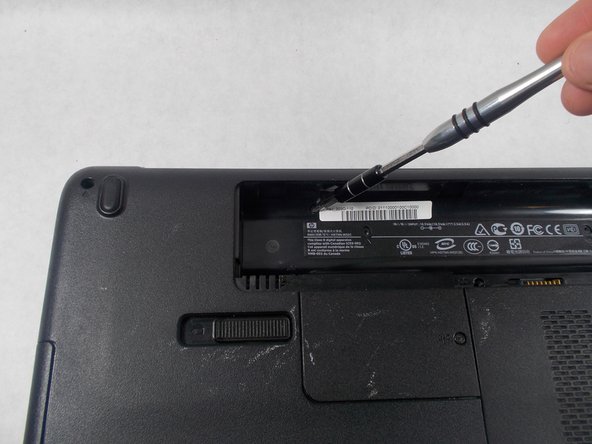
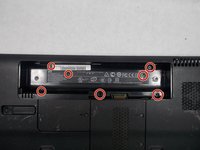
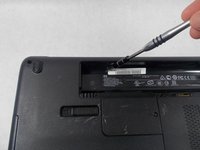
      • Remove the seven Phillips #0 screws from the battery compartment.

      Ask FixBot

      Add Comment

    3. HP Pavilion G60-247CL Fan Replacement: step 10, image 1 of 3 HP Pavilion G60-247CL Fan Replacement: step 10, image 2 of 3 HP Pavilion G60-247CL Fan Replacement: step 10, image 3 of 3
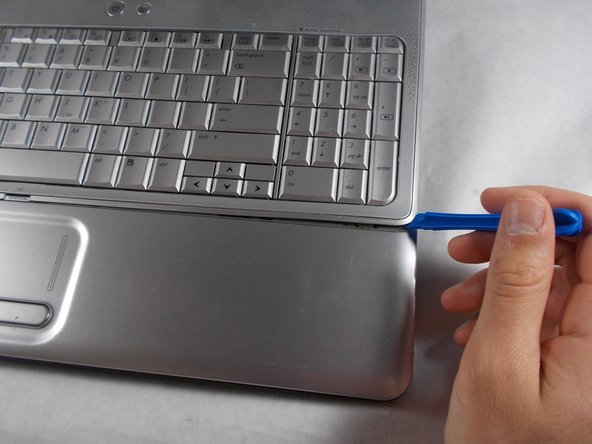
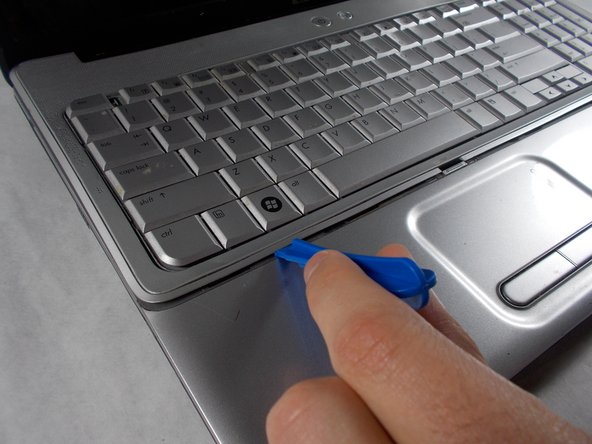
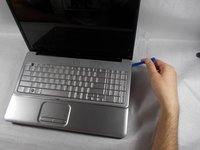
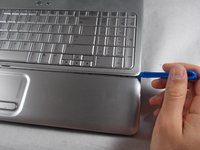
      • Turn the computer around to the front side.

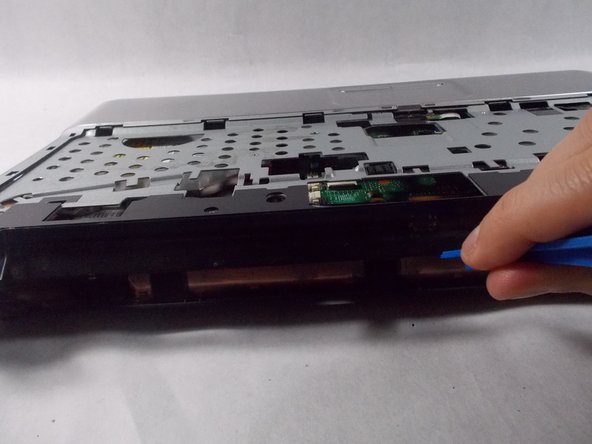
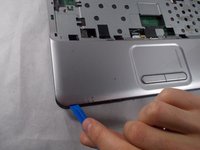
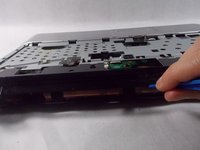
      • Using an opening tool, prop open the keyboard casing.

      Ask FixBot

      Add Comment

    4. HP Pavilion G60-247CL Fan Replacement: step 11, image 1 of 3 HP Pavilion G60-247CL Fan Replacement: step 11, image 2 of 3 HP Pavilion G60-247CL Fan Replacement: step 11, image 3 of 3
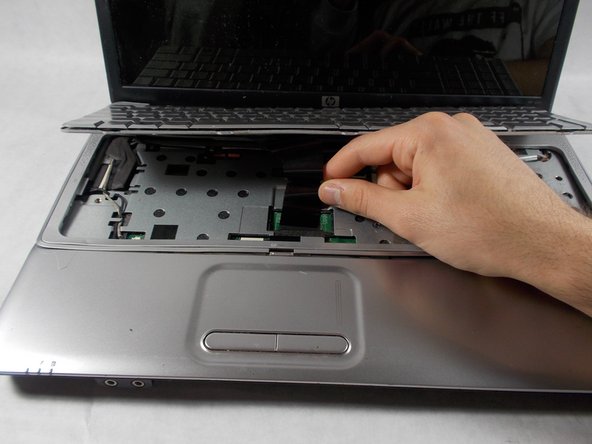
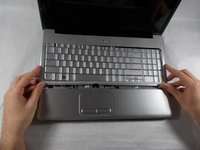
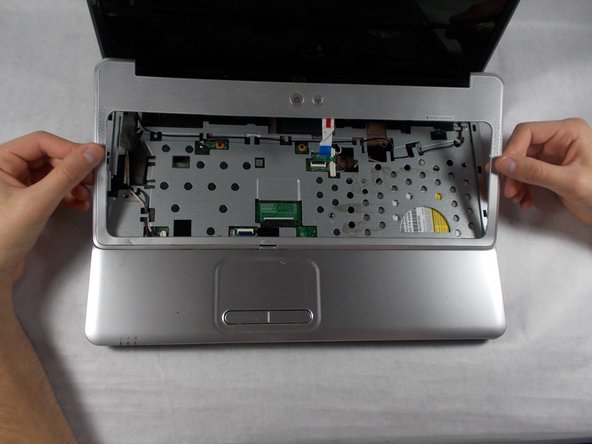
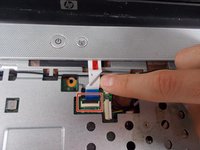
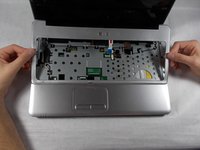
      • Carefully lift up the keyboard.

      • Gently pull up the connecting wire clip (located in the middle) to completely detach the keyboard.

      Ask FixBot

      Add Comment

    5. HP Pavilion G60-247CL Fan Replacement: step 12, image 1 of 3 HP Pavilion G60-247CL Fan Replacement: step 12, image 2 of 3 HP Pavilion G60-247CL Fan Replacement: step 12, image 3 of 3
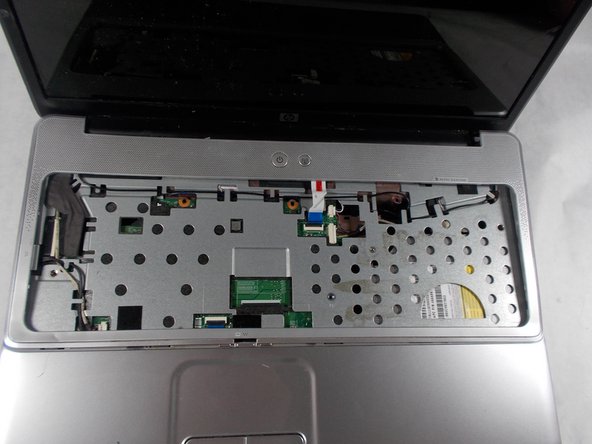
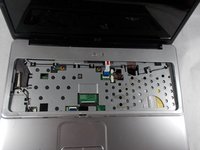
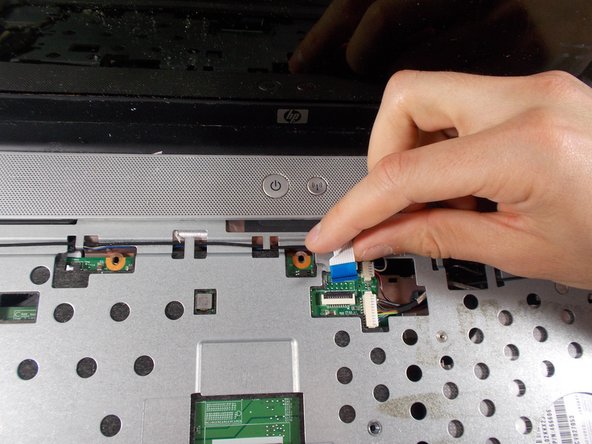
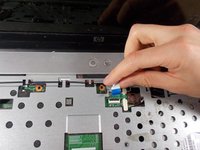
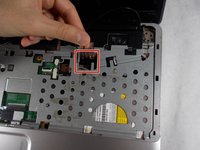
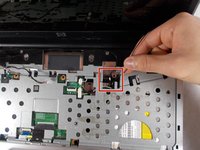
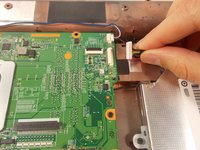
      • At the top right of the laptop there will be another wire clip holding the keyboard casing.

      • Carefully pull out the wire clip to fully detach the covering.

      Ask FixBot

      Add Comment

    6. HP Pavilion G60-247CL Fan Replacement: step 13, image 1 of 2 HP Pavilion G60-247CL Fan Replacement: step 13, image 2 of 2
      Tool used on this step:
      Tweezers
      $4.99
      Buy
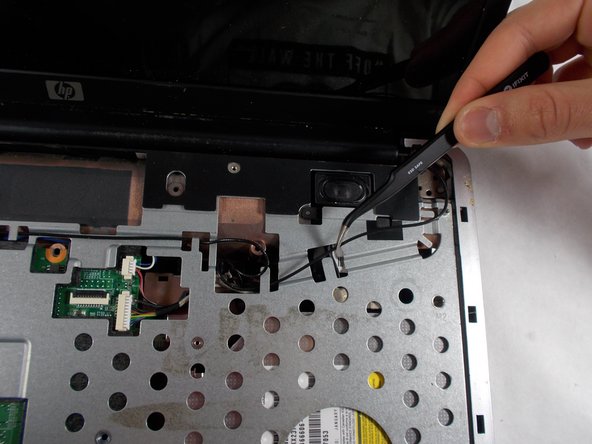
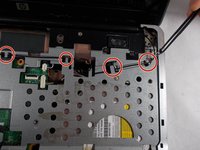
      • At the top right of the laptop remove the black wire from under the metal tabs using the tweezers.

      Ask FixBot

      Add Comment

    7. HP Pavilion G60-247CL Fan Replacement: step 14, image 1 of 2 HP Pavilion G60-247CL Fan Replacement: step 14, image 2 of 2
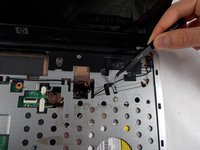
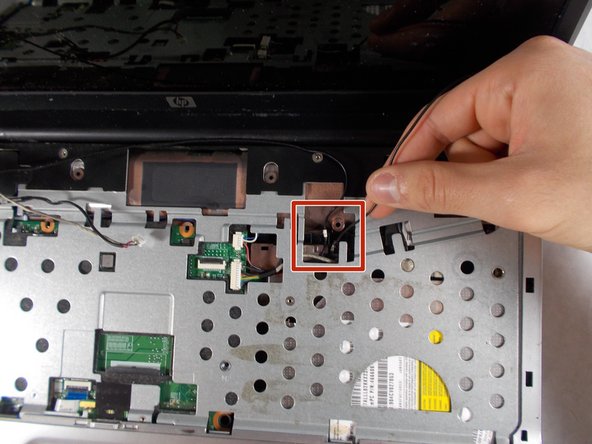
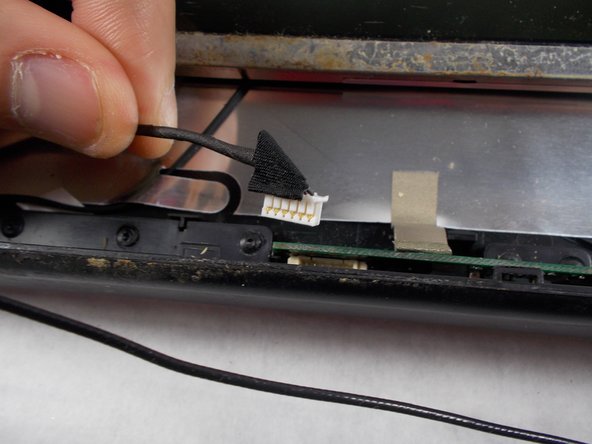
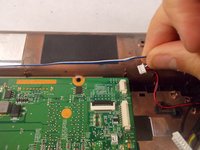
      • Remove the black wire from the top right corner by gently pulling outward.

      Ask FixBot

      Add Comment

    8. HP Pavilion G60-247CL Fan Replacement: step 15, image 1 of 2 HP Pavilion G60-247CL Fan Replacement: step 15, image 2 of 2
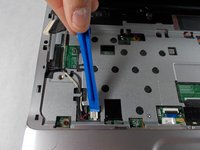
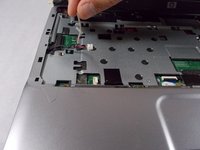
      • At the top left of the computer remove the black clip using the opening tool.

      • Push the opening tool to the right to pop out the clip.

      Ask FixBot

      Add Comment

    9. HP Pavilion G60-247CL Fan Replacement: step 16, image 1 of 3 HP Pavilion G60-247CL Fan Replacement: step 16, image 2 of 3 HP Pavilion G60-247CL Fan Replacement: step 16, image 3 of 3
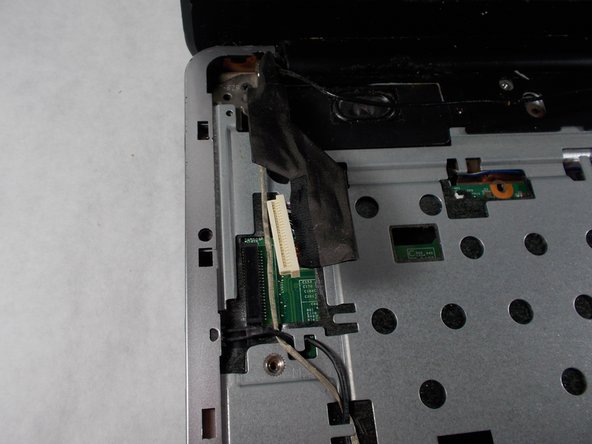
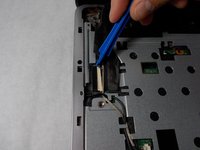
      • Locate at the bottom left of the computer a white clip.

      • Using an opening tool, prop out the white clip.

      Ask FixBot

      Add Comment

    10. HP Pavilion G60-247CL Fan Replacement: step 17, image 1 of 2 HP Pavilion G60-247CL Fan Replacement: step 17, image 2 of 2
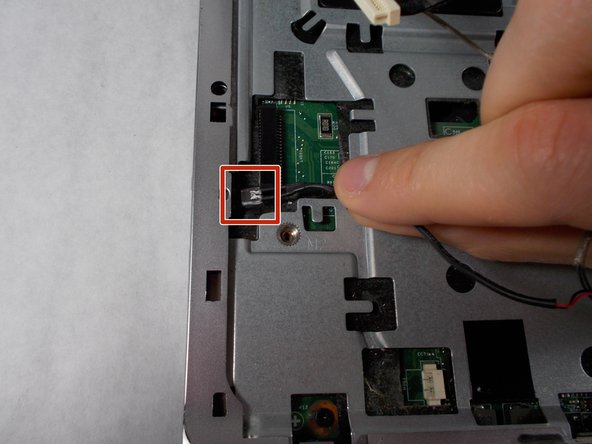
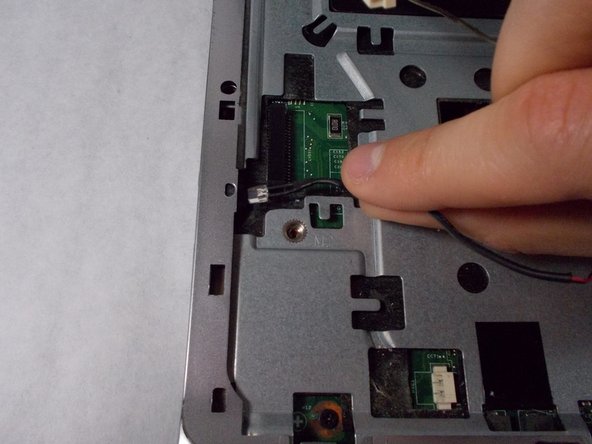
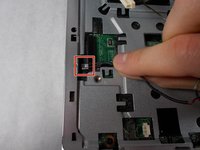
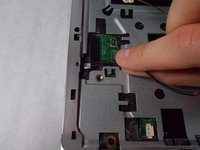
      • On the left side of the computer locate the black wire with the clear clip.

      • Gently pull the wire to the right to detach it.

      Ask FixBot

      Add Comment

    11. HP Pavilion G60-247CL Fan Replacement: step 18, image 1 of 3 HP Pavilion G60-247CL Fan Replacement: step 18, image 2 of 3 HP Pavilion G60-247CL Fan Replacement: step 18, image 3 of 3
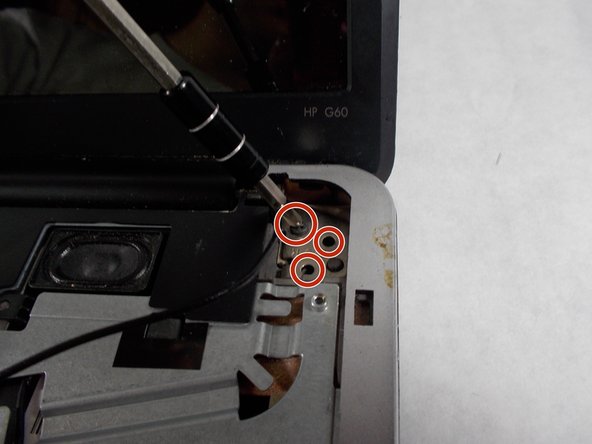
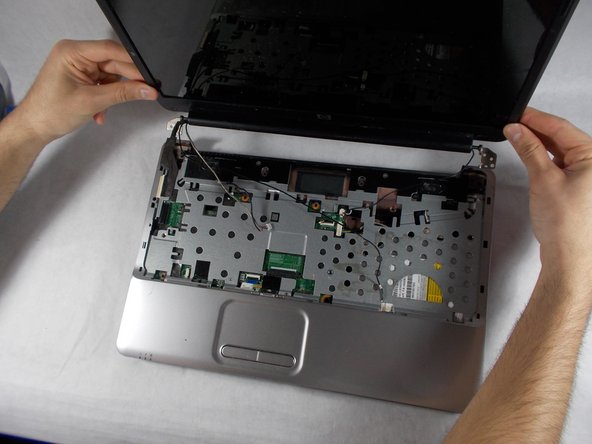
      • At the top corners of the computer, unscrew the three Phillips #0 screws.

      • Lift up the top half of the computer carefully.

      Ask FixBot

      Add Comment

    12. HP Pavilion G60-247CL Fan Replacement: step 19, image 1 of 3 HP Pavilion G60-247CL Fan Replacement: step 19, image 2 of 3 HP Pavilion G60-247CL Fan Replacement: step 19, image 3 of 3
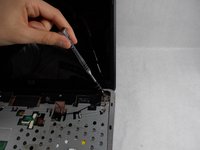
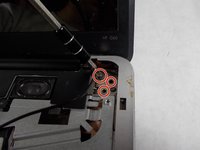
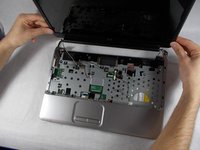
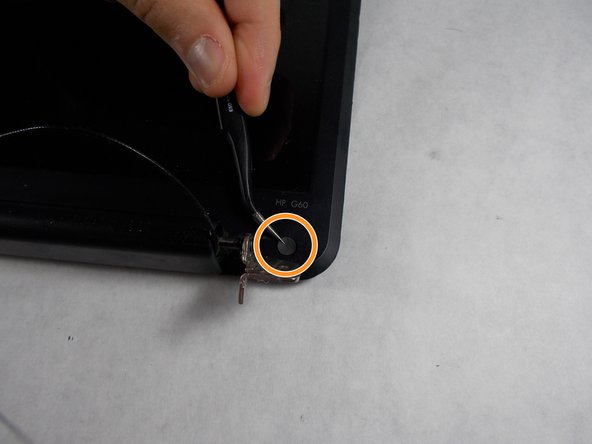
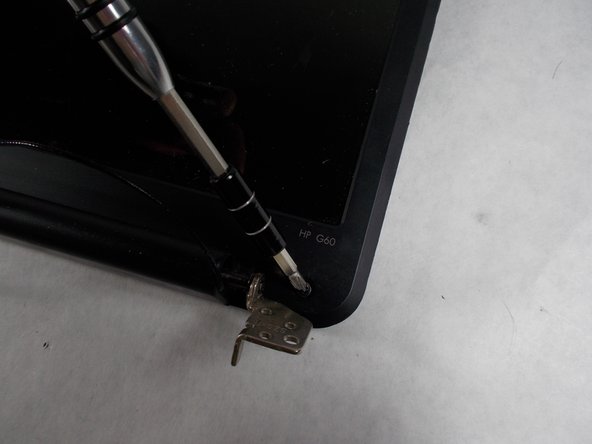
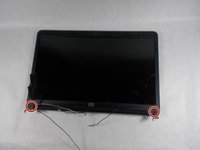
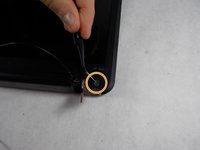
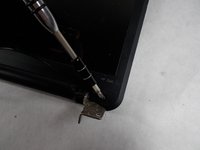
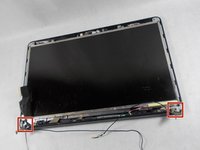
      • Locate the two screws at the bottom corners of the screen.

      • Using the tweezers remove the rubber black covering over the screw.

      • Remove the two Phillips #0 screws.

      Ask FixBot

      Add Comment

    13. HP Pavilion G60-247CL Fan Replacement: step 20, image 1 of 3 HP Pavilion G60-247CL Fan Replacement: step 20, image 2 of 3 HP Pavilion G60-247CL Fan Replacement: step 20, image 3 of 3
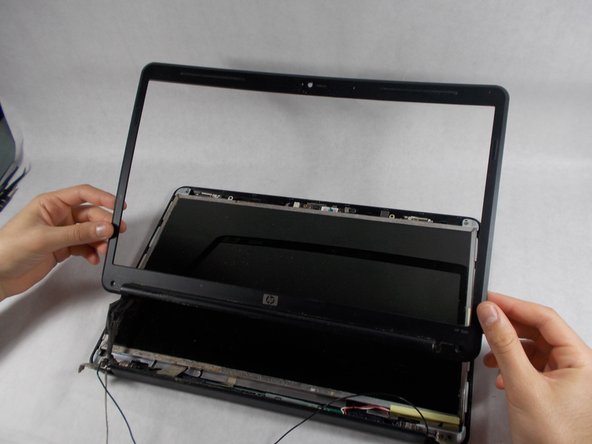
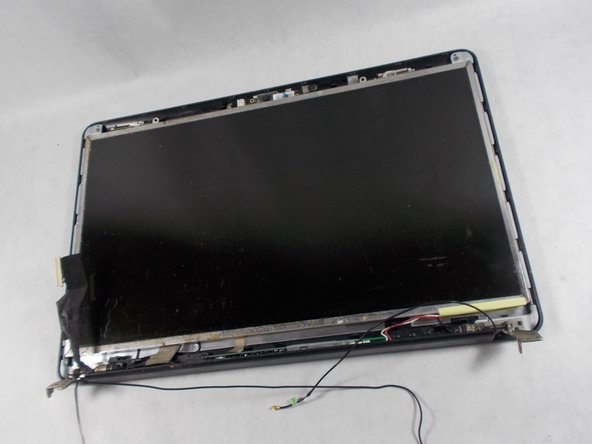
      • Using the opening tool, prop off the screen covering.

      • Remove the covering to expose the screen completely.

      Ask FixBot

      Add Comment

    14. HP Pavilion G60-247CL Fan Replacement: step 21, image 1 of 3 HP Pavilion G60-247CL Fan Replacement: step 21, image 2 of 3 HP Pavilion G60-247CL Fan Replacement: step 21, image 3 of 3
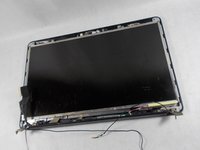
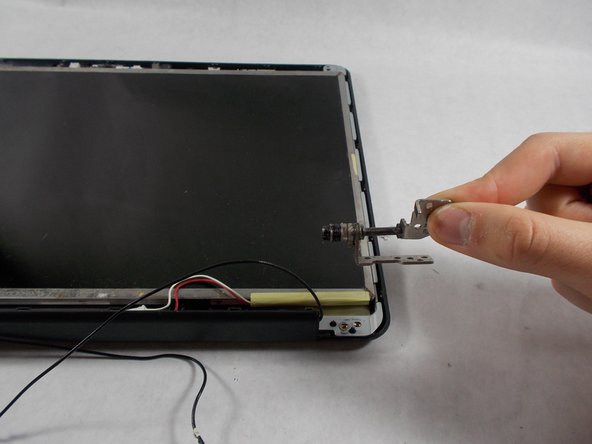
      • Remove the bottom two screen bearings.

      • Using a Phillips 1 screwdriver, remove the two screws on each side.

      Ask FixBot

      Add Comment

    15. HP Pavilion G60-247CL Fan Replacement: step 22, image 1 of 2 HP Pavilion G60-247CL Fan Replacement: step 22, image 2 of 2
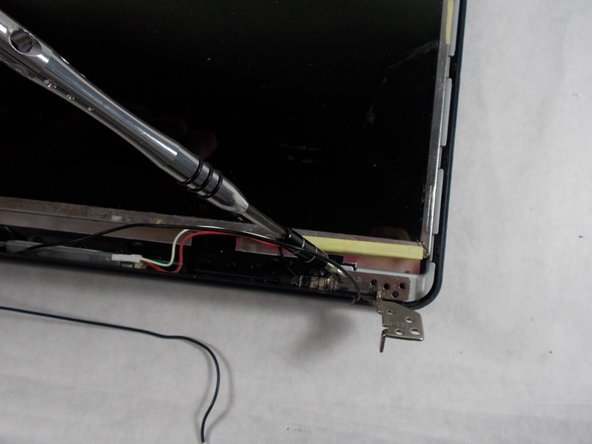
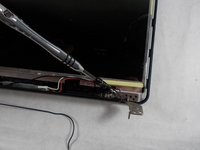
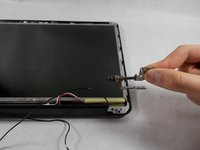
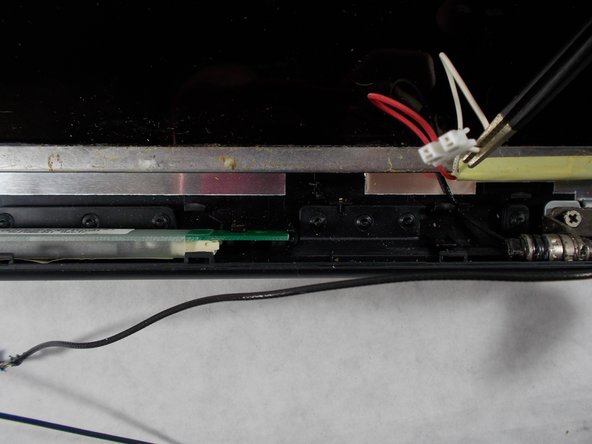
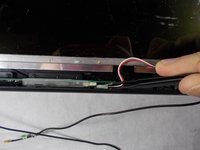
      • Using the tweezers remove the red and white wire from the bottom of the screen.

      Ask FixBot

      Add Comment

    16. HP Pavilion G60-247CL Fan Replacement: step 23, image 1 of 2 HP Pavilion G60-247CL Fan Replacement: step 23, image 2 of 2
      • Prop the screen up slightly.

      • Using the tweezers unclip the white wire.

      Ask FixBot

      Add Comment

    17. HP Pavilion G60-247CL Fan Replacement: step 24, image 1 of 2 HP Pavilion G60-247CL Fan Replacement: step 24, image 2 of 2
      • While the screen is still propped open, remove the black wire from the bottom middle of the screen by pulling gently.

      Ask FixBot

      Add Comment

    18. HP Pavilion G60-247CL Fan Replacement: step 25, image 1 of 1
      • Remove the screen from the outer casing carefully.

      Ask FixBot

      Add Comment

    1. HP Pavilion G60-247CL Fan Replacement, Speakers: step 26, image 1 of 2 HP Pavilion G60-247CL Fan Replacement, Speakers: step 26, image 2 of 2
      • Remove the battery and RAM.

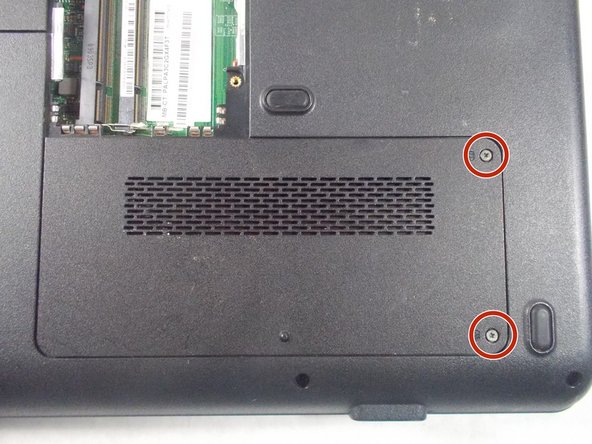
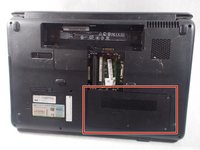
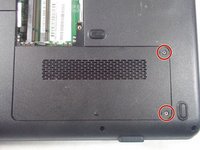
      • Locate the hard drive access panel.

      • Remove the two 1.2mm Phillips #1 screws on the hard drive access panel.

      Ask FixBot

      Add Comment

    2. HP Pavilion G60-247CL Fan Replacement: step 27, image 1 of 2 HP Pavilion G60-247CL Fan Replacement: step 27, image 2 of 2
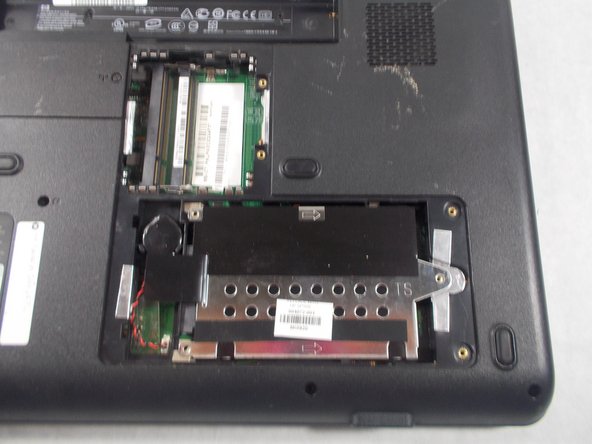
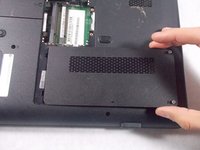
      • After the screws are removed, slide the hard drive panel to the right to remove it.

      Ask FixBot

      Add Comment

    3. HP Pavilion G60-247CL Fan Replacement: step 28, image 1 of 2 HP Pavilion G60-247CL Fan Replacement: step 28, image 2 of 2
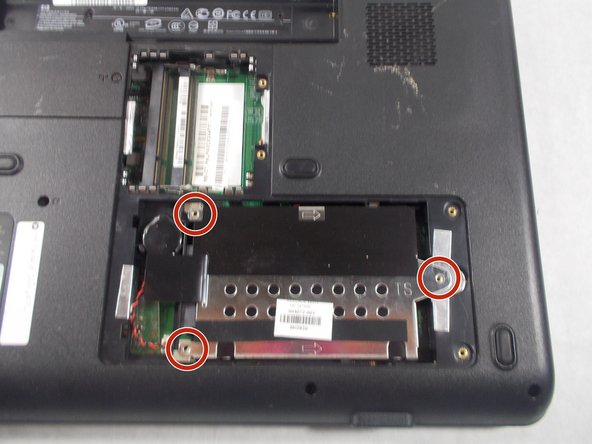
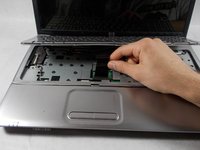
      • Identify the 3 screws holding the hard drive's cover in place.

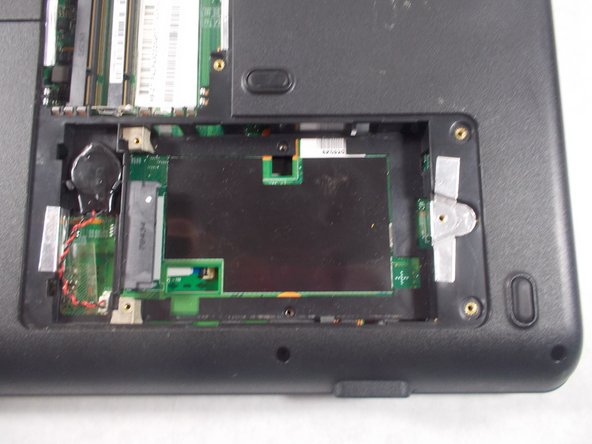
      • Use a Phillips #0 screwdriver to remove the 3 screws and reveal the hard drive.

      • This particular laptop does not contain a hard drive-- yours will.
      Ask FixBot

      Add Comment

    4. HP Pavilion G60-247CL Fan Replacement: step 29, image 1 of 2 HP Pavilion G60-247CL Fan Replacement: step 29, image 2 of 2
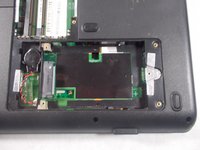
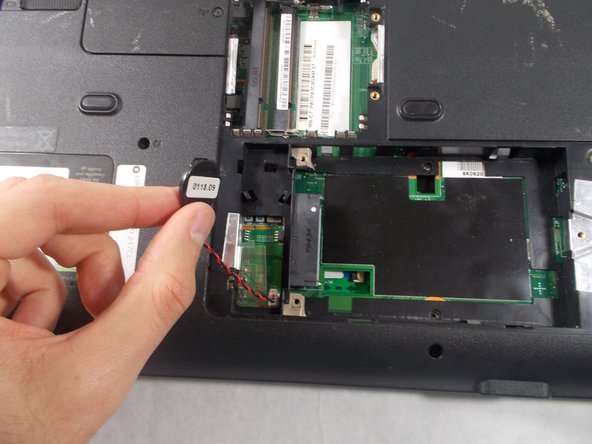
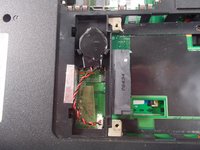
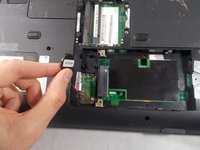
      • Locate the storage battery, next to the hard drive.

      • Gently pop out the storage battery with your fingers.

      Ask FixBot

      Add Comment

    5. HP Pavilion G60-247CL Fan Replacement: step 30, image 1 of 2 HP Pavilion G60-247CL Fan Replacement: step 30, image 2 of 2
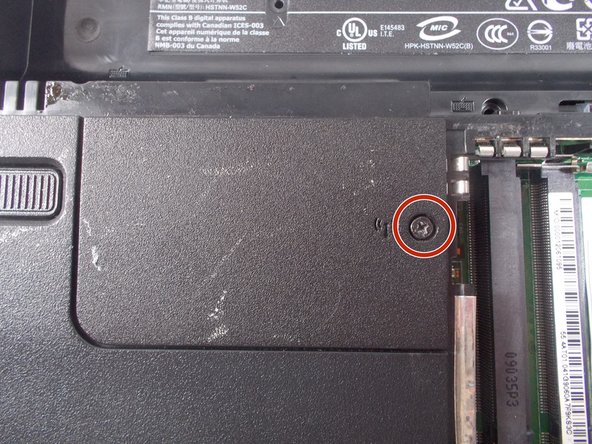
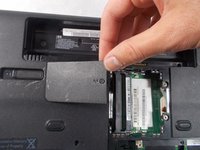
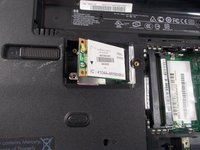
      • Locate the Wi-Fi card cover panel, to the left of the RAM.

      • Use a Phillips #1 screwdriver to remove the screw from the Wi-Fi card cover panel.

      Ask FixBot

      Add Comment

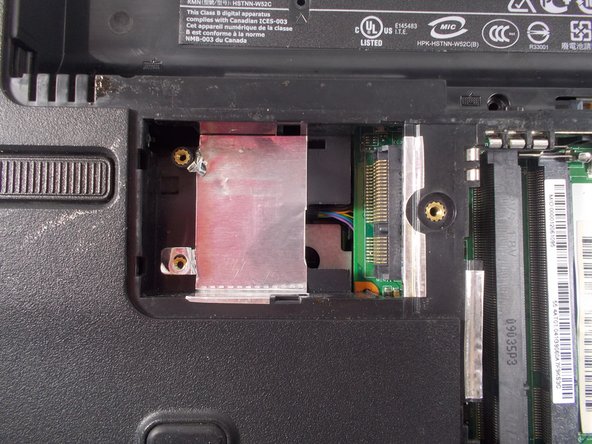
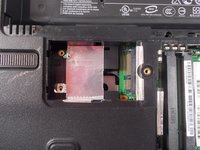
    6. HP Pavilion G60-247CL Fan Replacement: step 31, image 1 of 2 HP Pavilion G60-247CL Fan Replacement: step 31, image 2 of 2
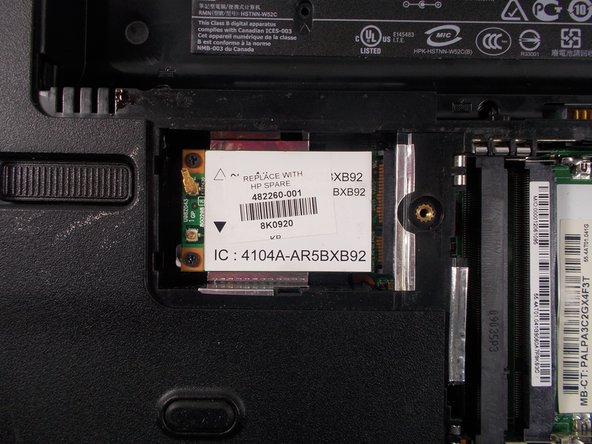
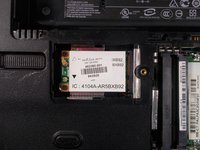
      • Lift up on the screw side to remove the panel.

      Ask FixBot

      Add Comment

    7. HP Pavilion G60-247CL Fan Replacement: step 32, image 1 of 2 HP Pavilion G60-247CL Fan Replacement: step 32, image 2 of 2
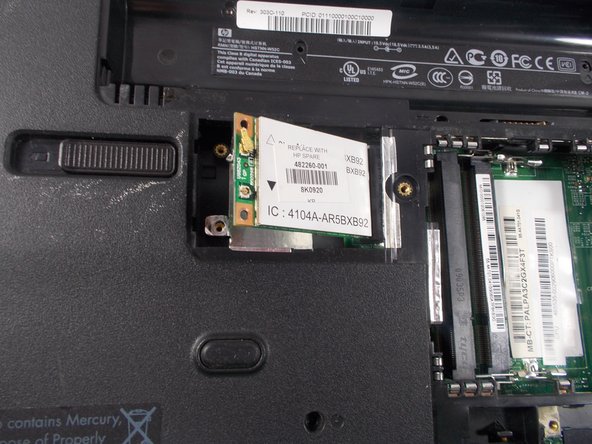
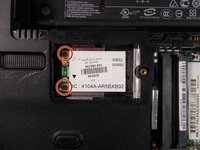
      • Remove two 1.2 mm Phillips #01 screws.

      • When the screws are removed, the Wi-Fi card will pop up.

      Ask FixBot

      Add Comment

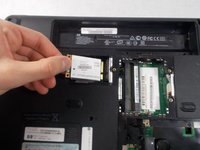
    8. HP Pavilion G60-247CL Fan Replacement: step 33, image 1 of 2 HP Pavilion G60-247CL Fan Replacement: step 33, image 2 of 2
      • Remove the Wi-Fi card by pulling it to the left of the laptop.

      Ask FixBot

      Add Comment

    9. HP Pavilion G60-247CL Fan Replacement: step 34, image 1 of 1
      • Flip the laptop over to the top view.

      • Remove five 1.2 mm Phillips #00 screws.

      Ask FixBot

      Add Comment

    10. HP Pavilion G60-247CL Fan Replacement: step 35, image 1 of 2 HP Pavilion G60-247CL Fan Replacement: step 35, image 2 of 2
      • Use a spudger to unclip the casing around all the corners and edges of the laptop.

      Ask FixBot

      Add Comment

    11. HP Pavilion G60-247CL Fan Replacement: step 36, image 1 of 2 HP Pavilion G60-247CL Fan Replacement: step 36, image 2 of 2
      • Lift up and remove the casing to reveal the speakers.

      Ask FixBot

      Add Comment

    12. HP Pavilion G60-247CL Fan Replacement: step 37, image 1 of 1
      • Remove the highlighted 1.2 mm Phillips #00 screw from the right speaker.

      Ask FixBot

      Add Comment

    13. HP Pavilion G60-247CL Fan Replacement: step 38, image 1 of 2 HP Pavilion G60-247CL Fan Replacement: step 38, image 2 of 2
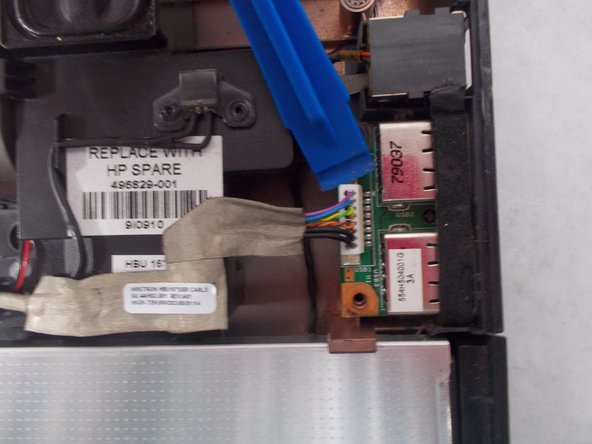
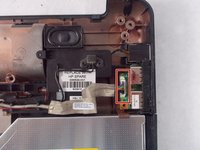
      • Using a spudger, remove the highlighted white wire.

      Ask FixBot

      Add Comment

    14. HP Pavilion G60-247CL Fan Replacement: step 39, image 1 of 3 HP Pavilion G60-247CL Fan Replacement: step 39, image 2 of 3 HP Pavilion G60-247CL Fan Replacement: step 39, image 3 of 3
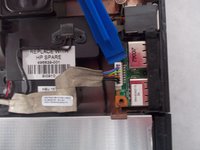
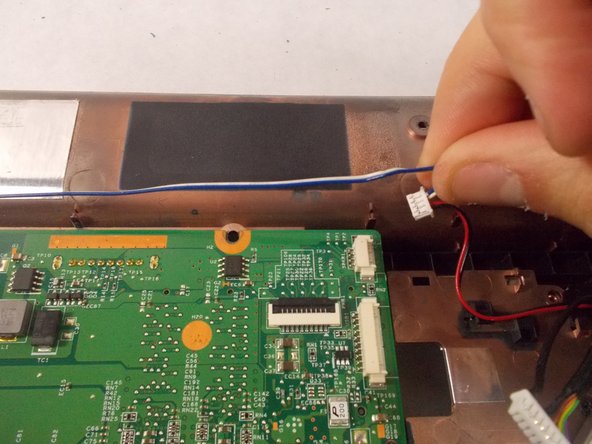
      • Using a spudger, remove both highlighted wires from the motherboard.

      Ask FixBot

      Add Comment

    15. HP Pavilion G60-247CL Fan Replacement: step 40, image 1 of 3 HP Pavilion G60-247CL Fan Replacement: step 40, image 2 of 3 HP Pavilion G60-247CL Fan Replacement: step 40, image 3 of 3
      • Lift each speaker up and out from the base.

      Ask FixBot

      Add Comment

    1. HP Pavilion G60-247CL Fan Replacement, Fan: step 41, image 1 of 2 HP Pavilion G60-247CL Fan Replacement, Fan: step 41, image 2 of 2
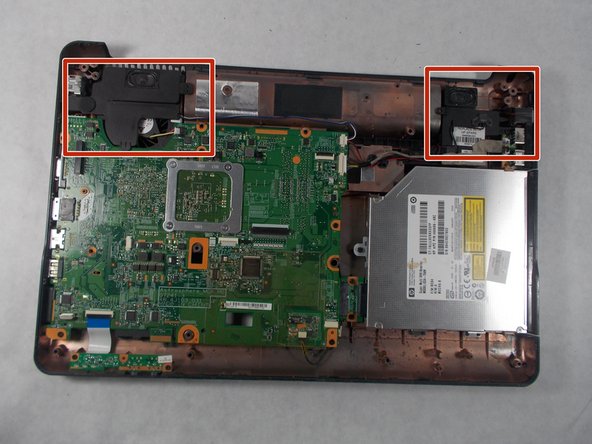
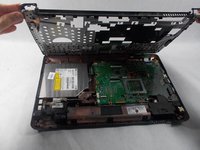
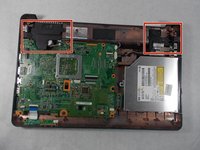
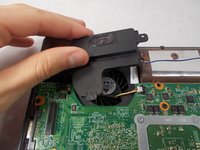
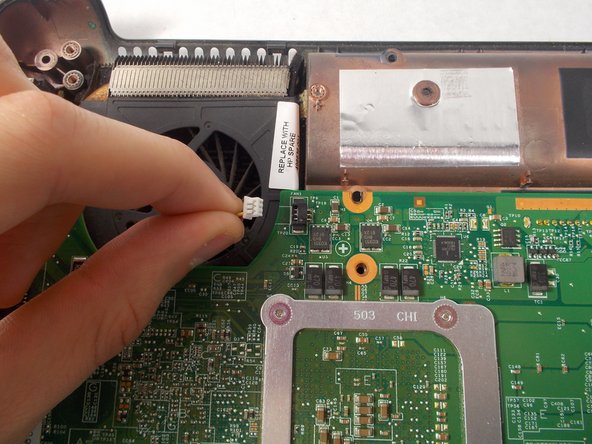
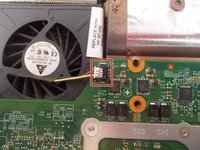
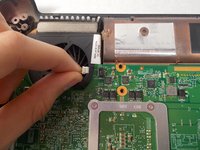
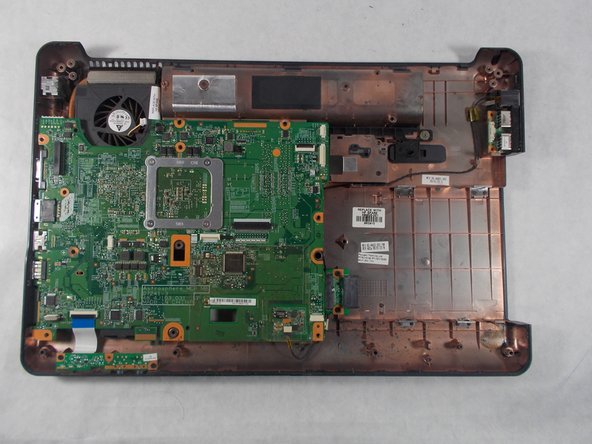
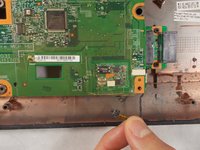
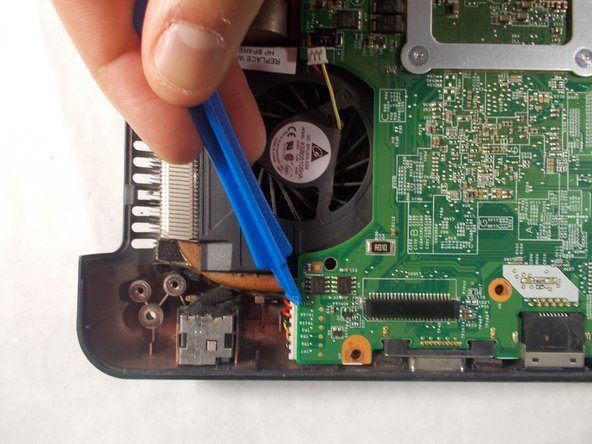
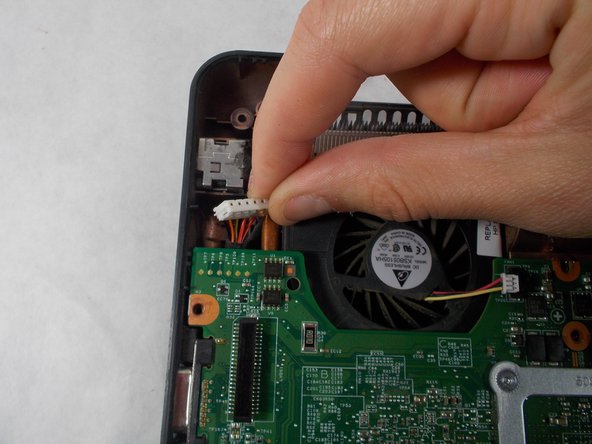
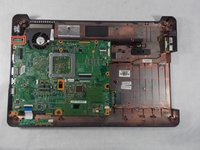
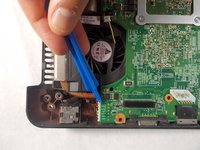
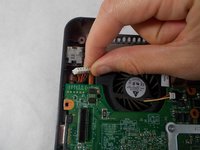
      • Locate the fan in the top left corner.

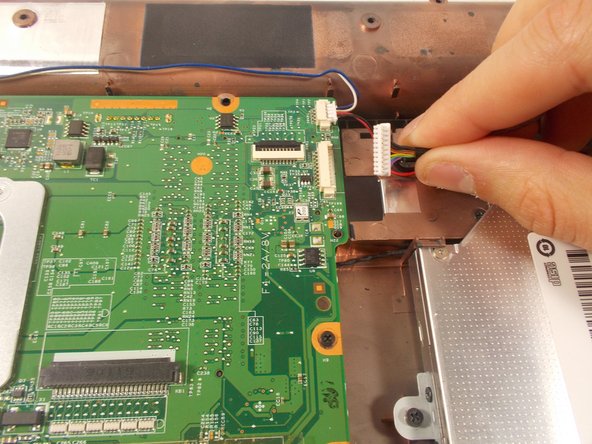
      • Carefully disconnect the wire attached to the motherboard using your fingers.

      Ask FixBot

      Add Comment

    2. HP Pavilion G60-247CL Fan Replacement: step 42, image 1 of 1
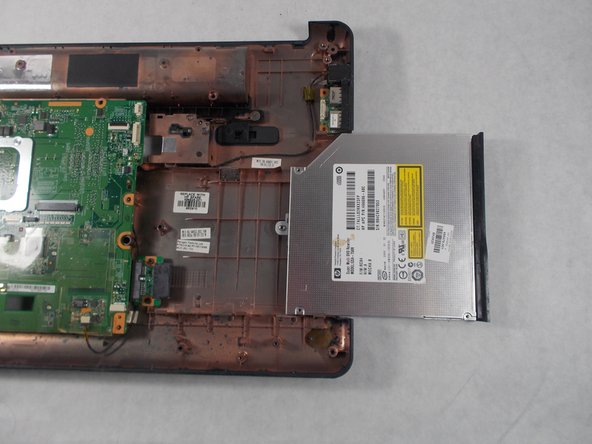
      • Locate the disk player in the bottom right corner.

      • Remove three screws using a Phillips #00 screwdriver.

      Ask FixBot

      Add Comment

    3. HP Pavilion G60-247CL Fan Replacement: step 43, image 1 of 3 HP Pavilion G60-247CL Fan Replacement: step 43, image 2 of 3 HP Pavilion G60-247CL Fan Replacement: step 43, image 3 of 3
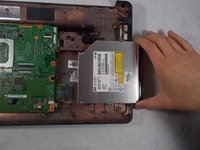
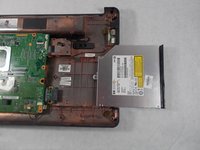
      • Slide out the disk player to the right.

      Ask FixBot

      Add Comment

    4. HP Pavilion G60-247CL Fan Replacement: step 44, image 1 of 2 HP Pavilion G60-247CL Fan Replacement: step 44, image 2 of 2
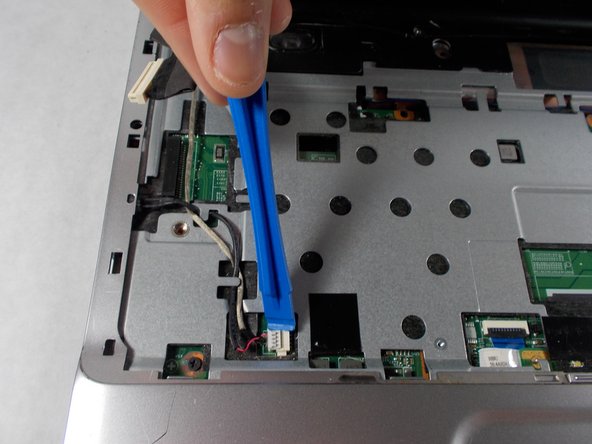
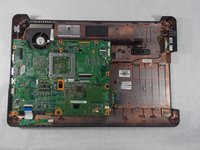
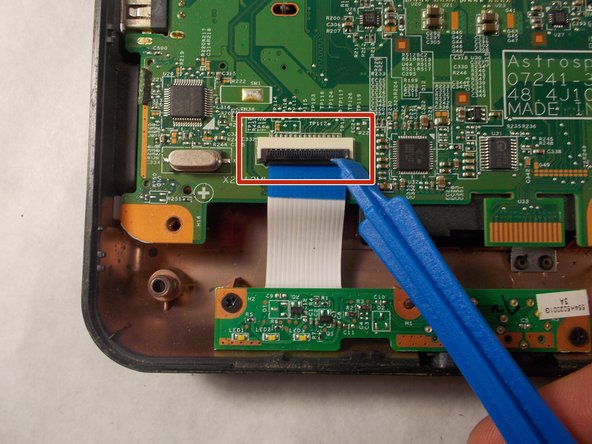
      • Gently disconnect the ribbon cable using an opening tool.

      Ask FixBot

      Add Comment

    5. HP Pavilion G60-247CL Fan Replacement: step 45, image 1 of 3 HP Pavilion G60-247CL Fan Replacement: step 45, image 2 of 3 HP Pavilion G60-247CL Fan Replacement: step 45, image 3 of 3
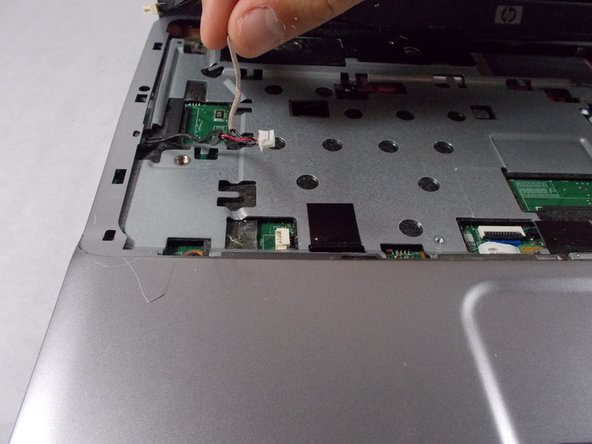
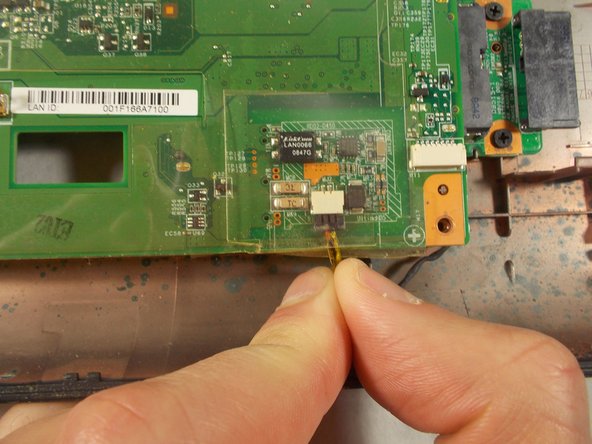
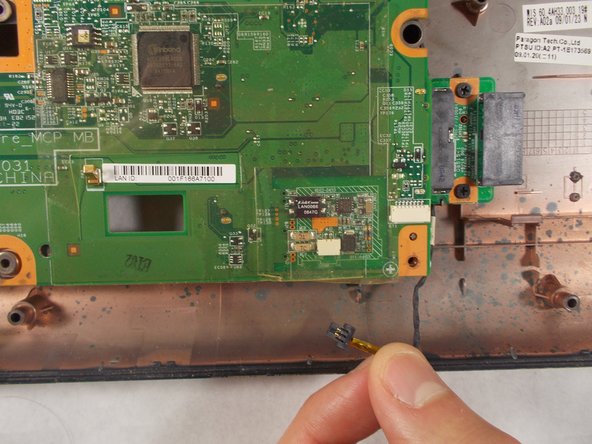
      • Disconnect the wire connected to motherboard by gently pulling downwards.

      Ask FixBot

      Add Comment

    6. HP Pavilion G60-247CL Fan Replacement: step 46, image 1 of 3 HP Pavilion G60-247CL Fan Replacement: step 46, image 2 of 3 HP Pavilion G60-247CL Fan Replacement: step 46, image 3 of 3
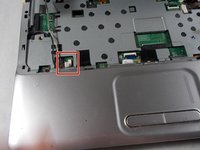
      • Disconnect the wire connected to the motherboard using an opening tool.

      Ask FixBot

      Add Comment

    7. HP Pavilion G60-247CL Fan Replacement: step 47, image 1 of 2 HP Pavilion G60-247CL Fan Replacement: step 47, image 2 of 2
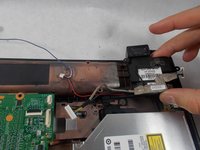
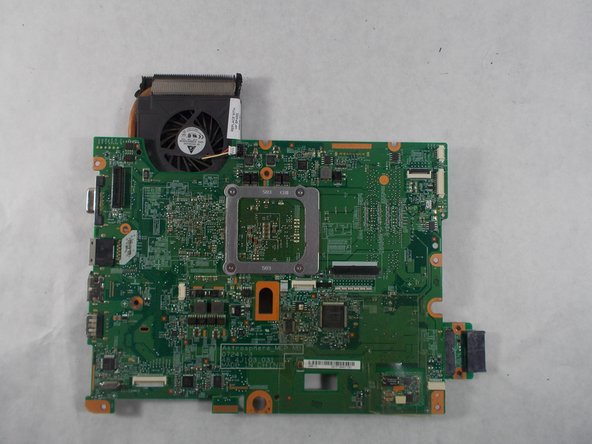
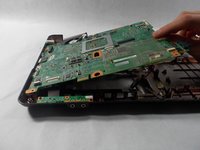
      • Gently remove motherboard with fan from the shell.

      Ask FixBot

      Add Comment

    8. HP Pavilion G60-247CL Fan Replacement: step 48, image 1 of 2 HP Pavilion G60-247CL Fan Replacement: step 48, image 2 of 2
      • Flip over the motherboard to view the back side.

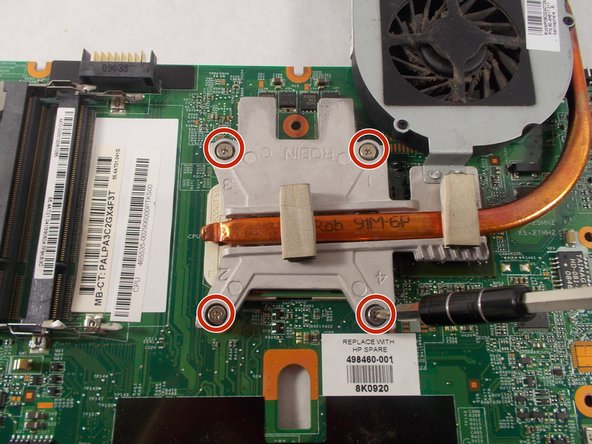
      • Remove four 1.6 mm screws with a Phillips #1 screwdriver.

      Ask FixBot

      Add Comment

    9. HP Pavilion G60-247CL Fan Replacement: step 49, image 1 of 2 HP Pavilion G60-247CL Fan Replacement: step 49, image 2 of 2
      • Gently lift out the fan.

      Ask FixBot

      Add Comment

Conclusion

To reassemble your device, follow these instructions in reverse order.

Cancel: I did not complete this guide.

Haley Matthews

Member since: 03/12/18

517 Reputation

3 Guides authored

Team

0 Guide Comments

Add Comment

View Statistics:

Past 24 Hours: 1

Past 7 Days: 12

Past 30 Days: 67

All Time: 648