
HP Pavilion DV2160BR Screen Replacement

Michael and 5 other contributors
Last updated on Jan 17, 2025
Views: 1K
View statistics:
- Past 24 Hours:
- 1
- Past 7 Days:
- 22
- Past 30 Days:
- 91
- All Time:
- 1,021
Comments: 0
No one has left comments on this guide. Will you be first?
Go to guide commentsCompleted: 1 2
1 person has marked this guide "completed." Will you be next?
2 people have marked this guide "completed." Including you — great job!
Favorites: 0 1
No one has favorited (and subscribed to) this guide. Will you be the first?
1 person has favorited (and subscribed to) this guide — and that's you!
Markup Mishap
This guide needs better markups. Help out by correcting or making some markup annotations.
Better Introduction
Improve this guide by completing or revising its introduction.
Introduction
Go to step 1 ↓Use this guide to replace a broken display assembly.
What you need
Tools
-
Spudger4.9


-
-
-
Locate the battery compartment at the rear of the device.
-
There is a slider button located under the left side of the battery compartment. It is indicated by a battery symbol. Move the slider to the left and lift the battery out.
-
-
-
-
-
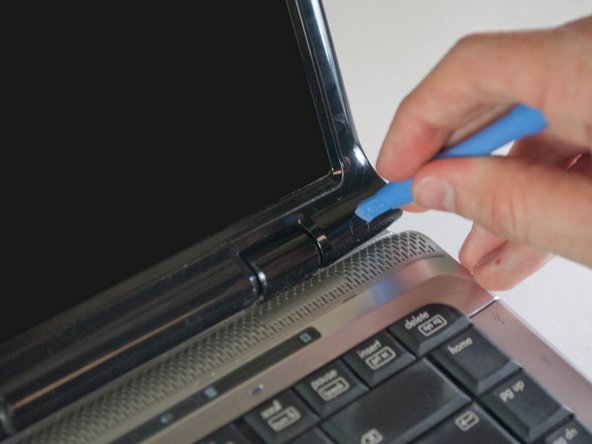
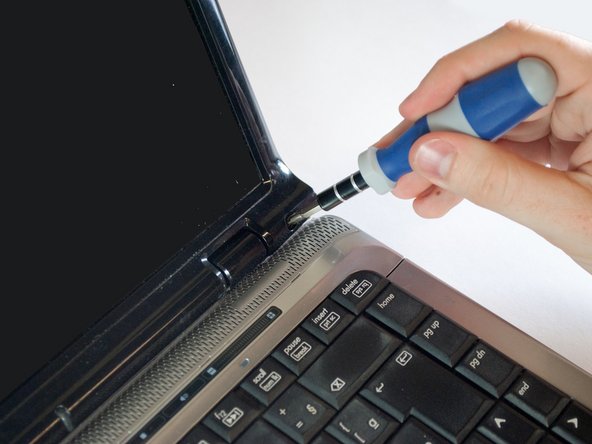
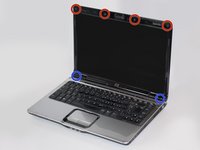
Remove the 6 rubber screw covers and screws, found around the edge of the laptop screen, surrounded in red and blue.
-
Use the plastic opener tools to remove the screw covers. Just apply firm pressure to the edges to pop the screw covers out, they are attached with a light adhesive.
-
There are four 2.5mm X 4mm-L Phillips #0 screws along the top.
-
There are two 2.5mm X 8mm-L Phillips #1 screws along the bottom.
-
-
-
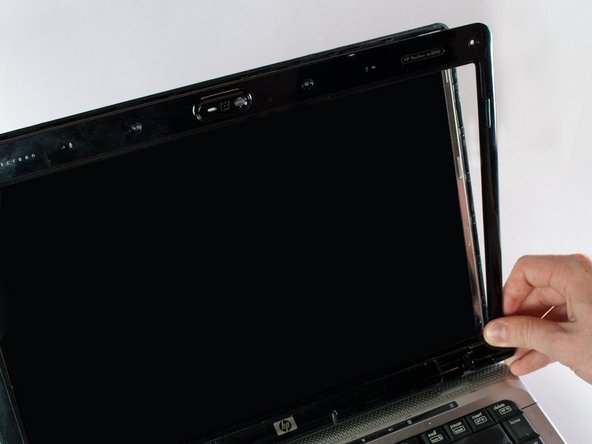
Now we must remove the plastic panel.
-
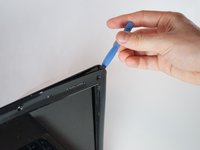
Slide a plastic opener tool along the outside edges of the front screen panel, separating it from the screen. You may need to apply some firm pressure.
-
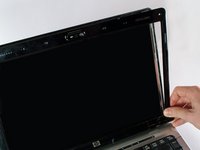
Once the panel is separated from the screen, gently pull it off and set it aside.
-
-
-
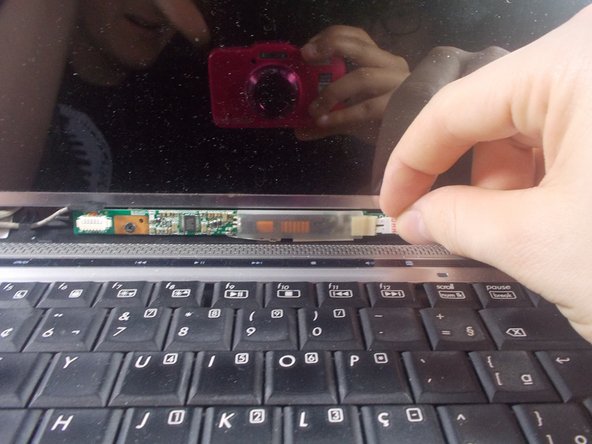
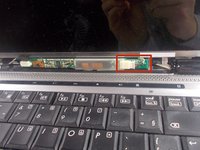
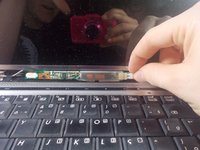
Locate the inverter at the bottom of the screen.
-
Disconnect the back light plug cable on the right side of the inverter by holding the inverter in place and pulling firmly on the connector.
-
-
-
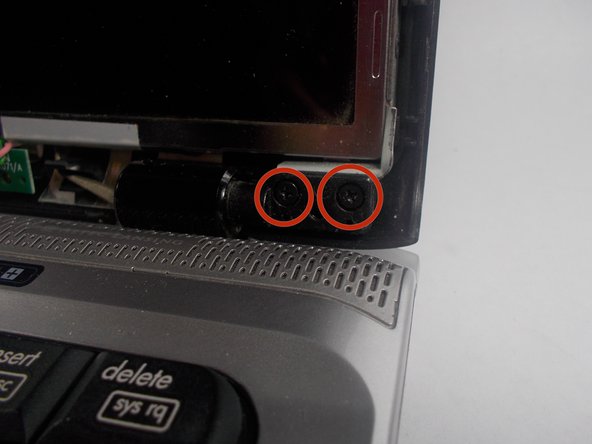
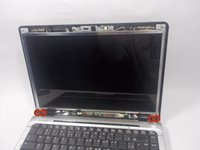
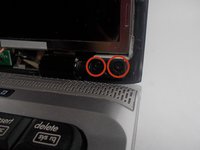
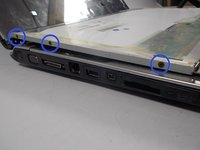
Now remove the final four screws holding the screen in place.
-
Remove the four 2.5mm X 6mm-L Phillips #0 screws from the lower left and right hand sides of the screen.
-
-
-
Remove the screen from the back screen panel.
-
Set the screen facing down gently onto the keyboard.
-
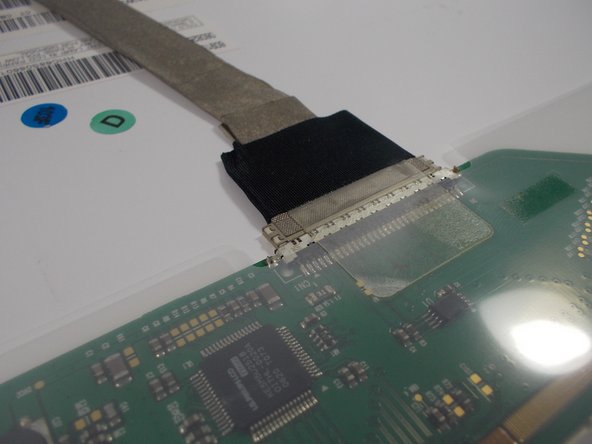
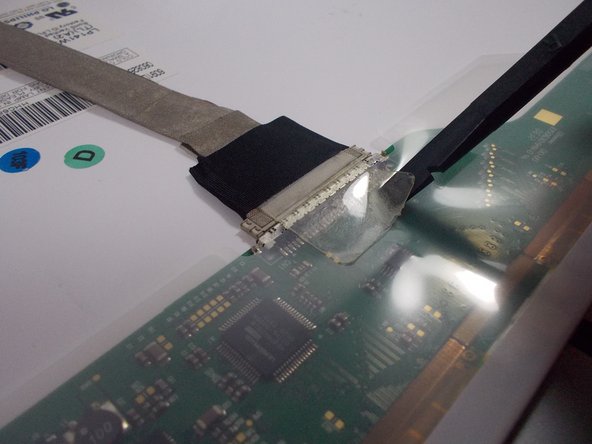
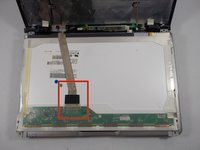
Now that the screen is placed face down onto the keyboard we are going to remove the wire connecting the screen to the device.
-
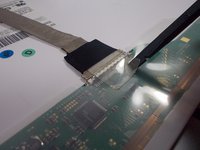
The wire is held on by an adhesive tape that must be lifted with the spudger tool.
-
Once the tape is lifted, slide your finger under and gently pull up the rest of the tape to free the wire.
-
Gently pull the wire towards the back of the device and the screen will now be free.
-
-
-
Finally we must remove the metal mounting hardware attached to the screen.
-
Remove the six 2mm X 3mm-L Phillips #0 screws.
-
There are three on each side of the display
-
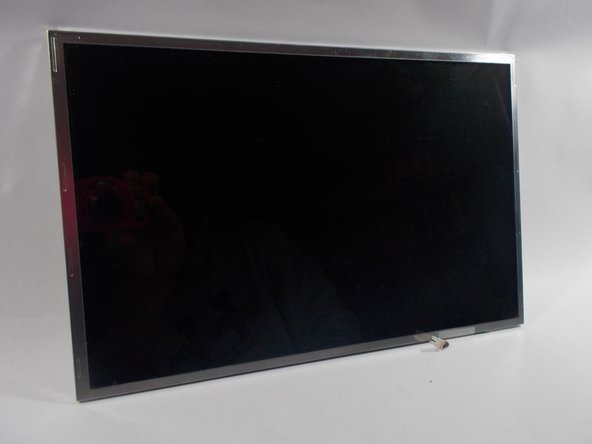
Set aside the metal hardware and your display is now separated from the device!
-

 Ask FixBot









To reassemble your device, follow these instructions in reverse order.
Cancel: I did not complete this guide.
One other person completed this guide.

Team

UMass Dartmouth, Team 6-5, Vijaybhaskar Spring 2014 Member of UMass Dartmouth, Team 6-5, Vijaybhaskar Spring 2014
UMASSD-VIJAYBHASKAR-S14S6G5
3 Members
36 Guides authored
