Free Shipping on Domestic Orders $75+

HP Pavilion 17-g192dx Disassembly

What you need

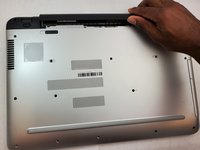
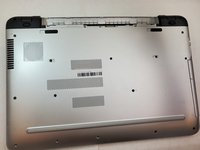
    1. HP Pavilion 17-g192dx Disassembly, Battery: step 1, image 1 of 3 HP Pavilion 17-g192dx Disassembly, Battery: step 1, image 2 of 3 HP Pavilion 17-g192dx Disassembly, Battery: step 1, image 3 of 3
      • Turn off the laptop.

      • Slide the battery lock to the right until you see the open lock symbol.

      Ask FixBot

      Add Comment

    2. HP Pavilion 17-g192dx Disassembly: step 2, image 1 of 1
      • Slide the battery release to the left until the battery pops up.

      • This may require significant force.

      Ask FixBot

      Add Comment

    3. HP Pavilion 17-g192dx Disassembly: step 3, image 1 of 2 HP Pavilion 17-g192dx Disassembly: step 3, image 2 of 2
      • Lift the battery up.

      Ask FixBot

      Add Comment

    1. HP Pavilion 17-g192dx Disassembly, laptop: step 4, image 1 of 1
      • Using the metal spudger, pry up the screw covers.

      Ask FixBot

      Add Comment

    2. HP Pavilion 17-g192dx Disassembly: step 5, image 1 of 1
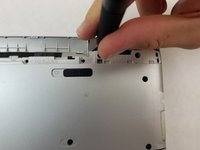
      • Remove the fifteen 7mm screws holding the back casing on using the Phillips #00 screwdriver.

      Ask FixBot

      Add Comment

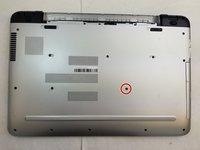
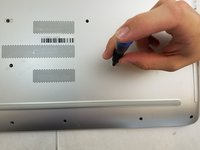
    3. HP Pavilion 17-g192dx Disassembly: step 6, image 1 of 2 HP Pavilion 17-g192dx Disassembly: step 6, image 2 of 2
      • Remove the 7mm screw holding the disc drive in place using the Phillips #00 head screwdriver.

      Ask FixBot

      Add Comment

    4. HP Pavilion 17-g192dx Disassembly: step 7, image 1 of 3 HP Pavilion 17-g192dx Disassembly: step 7, image 2 of 3 HP Pavilion 17-g192dx Disassembly: step 7, image 3 of 3
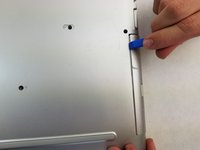
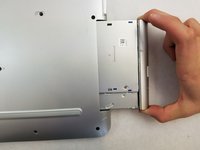
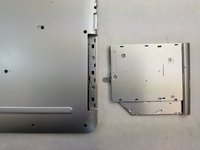
      • Using an iFixit opening tool, push the disc drive away from the outer case.

      • Once the disk drive is out far enough, it easily slides out.

      Ask FixBot

      Add Comment

    5. HP Pavilion 17-g192dx Disassembly: step 8, image 1 of 3 HP Pavilion 17-g192dx Disassembly: step 8, image 2 of 3 HP Pavilion 17-g192dx Disassembly: step 8, image 3 of 3
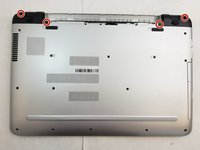
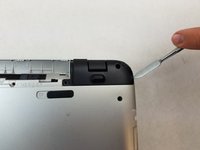
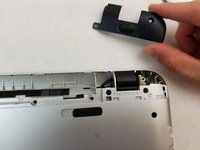
      • Remove the four 7mm screws holding the back resting plates on using the Phillips #00 screwdriver.

      • Using a metal spudger, lift up on the back resting plate until it pops off.

      Ask FixBot

      Add Comment

    6. HP Pavilion 17-g192dx Disassembly: step 9, image 1 of 2 HP Pavilion 17-g192dx Disassembly: step 9, image 2 of 2
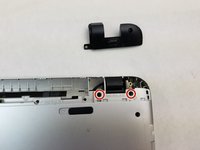
      • Remove the two 7 mm screws behind the plate using a Phillips #00 screwdriver.

      Ask FixBot

      Add Comment

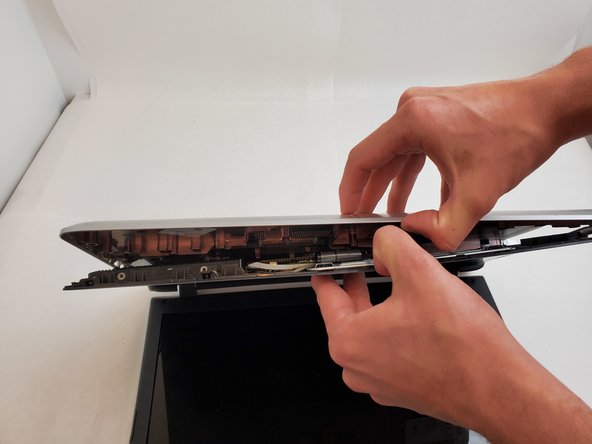
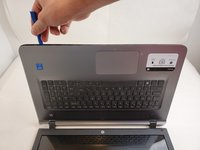
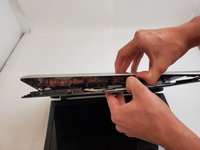
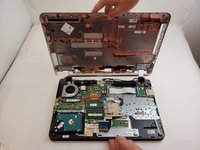
    7. HP Pavilion 17-g192dx Disassembly: step 10, image 1 of 3 HP Pavilion 17-g192dx Disassembly: step 10, image 2 of 3 HP Pavilion 17-g192dx Disassembly: step 10, image 3 of 3
      • Pry up on the case with an iFixit opening tool until you can feel a snap.

      • Pry around the remainder until you can separate the case from the keyboard with your hands.

      • Gently separate the two.

      Ask FixBot

      Add Comment

Conclusion

To reassemble your device, follow these instructions in reverse order.

Cancel: I did not complete this guide.

4 other people completed this guide.

0 Guide Comments

Add Comment

View Statistics:

Past 24 Hours: 6

Past 7 Days: 18

Past 30 Days: 48

All Time: 2,042