
HP Pavilion 17-e146us Motherboard Replacement

Emma Neumann and 3 other contributors
Last updated on Jan 17, 2025
Views: 1.5K
View statistics:
- Past 24 Hours:
- 1
- Past 7 Days:
- 15
- Past 30 Days:
- 79
- All Time:
- 1,547
Comments: 1
1 comment on steps.
Completed: 1 2
1 person has marked this guide "completed." Will you be next?
2 people have marked this guide "completed." Including you — great job!
Favorites: 0 1
No one has favorited (and subscribed to) this guide. Will you be the first?
1 person has favorited (and subscribed to) this guide — and that's you!
Needs Better Images
Better photos will improve this guide. Help out by taking, editing, or uploading new ones!
Needs More Images
A few more images would make this guide's procedures crystal clear.
Missing Details
Some of this guide's details are missing. Help users by adding tools, difficulty, or time.
Introduction
Go to step 1 ↓The Motherboard is a important component of the laptop. It is responsible for connecting components and communicating between various electronic parts of the device, such as the memory and and the central processing unit. This guide shows how to replace a faulty motherboard with a new motherboard. For more information about the effects of a faulty motherboard please check out our troubleshooting page. Please be aware that the motherboard is connected to many parts of the device and requires a lot of time to disassemble and re-assemble.
What you need
Tools
-
Spudger4.9
-


-
-
-
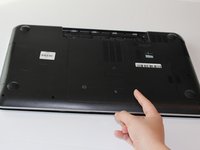
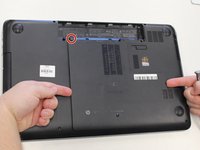
Move the battery lock switch to the right to unlock. The battery release button will unlock the battery from the computer.
-
The battery release button is located above the the battery.
-
-
-
The battery will unlock from the computer.
-
Remove the unlocked battery from the computer.
-
-
-
-
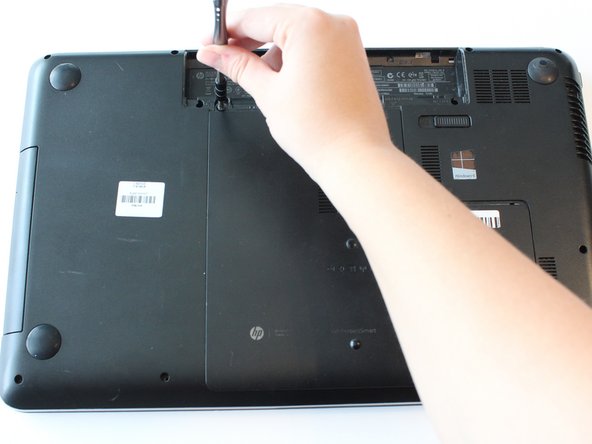
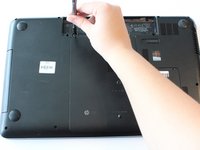
Remove the 6.25 mm screw in the left-lower hand corner of the battery port using a Phillips head screw driver.
-
-
-
Remove seven 6.5 mm screws using a Phillips #0 screwdriver.
-
Remove four 3.0 mm screws located in the charger port using a Phillips #0 screwdriver.
-
-
-
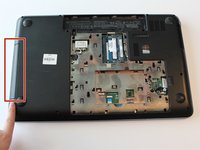
Pull and remove the disk drive.
-
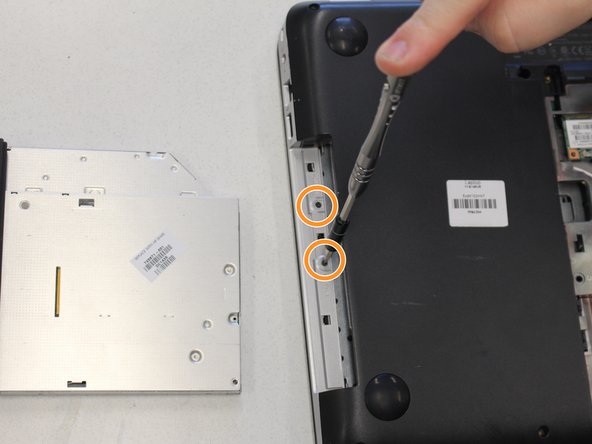
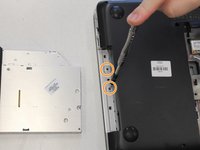
Remove two 3.00 mm screws on the inside of the disk drive using a Phillips screwdriver.
-
-
Tool used on this step:Tweezers$4.99
-
Apply firm pressure inside the release port using a narrow tool such as a screw driver or tweezers.
-
-
-
-
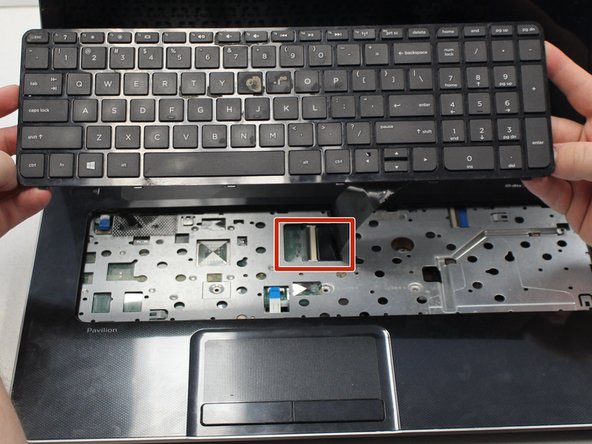
Open device. The keyboard should be separate from the inside panel.
-
Detach the keyboard's cable connector from the motherboard.
-
-
-
-
-
Remove three 6.5 mm Phillips screws located underneath the keyboard using a Phillips #0 screwdriver.
-
-
-
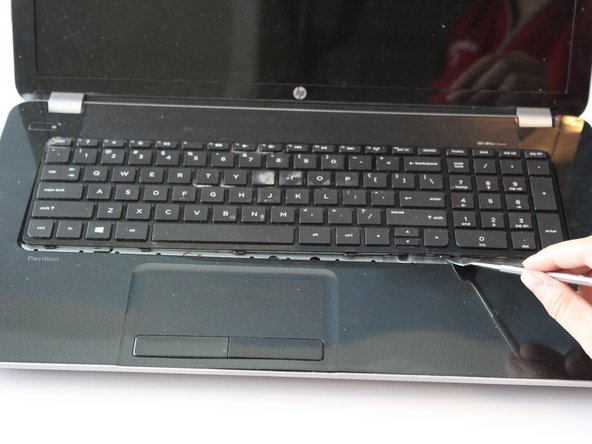
Place wedge tool in-between the front panel and the cover underneath the keyboard
-
Use wedge tool to pop the two covers apart.
-
-

 Ask FixBot








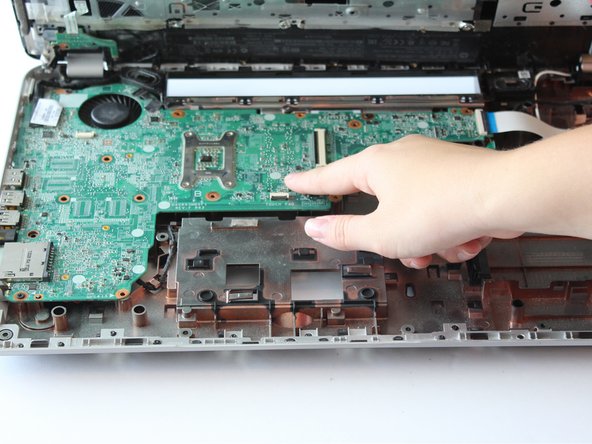
To reassemble your device, follow these instructions in reverse order.
Cancel: I did not complete this guide.
One other person completed this guide.

Team

University of Alabama, Team S2-G7, Bedsole Fall 2019 Member of University of Alabama, Team S2-G7, Bedsole Fall 2019
UA-BEDSOLE-F19S2G7
3 Members
60 Guides authored
