Free Shipping on Domestic Orders $75+

HP Pavilion 15-p214dx Display Replacement

What you need

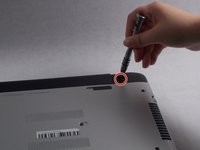
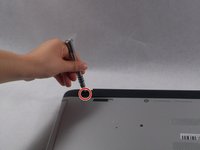
    1. HP Pavilion 15-p214dx Display Replacement, Disk Drive: step 1, image 1 of 3 HP Pavilion 15-p214dx Display Replacement, Disk Drive: step 1, image 2 of 3 HP Pavilion 15-p214dx Display Replacement, Disk Drive: step 1, image 3 of 3
      • Place your laptop on a flat surface with the bottom facing upwards. The HP logo should be facing downwards.

      • Locate the disk drive screw. It is a 7mm screw that can be found to the upper left on label on the bottom of the computer and is marked with a disk drive symbol.

      • Remove this screw using a Philips #0 screwdriver.

      Ask FixBot

      Add Comment

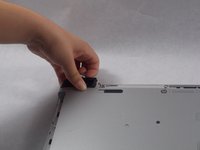
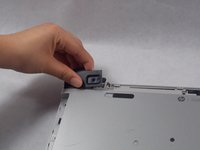
    2. HP Pavilion 15-p214dx Display Replacement: step 2, image 1 of 2 HP Pavilion 15-p214dx Display Replacement: step 2, image 2 of 2
      • Place your thumbnail between the disk drive exterior and your laptop's bottom cover.

      • If your nail is not long enough to do this, you can use a prying tool instead.

      • Pull outwards to slide the disk drive out of its slot.

      • Due to how the disk drive's slot is constructed, the drive must be properly aligned to fit back in. It may take a couple attempts to properly align it.

      Ask FixBot

      Add Comment

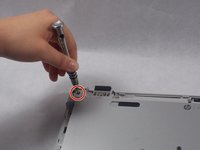
    1. HP Pavilion 15-p214dx Display Replacement, Top Cover: step 3, image 1 of 1
      • Using a magnetic screwdriver with a Philips #0 head, remove all of the visible screws on your laptop's bottom face. These screws are all about 7.5mm long.

      Ask FixBot

      Add Comment

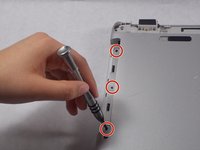
    2. HP Pavilion 15-p214dx Display Replacement: step 4, image 1 of 2 HP Pavilion 15-p214dx Display Replacement: step 4, image 2 of 2
      • Remove the 5.5mm screws holding the computer's end caps in place. The end caps are located to the left and right of the battery.

      • These screws are normally hidden underneath the end caps' rubber feet, which are not shown in the pictures. To remove these, gently pry them out of their slots with a plastic opening tool or a flathead screwdriver.

      Ask FixBot

      Add Comment

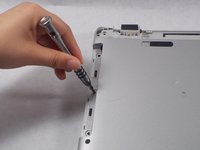
    3. HP Pavilion 15-p214dx Display Replacement: step 5, image 1 of 3 HP Pavilion 15-p214dx Display Replacement: step 5, image 2 of 3 HP Pavilion 15-p214dx Display Replacement: step 5, image 3 of 3
      • Lift both end caps from their respective corners.

      • Use a Philips #0 screwdriver to remove the 4.3mm screw that is underneath both end caps.

      Ask FixBot

      Add Comment

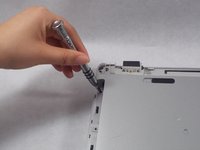
    4. HP Pavilion 15-p214dx Display Replacement: step 6, image 1 of 3 HP Pavilion 15-p214dx Display Replacement: step 6, image 2 of 3 HP Pavilion 15-p214dx Display Replacement: step 6, image 3 of 3
      • Use a Philips #0 screwdriver to remove the three 5.5mm screws in on the edge of the disk drive slot.

      • These three screws are missing from the pictures.

      Ask FixBot

      Add Comment

    5. HP Pavilion 15-p214dx Display Replacement: step 7, image 1 of 1
      • Flip your computer so that the bottom is now on the surface. Open the laptop like you normally would if you were about to use it.

      • Use a plastic opening tool to separate the top cover from the bottom cover.

      • Be careful when prying the cover off since it is susceptible to bending and cracking.

      • There are several cables connecting the top cover to the computer's motherboard that need to be disconnected before the cover can be completely removed.

      Ask FixBot

      Add Comment

    6. HP Pavilion 15-p214dx Display Replacement: step 8, image 1 of 2 HP Pavilion 15-p214dx Display Replacement: step 8, image 2 of 2
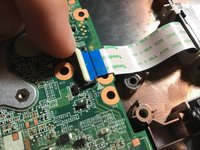
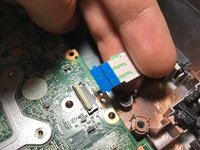
      • While lifting the top cover, undo the clip holding the keyboard cable in place.

      • Slide the cable out of its port.

      Ask FixBot

      Add Comment

    7. HP Pavilion 15-p214dx Display Replacement: step 9, image 1 of 1
      • Undo the clip holding the touchpad cable in place.

      • Remove the touchpad cable from its port.

      Ask FixBot

      Add Comment

    8. HP Pavilion 15-p214dx Display Replacement: step 10, image 1 of 2 HP Pavilion 15-p214dx Display Replacement: step 10, image 2 of 2
      • Undo the clip holding the power button cable in place.

      • Disconnect the power button cable from its port.

      • Gently lift the top cover to remove it from the computer.

      Ask FixBot

      Add Comment

    1. HP Pavilion 15-p214dx Display Replacement, Motherboard: step 11, image 1 of 3 HP Pavilion 15-p214dx Display Replacement, Motherboard: step 11, image 2 of 3 HP Pavilion 15-p214dx Display Replacement, Motherboard: step 11, image 3 of 3
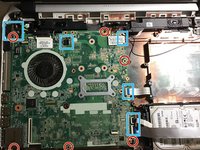
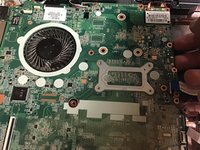
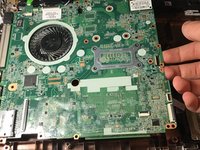
      • Notice that the motherboard is connected to multiple components of the computer that need to be disconnected first

      Ask FixBot

      Add Comment

    2. HP Pavilion 15-p214dx Display Replacement: step 12, image 1 of 3 HP Pavilion 15-p214dx Display Replacement: step 12, image 2 of 3 HP Pavilion 15-p214dx Display Replacement: step 12, image 3 of 3
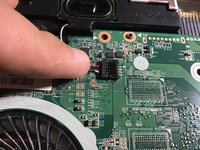
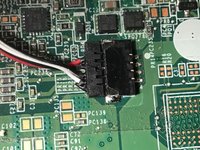
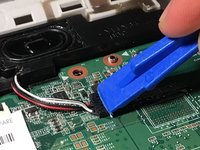
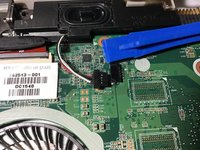
      • Use a plastic opening tool to separate the speaker's cable from the mother board, by pushing on the speaker's plugged cable

      Ask FixBot

      Add Comment

    3. HP Pavilion 15-p214dx Display Replacement: step 13, image 1 of 3 HP Pavilion 15-p214dx Display Replacement: step 13, image 2 of 3 HP Pavilion 15-p214dx Display Replacement: step 13, image 3 of 3
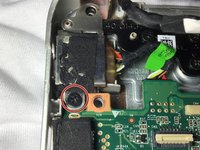
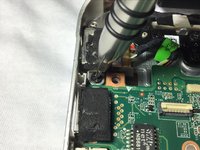
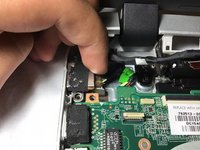
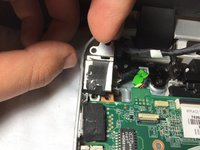
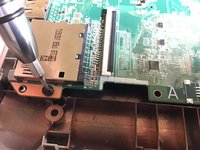
      • Dismount the power supply cable holding the motherboard, by removing the 5.5 mm screws shown in the first picture on the right, using a Philips #0 screwdriver to remove the screws.

      Ask FixBot

      Add Comment

    4. HP Pavilion 15-p214dx Display Replacement: step 14, image 1 of 3 HP Pavilion 15-p214dx Display Replacement: step 14, image 2 of 3 HP Pavilion 15-p214dx Display Replacement: step 14, image 3 of 3
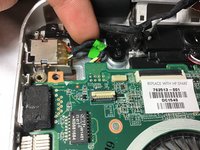
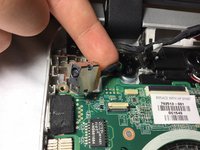
      • Remove the metal cover to free the motherboard supply cable.

      Ask FixBot

      Add Comment

    5. HP Pavilion 15-p214dx Display Replacement: step 15, image 1 of 3 HP Pavilion 15-p214dx Display Replacement: step 15, image 2 of 3 HP Pavilion 15-p214dx Display Replacement: step 15, image 3 of 3
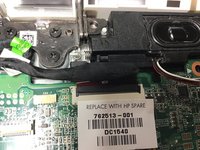
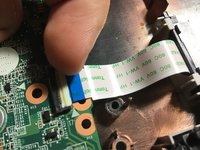
      • Undo the clip holding the display cable.

      • Gently remove and disconnect the display cable.

      Ask FixBot

      Add Comment

    6. HP Pavilion 15-p214dx Display Replacement: step 16, image 1 of 3 HP Pavilion 15-p214dx Display Replacement: step 16, image 2 of 3 HP Pavilion 15-p214dx Display Replacement: step 16, image 3 of 3
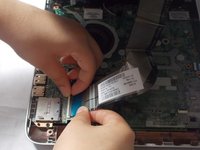
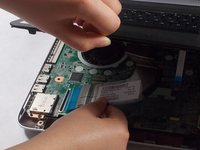
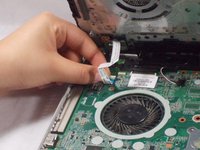
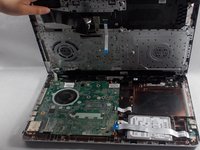
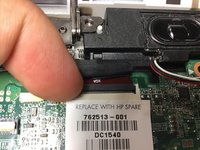
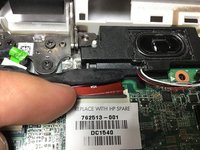
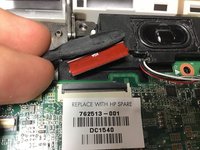
      • Disconnect the disc drive cable by undoing the clip.

      • Repeat the same step for the the hard drive cable.

      • Note there is no need to completely remove the hard drive, just undoing the cable from the motherboard should be sufficient.

      Ask FixBot

      Add Comment

    7. HP Pavilion 15-p214dx Display Replacement: step 17, image 1 of 3 HP Pavilion 15-p214dx Display Replacement: step 17, image 2 of 3 HP Pavilion 15-p214dx Display Replacement: step 17, image 3 of 3
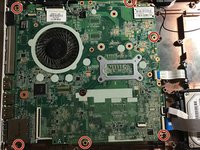
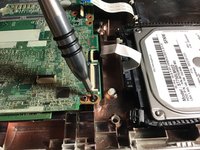
      • Remove the 7mm screws holding the computer's motherboard in place.

      • Using a magnetic screwdriver with a Philips #0 head, remove all of the visible screws on your laptop's motherboard corners.

      Ask FixBot

      Add Comment

    8. HP Pavilion 15-p214dx Display Replacement: step 18, image 1 of 3 HP Pavilion 15-p214dx Display Replacement: step 18, image 2 of 3 HP Pavilion 15-p214dx Display Replacement: step 18, image 3 of 3
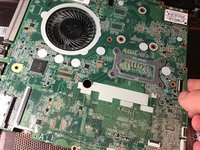
      • After the motherboard is dismounted and all the cable are disconnected, remove the motherboard from the device.

      Ask FixBot

      Add Comment

    1. HP Pavilion 15-p214dx Display Replacement, Display: step 19, image 1 of 3 HP Pavilion 15-p214dx Display Replacement, Display: step 19, image 2 of 3 HP Pavilion 15-p214dx Display Replacement, Display: step 19, image 3 of 3
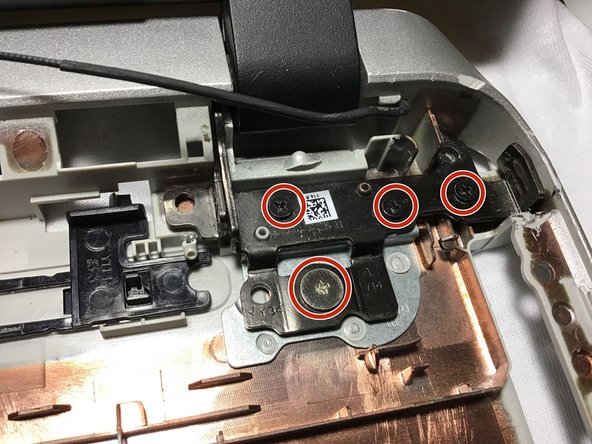
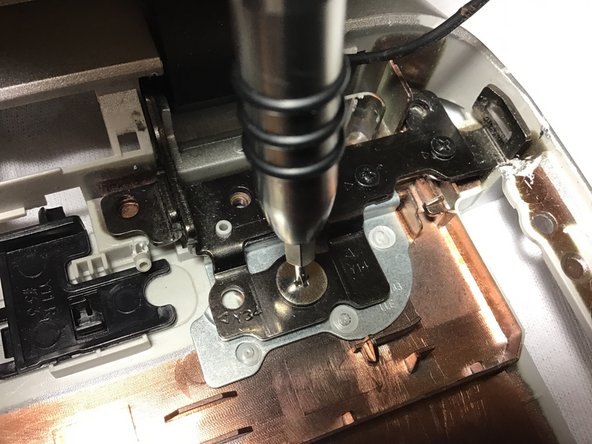
      • Dismount the display corners by removing the labeled 5.5 mm screws on the corners using a Philips #0 screwdriver to remove the screws.

      Ask FixBot

      Add Comment

    2. HP Pavilion 15-p214dx Display Replacement: step 20, image 1 of 2 HP Pavilion 15-p214dx Display Replacement: step 20, image 2 of 2
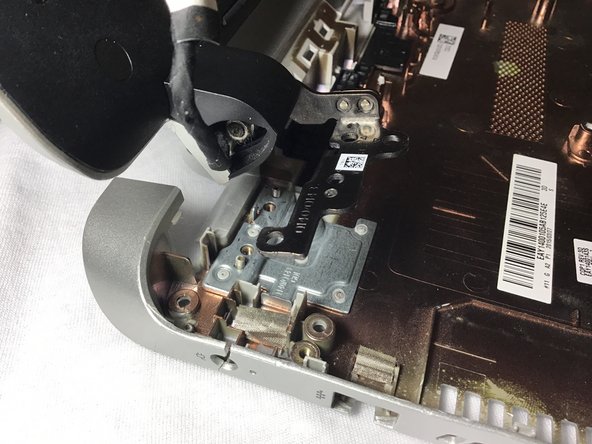
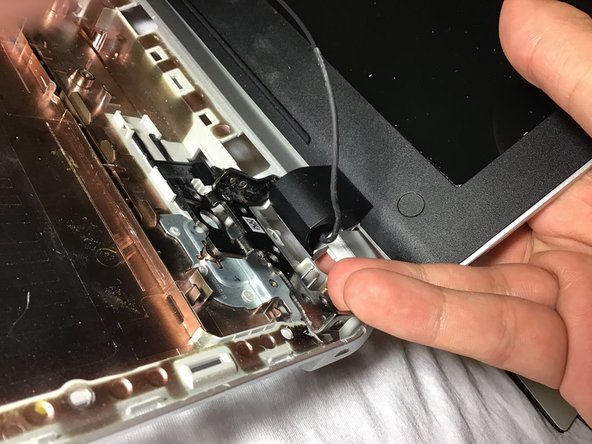
      • Notice after removing the screws the screen become able to move easily.

      Ask FixBot

      Add Comment

    3. HP Pavilion 15-p214dx Display Replacement: step 21, image 1 of 3 HP Pavilion 15-p214dx Display Replacement: step 21, image 2 of 3 HP Pavilion 15-p214dx Display Replacement: step 21, image 3 of 3
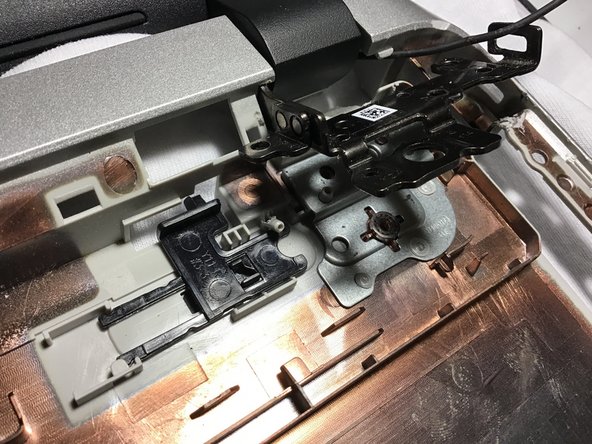
      • Line up with the side of the laptop.

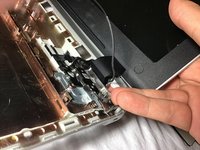
      • Push the hinges from left to right to unhook it from it's place.

      • Remove the screen from the device.

      Ask FixBot

      Add Comment

Conclusion

To reassemble your device, follow these instructions in reverse order.

Cancel: I did not complete this guide.

One other person completed this guide.

Patrick Seaver

Member since: 03/25/19

1,001 Reputation

8 Guides authored

Team

0 Guide Comments

Add Comment

View Statistics:

Past 24 Hours: 1

Past 7 Days: 7

Past 30 Days: 21

All Time: 1,420