Free Shipping on Domestic Orders $75+

HP Pavilion 15-eh SSD Replacement

Views: 11K

View statistics:

Past 24 Hours:
15
Past 7 Days:
125
Past 30 Days:
535
All Time:
10,763
Comments: 1

1 guide comment.

Go to guide comments
Completed: 5

5 people have marked this guide "completed." Will you be next?

Favorites: 1

1 person has favorited (and subscribed to) this guide. Will you be next?

Time Required: 20 - 30 minutes
Difficulty: Moderate
OEM Guide

iFixit collaborated with the manufacturer to make this guide.

HP Pavilion 15-eh SSD Replacement

Introduction

Go to step 1 ↓

Use this guide to replace the SSD in your HP Pavilion 15 Laptop PC.

Note: This procedure was written using a model 15-eg2015od HP 15 Pavilion Laptop PC, but is fully compatible with any HP 15 Pavilion Laptop PC whose model number starts with 15-eg or 15-eh.

Still under warranty? Contact HP to learn your warranty status, receive a repair under warranty if eligible, or for further warranty information.

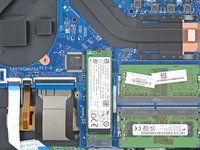
This laptop has one slot that supports an M.2 2280 SSD.

Before you starting this repair, consider backing up your current drive. If necessary, familiarize yourself with a disk cloning utility so you’ll be ready to transfer your data to the new drive.

This procedure requires removing the battery to disconnect it. Use care to avoid bending, twisting, or puncturing it—a charged lithium-ion battery can be very dangerous if accidentally punctured. If your battery looks puffy or swollen, take extra precautions.

What you need

Fix Kit

This kit contains all the parts and tools needed to complete this guide.

Parts

Tools

    1. HP Pavilion 15-eh SSD Replacement, Prepare your laptop for disassembly: step 1, image 1 of 1
      • Fully shut down your laptop and unplug all cables.

      Ask FixBot

      Add Comment

    1. HP Pavilion 15-eh SSD Replacement, Flip your laptop over: step 2, image 1 of 1
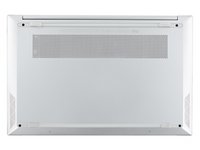
      • Flip your laptop over so the rubber feet are facing up.

      Ask FixBot

      Add Comment

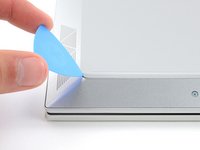
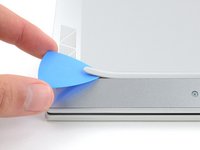
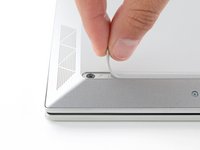
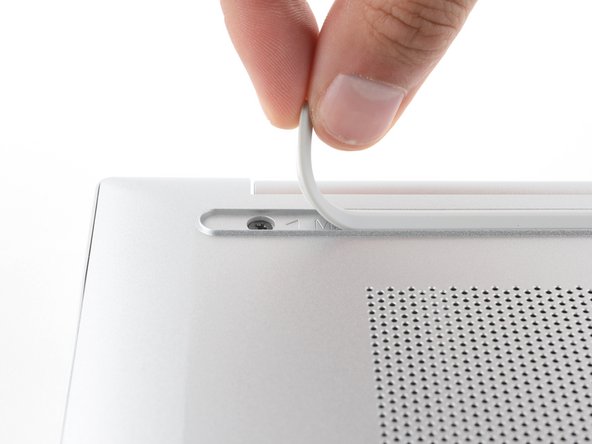
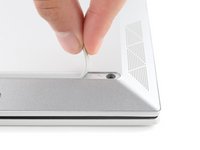
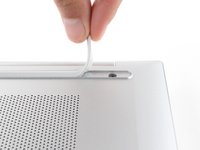
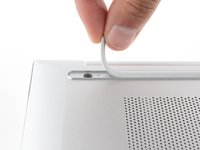
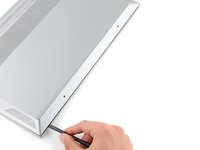
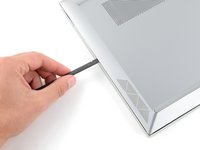
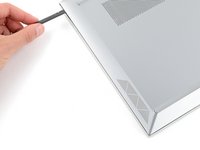
    2. HP Pavilion 15-eh SSD Replacement, Expose the back cover screws: step 3, image 1 of 3 HP Pavilion 15-eh SSD Replacement, Expose the back cover screws: step 3, image 2 of 3 HP Pavilion 15-eh SSD Replacement, Expose the back cover screws: step 3, image 3 of 3
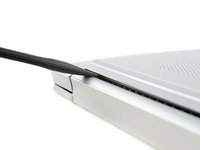
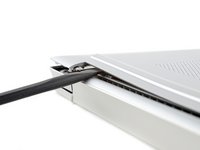
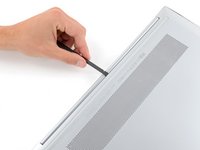
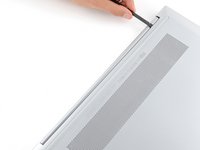
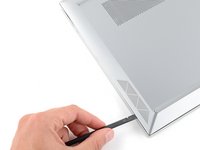
      • The ends of the rubber feet cover four back cover screws.

      • Use an opening pick to peel up an end of the front rubber foot until you can grip it with your fingers.

      • Make sure both the foot and its adhesive peel up together, as they need to be lifted up as one piece.

      • Peel up the end of the foot with your fingers just until the hidden screw underneath is exposed—you don't need to fully remove the foot.

      Ask FixBot

      Add Comment

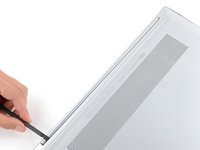
    3. HP Pavilion 15-eh SSD Replacement: step 4, image 1 of 3 HP Pavilion 15-eh SSD Replacement: step 4, image 2 of 3 HP Pavilion 15-eh SSD Replacement: step 4, image 3 of 3
      Tool used on this step:
      Tesa 61395 Tape
      $8.95
      Buy
      • Peel up the other ends of the feet to expose the three remaining screws.

      • During reassembly:

      • Press down firmly on the ends of the feet to secure them into their recesses.

      • If the foot adhesive doesn't remain tacky enough to readhere, you can use double-sided tape such as Tesa Tape.

      Ask FixBot

      Add Comment

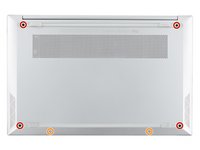
    4. HP Pavilion 15-eh SSD Replacement, Unfasten the back cover: step 5, image 1 of 2 HP Pavilion 15-eh SSD Replacement, Unfasten the back cover: step 5, image 2 of 2
      • Use a Phillips screwdriver to remove the six screws securing the back cover:

      • Four larger 6.6 mm-long black screws

      • Two smaller 4.8 mm-long silver screws

      • Despite the standards, Phillips screwdrivers can vary in size and shape—two drivers labeled as the same size may fit differently in the same screw. Use the size that fits the most snug into the screw head to avoid stripping it.

      Ask FixBot

      Add Comment

    5. HP Pavilion 15-eh SSD Replacement, Release the clips: step 6, image 1 of 2 HP Pavilion 15-eh SSD Replacement, Release the clips: step 6, image 2 of 2
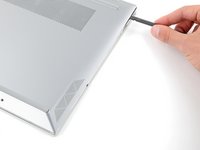
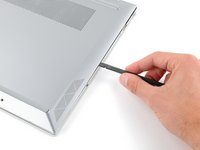
      • Tight plastic clips secure the back cover to the frame. You'll hear and feel the clips release as you work.

      • Insert the flat end of a spudger between the top edge of the back cover and frame, just to the left of the right hinge.

      • Pry up with the spudger to release the clips securing the top right corner of the back cover.

      Ask FixBot

      Add Comment

    6. HP Pavilion 15-eh SSD Replacement: step 7, image 1 of 3 HP Pavilion 15-eh SSD Replacement: step 7, image 2 of 3 HP Pavilion 15-eh SSD Replacement: step 7, image 3 of 3
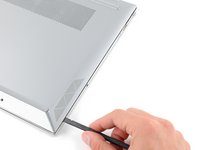
      • Insert the flat end of a spudger between the top right corner of the back cover and frame.

      • Slide the spudger down to the bottom right corner to release the clips on the right edge.

      Ask FixBot

      Add Comment

    7. HP Pavilion 15-eh SSD Replacement: step 8, image 1 of 3 HP Pavilion 15-eh SSD Replacement: step 8, image 2 of 3 HP Pavilion 15-eh SSD Replacement: step 8, image 3 of 3
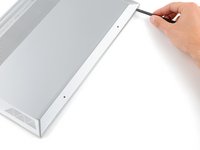
      • Insert the flat end of a spudger between the bottom right corner of the back cover and frame.

      • Slide the spudger to the bottom left corner to release the clips.

      Ask FixBot

      Add Comment

    8. HP Pavilion 15-eh SSD Replacement: step 9, image 1 of 3 HP Pavilion 15-eh SSD Replacement: step 9, image 2 of 3 HP Pavilion 15-eh SSD Replacement: step 9, image 3 of 3
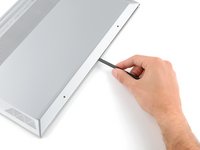
      • Insert the flat end of a spudger between the bottom left corner of the back cover and frame.

      • Slide the spudger up to the top left corner to release the clips on the left edge.

      Ask FixBot

      Add Comment

    9. HP Pavilion 15-eh SSD Replacement: step 10, image 1 of 3 HP Pavilion 15-eh SSD Replacement: step 10, image 2 of 3 HP Pavilion 15-eh SSD Replacement: step 10, image 3 of 3
      • Insert the flat end of a spudger between the top edge of the back cover and frame, just to the right of the left hinge.

      • Slide the spudger towards the right hinge to release the remaining clips.

      Ask FixBot

      Add Comment

    10. HP Pavilion 15-eh SSD Replacement, Remove the back cover: step 11, image 1 of 3 HP Pavilion 15-eh SSD Replacement, Remove the back cover: step 11, image 2 of 3 HP Pavilion 15-eh SSD Replacement, Remove the back cover: step 11, image 3 of 3
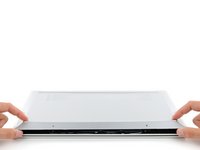
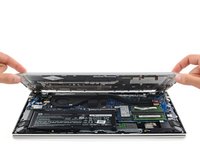
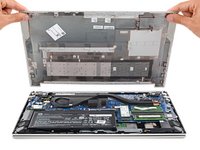
      • Remove the back cover.

      • To reinstall the back cover, lay it on the frame and firmly press down around the perimeter to engage all the clips.

      Ask FixBot

      Add Comment

    1. HP Pavilion 15-eh SSD Replacement, Unfasten the battery: step 12, image 1 of 2 HP Pavilion 15-eh SSD Replacement, Unfasten the battery: step 12, image 2 of 2
      • Given the design of the battery connector, the only way to disconnect the battery is to physically remove it.

      • Try not to bend, crease, deform, poke, or puncture the battery with your tool—a damaged battery is a potential fire hazard.

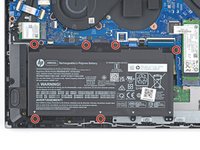
      • Use a Phillips screwdriver to remove the six 3.9 mm-long screws securing the battery.

      Ask FixBot

      Add Comment

    2. HP Pavilion 15-eh SSD Replacement, Remove the battery: step 13, image 1 of 3 HP Pavilion 15-eh SSD Replacement, Remove the battery: step 13, image 2 of 3 HP Pavilion 15-eh SSD Replacement, Remove the battery: step 13, image 3 of 3
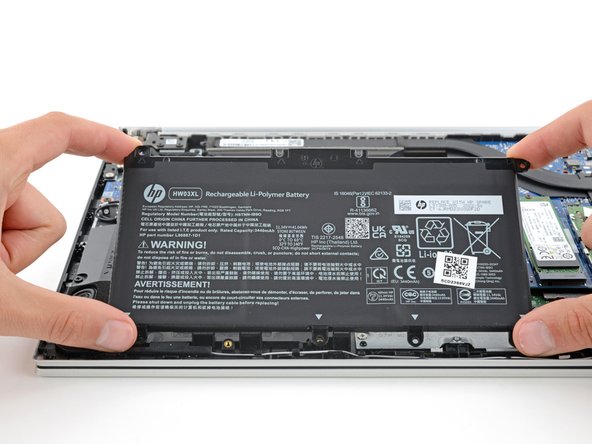
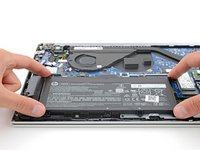
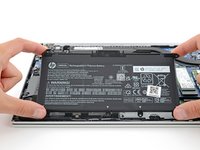
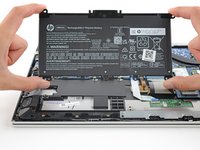
      • Gently lift the upper edge of the battery to disconnect its socket from the motherboard.

      • Remove the battery.

      • During reassembly, use the alignment posts to position the battery and press down on the socket to secure it.

      • Never reuse a deformed or damaged battery—it's a fire hazard. Replace it with a new battery.

      Ask FixBot

      Add Comment

    1. HP Pavilion 15-eh SSD Replacement, Remove the SSD screw: step 14, image 1 of 2 HP Pavilion 15-eh SSD Replacement, Remove the SSD screw: step 14, image 2 of 2
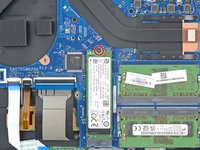
      • Use a Phillips screwdriver to remove the 2.5 mm-long screw securing the SSD.

      Ask FixBot

      Add Comment

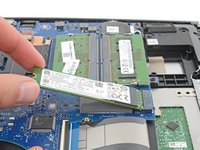
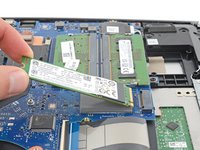
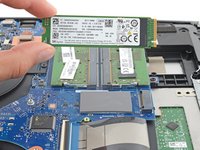
    2. HP Pavilion 15-eh SSD Replacement, Remove the SSD: step 15, image 1 of 3 HP Pavilion 15-eh SSD Replacement, Remove the SSD: step 15, image 2 of 3 HP Pavilion 15-eh SSD Replacement, Remove the SSD: step 15, image 3 of 3
      • With the SSD screw removed, the SSD will pop up at a shallow angle.

      • Grip the SSD by its edges and pull it away from its M.2 board connector to remove it.

      • When removing the SSD, its thermal pad may lift up with it. If this happens, remove it and re-adhere it to its spot on the motherboard for use with a replacement SSD.

      • During reassembly, insert the SSD at a shallow angle into its board connector, and secure it back into its horizontal position with the SSD screw.

      Ask FixBot

      Add Comment

Conclusion

To reassemble your device, follow these instructions in reverse order.

Take your e-waste to an R2 or e-Stewards certified recycler. Depending on your region, used HP devices and parts can be returned for reuse or recycling through the HP Planet Partners program.

Repair didn’t go as planned? Try some basic troubleshooting, or ask our Answers community for help.

Cancel: I did not complete this guide.

5 other people completed this guide.

Spencer Day

Member since: 09/14/22

206,507 Reputation

1,266 Guides authored

Team

iFixit Member of iFixit

Staff

121 Members

72,882 Guides authored

1 Guide Comment

the ssd screw is glued in for my laptop so if the screw wont turn use a hot air gun and not strip the screw like i did

Franklin Hu - Reply Share
Add Comment

View Statistics:

Past 24 Hours: 15

Past 7 Days: 125

Past 30 Days: 535

All Time: 10,763