Free Shipping on Domestic Orders $75+

HP Pavilion 15-eg0025nr Screen Replacement

What you need

    1. HP Pavilion 15-eg0025nr Screen Replacement, Back Panel: step 1, image 1 of 1
      • Unplug and turn off the laptop before removing the back panel

      • Flip over the computer so that the back panel is facing upwards.

      • Remove the two silver screws on the bottom of the laptop using a Phillips #00 screwdriver.

      Ask FixBot

      Add Comment

    2. HP Pavilion 15-eg0025nr Screen Replacement: step 2, image 1 of 2 HP Pavilion 15-eg0025nr Screen Replacement: step 2, image 2 of 2
      • Peel up each end of the two gray rubber stoppers using your fingers or an opening pick.

      • This may be difficult if it is your first time removing them.

      • Remove the two black screws underneath the rubber stoppers with the Phillips #00 screwdriver

      Ask FixBot

      Add Comment

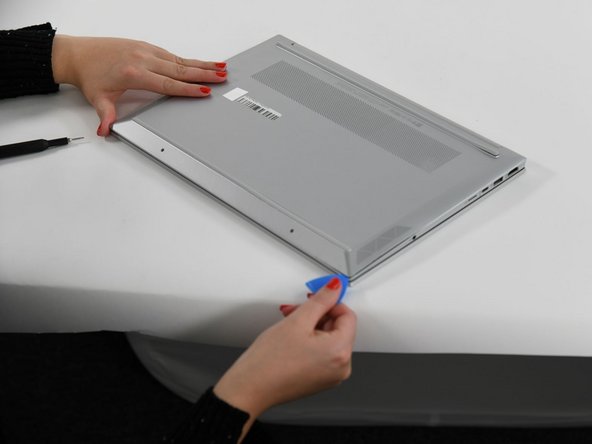
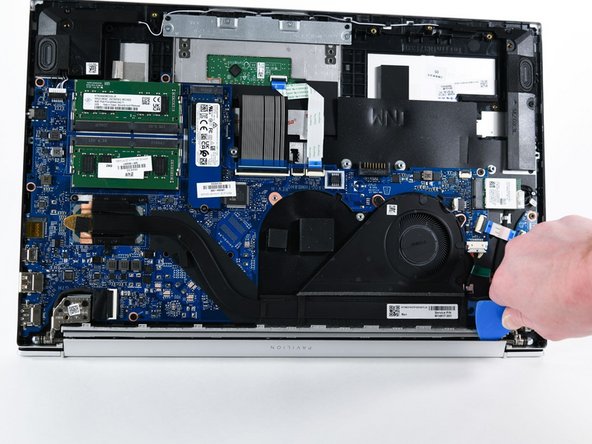
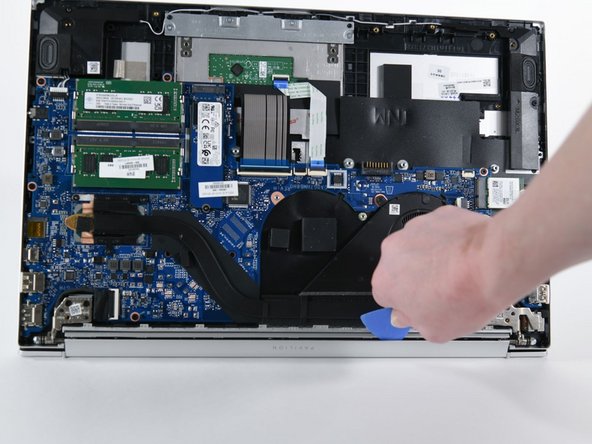
    3. HP Pavilion 15-eg0025nr Screen Replacement: step 3, image 1 of 3 HP Pavilion 15-eg0025nr Screen Replacement: step 3, image 2 of 3 HP Pavilion 15-eg0025nr Screen Replacement: step 3, image 3 of 3
      • Slide the opening pick around the edges of the laptop where the chassis has a seam.

      • You will hear a clicking noise as you undo the clips of the chassis.

      • It may be easier to start with the four corners of the laptop, and then follow through with the sides.

      Ask FixBot

      Add Comment

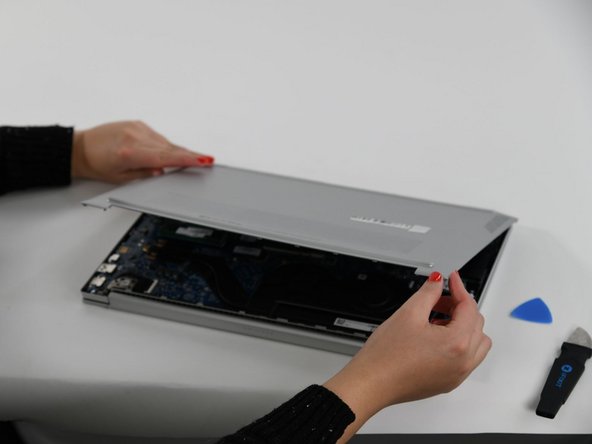
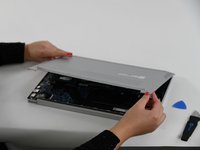
    4. HP Pavilion 15-eg0025nr Screen Replacement: step 4, image 1 of 1
      • Remove the back panel completely.

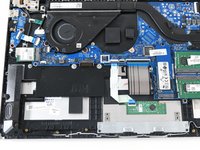
      • With the back panel removed, you can now access parts of the laptop such as the fan or the battery.

      Ask FixBot

      Add Comment

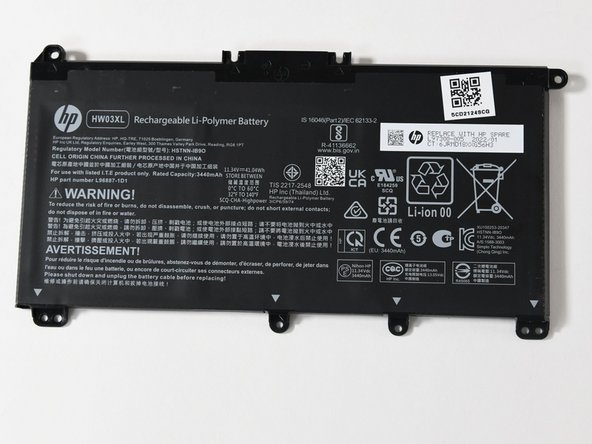
    1. HP Pavilion 15-eg0025nr Screen Replacement, Battery: step 5, image 1 of 1
      • Remove the five screws from the battery using a Phillips #00 screwdriver.

      Ask FixBot

      Add Comment

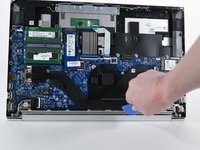
    2. HP Pavilion 15-eg0025nr Screen Replacement: step 6, image 1 of 2 HP Pavilion 15-eg0025nr Screen Replacement: step 6, image 2 of 2
      • Remove the battery from the laptop.

      Ask FixBot

      Add Comment

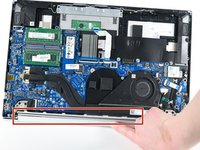
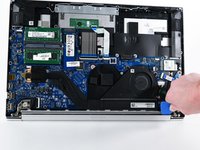
    1. HP Pavilion 15-eg0025nr Screen Replacement, Screen: step 7, image 1 of 3 HP Pavilion 15-eg0025nr Screen Replacement, Screen: step 7, image 2 of 3 HP Pavilion 15-eg0025nr Screen Replacement, Screen: step 7, image 3 of 3
      • Do not attempt to remove the screen without first removing the back panel and battery. Ensure that the laptop is powered off before removing the screen

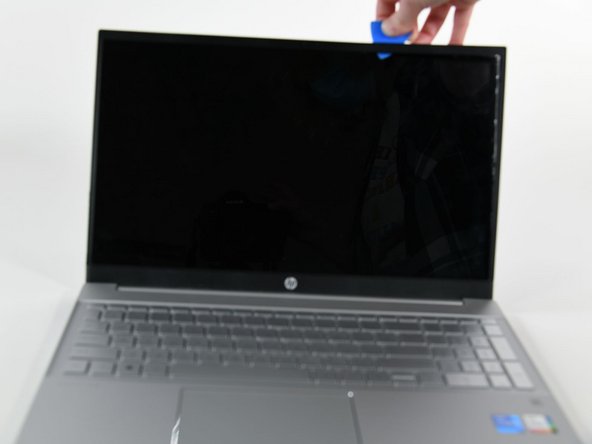
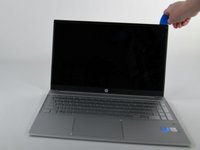
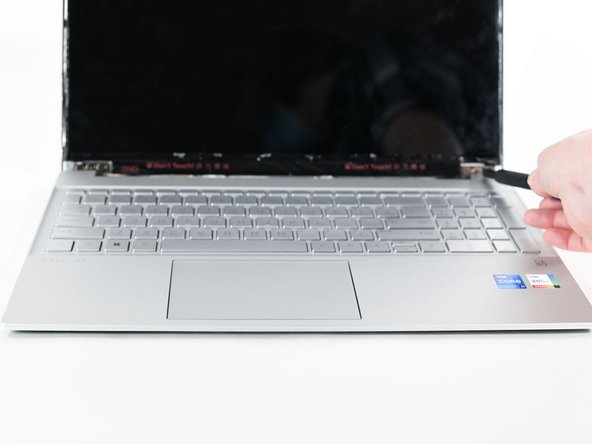
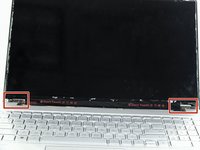
      • Find the hinge bezel where the display bezel meets the back panel.

      • Using an opening pick, unclip the hinge bezel by sliding the pick along the hinge.

      Ask FixBot

      Add Comment

    2. HP Pavilion 15-eg0025nr Screen Replacement: step 8, image 1 of 3 HP Pavilion 15-eg0025nr Screen Replacement: step 8, image 2 of 3 HP Pavilion 15-eg0025nr Screen Replacement: step 8, image 3 of 3
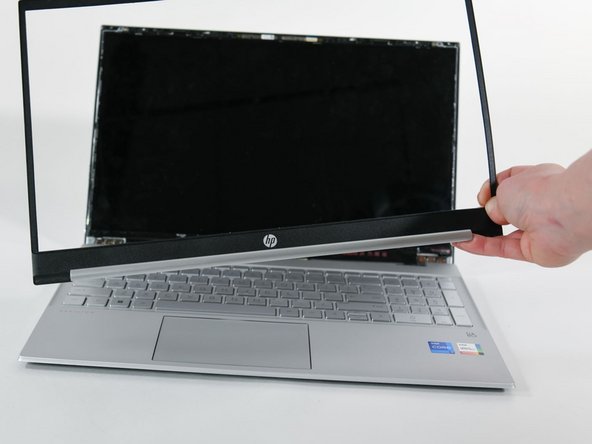
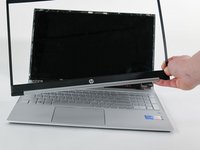
      • Using an opening pick, pry open the top, sides, and bottom of the display bezel.

      • Remove the display bezel and set aside.

      Ask FixBot

      Add Comment

    3. HP Pavilion 15-eg0025nr Screen Replacement: step 9, image 1 of 3 HP Pavilion 15-eg0025nr Screen Replacement: step 9, image 2 of 3 HP Pavilion 15-eg0025nr Screen Replacement: step 9, image 3 of 3
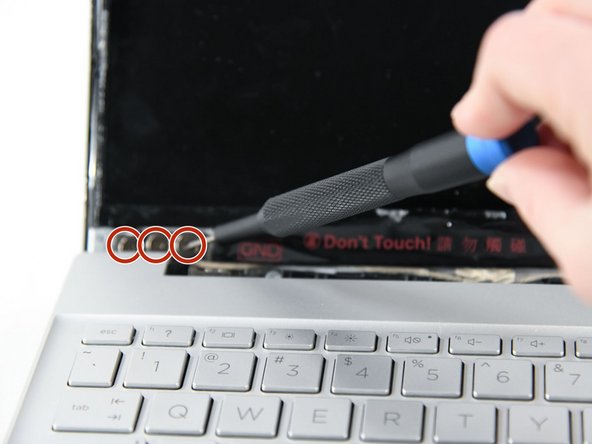
      • Remove the six golden screws with a Phillips #00 screwdriver and set aside.

      • There are three screws on each side.

      Ask FixBot

      Add Comment

    4. HP Pavilion 15-eg0025nr Screen Replacement: step 10, image 1 of 2 HP Pavilion 15-eg0025nr Screen Replacement: step 10, image 2 of 2
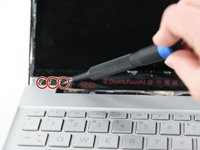
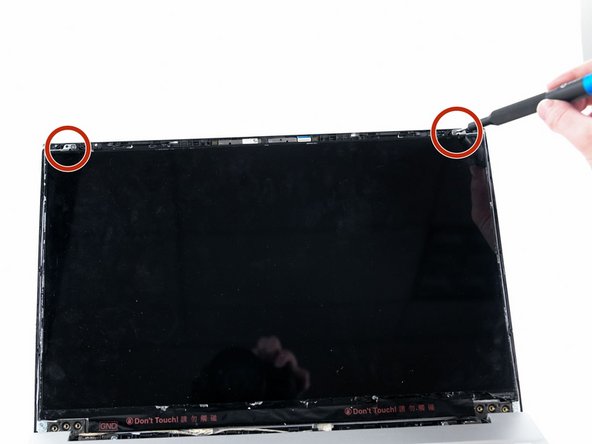
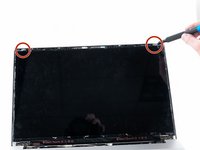
      • Remove the two silver screws at the top of the display panel with a Phillips #00 screwdriver.

      Ask FixBot

      Add Comment

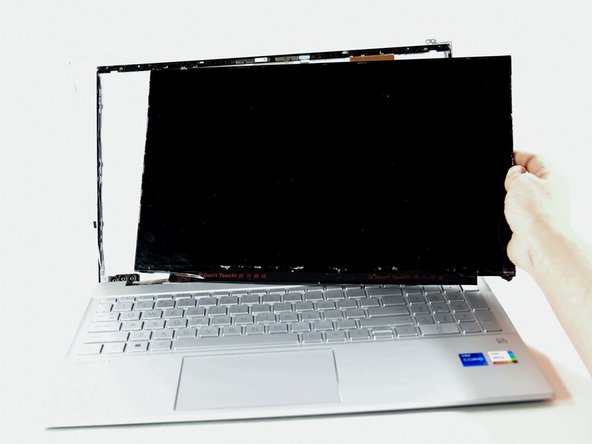
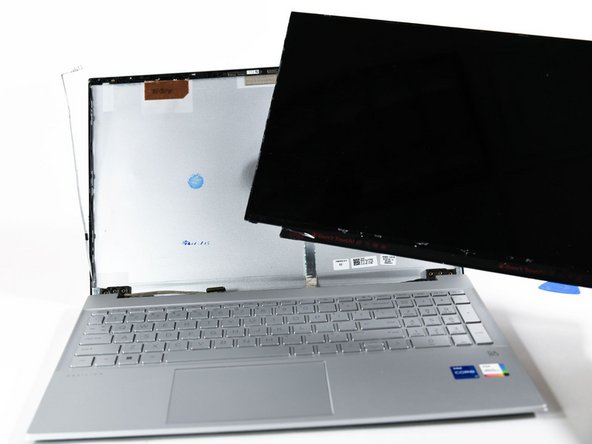
    5. HP Pavilion 15-eg0025nr Screen Replacement: step 11, image 1 of 3 HP Pavilion 15-eg0025nr Screen Replacement: step 11, image 2 of 3 HP Pavilion 15-eg0025nr Screen Replacement: step 11, image 3 of 3
      • Using an opening pick, carefully pry the screen from top, sides, and bottom of the display panel.

      • Be cautious to not bend or snap the screen as you pry it out.

      • Remove the screen and set aside.

      Ask FixBot

      Add Comment

Conclusion

To reassemble your device, follow these instructions in reverse order.

Cancel: I did not complete this guide.

0 Guide Comments

Add Comment

View Statistics:

Past 24 Hours: 1

Past 7 Days: 17

Past 30 Days: 72

All Time: 2,383