Introduction
A common pitfall for laptops is a non-functioning battery. View the Battery Troubleshooting Page to identify battery-related issues for the HP Pavilion 15-cs3079nr.
A brief overview of possible symptoms includes:
- Battery is not charging
- Battery is depleting quickly
- Battery is overheating
For issues like these, follow this guide to replace the battery component for your HP Pavilion 15-cs3079nr and bring it back to proper working condition.
What you need
-
-
-
-
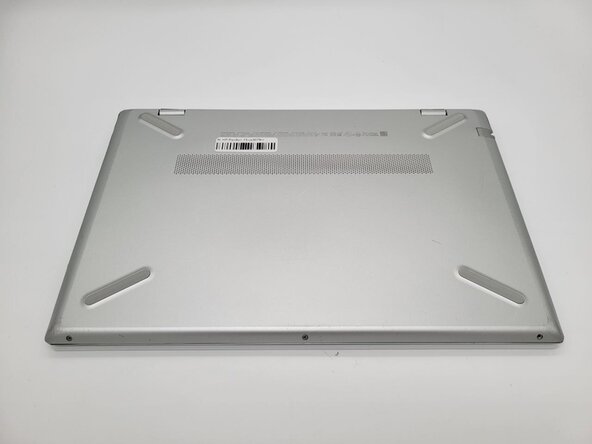
Use a Phillips #0 screwdriver to remove the three 7 mm screws from the recesses.
-
-
-
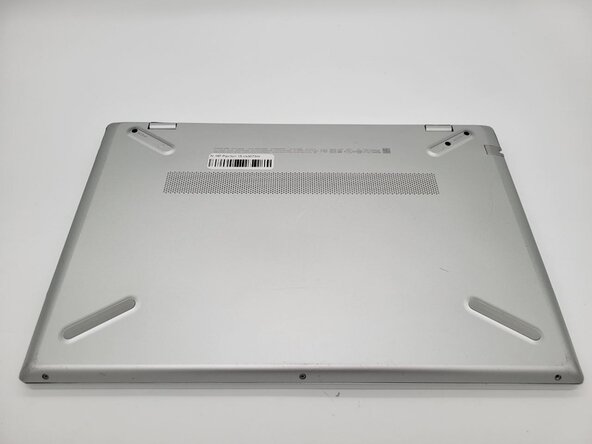
Use a Phillips #0 screwdriver to remove the three silver 5 mm case screws from the front of the device.
-
-
-
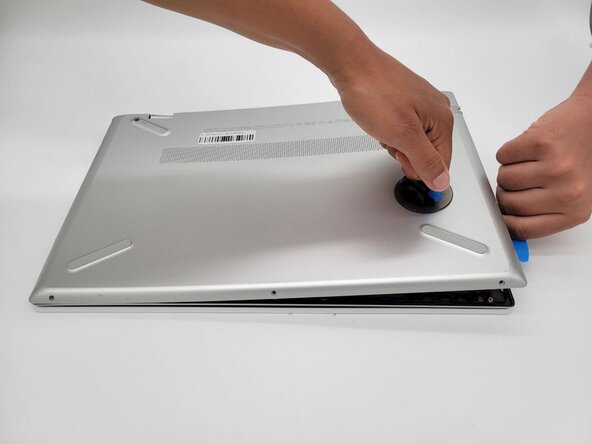
Place the suction handle on the case.
-
Insert an opening pick between the case sections and work around the perimeter of the device to separate the lower case from the chassis.
-
-
-
-
Use a Phillips #0 screwdriver to remove the three 4.5 mm screws securing the battery.
-
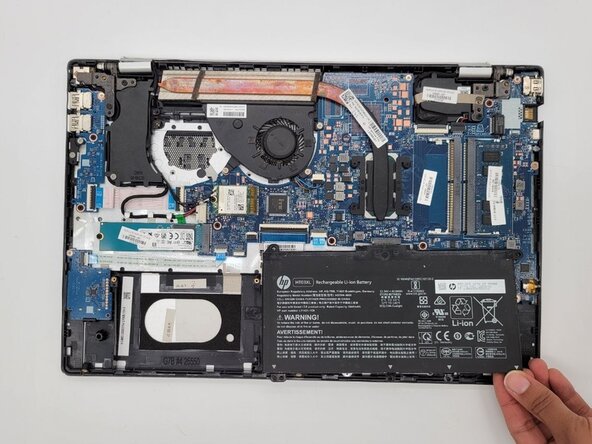
Carefully lift and remove the battery.
-
-




 Ask FixBot







To reassemble your device, follow the above steps in reverse order.
For optimal performance, after completing this guide, calibrate your newly installed battery.
Take your e-waste to an R2 or e-Stewards certified recycler.
Repair didn’t go as planned? Try some basic troubleshooting or ask our Answers community for help.

Team

University of North Texas, Team 1-1, Rea Spring 2026 Member of University of North Texas, Team 1-1, Rea Spring 2026
UNT-REA-S26S1G1
5 Members
65 Guides authored
