
HP Pavilion 15-ba003ds Screen Replacement

Joseph Chia and 3 other contributors
Last updated on Dec 28, 2020
Views: 714
View statistics:
- Past 24 Hours:
- 1
- Past 7 Days:
- 14
- Past 30 Days:
- 66
- All Time:
- 714
Comments: 0
No one has left comments on this guide. Will you be first?
Go to guide commentsCompleted: 0 1
No one has marked this guide "completed." Will you be the first?
1 person has marked this guide "completed." It's you — great job!
Favorites: 0 1
No one has favorited (and subscribed to) this guide. Will you be the first?
1 person has favorited (and subscribed to) this guide — and that's you!
Introduction
Go to step 1 ↓If your HP Pavilion 15-ba003ds has a screen that is damaged or will not turn on, you might need to replace it. Use this guide to disassemble and remove your old screen without damaging any other components of your laptop.
The screen itself is a thin display module that is fastened behind the frame of the upper portion of your laptop. Aside from obvious cracks, symptoms of a bad or damaged screen include the appearance of “dead” pixels, blotches, or a screen that is having trouble reaching its full brightness.
Before using this guide, check the settings on your device for brightness and contrast to see if the image cannot be corrected.
This instruction requires a steady hand and attention to technique. A mistake in this process could result in damage to the screen or wires within your HP Pavilion.
Check to make sure that you have all of the required tools and parts before beginning this guide.
Before you get started, power off the device completely and disconnect the device from any external power source.
What you need
Tools


-
-
-
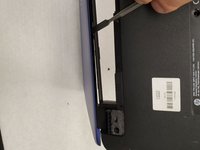
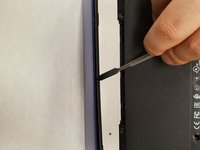
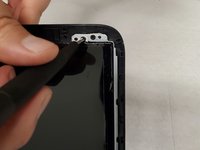
Apply firm pressure and slide the metal spudger along the outside edges of the front panel screen.
 Ask FixBot
-
-
-
Flip the laptop so the bottom is facing upwards.
-
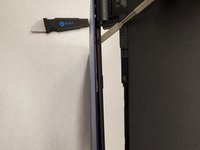
Using the metal spudger, separate the plastic panel off the screen.
-
-
-
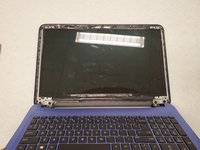
Once the panel is separated from the screen, gently pull it off and set it aside.
-
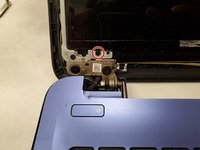
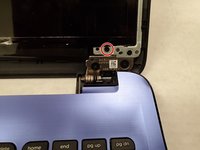
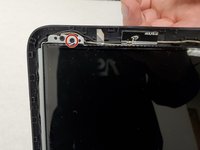
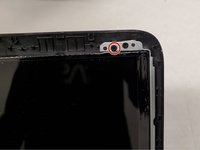
Remove two 6mm Phillips #00 screws from the bottom of the screen.
-
-
-
-
Flip the screen down.
-
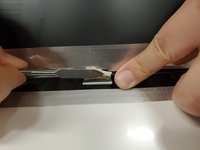
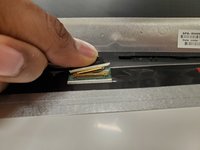
Remove the tape from over the connector.
-
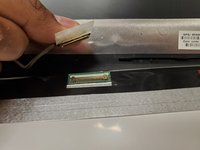
Pull out the connector using your fingers.
-
-









To reassemble your device, follow these instructions in reverse order.

Team

York University, Team S1-G9, Woodhouse Winter 2020 Member of York University, Team S1-G9, Woodhouse Winter 2020
YORK-WOODHOUSE-W20S1G9
3 Members
96 Guides authored
