
HP Pavilion 15-ay041wm RAM Replacement

Carlton Makini and 4 other contributors
Last updated on Sep 4, 2024
Views: 1.6K
View statistics:
- Past 24 Hours:
- 2
- Past 7 Days:
- 19
- Past 30 Days:
- 74
- All Time:
- 1,579
Comments: 1
1 guide comment.
Go to guide commentsCompleted: 1 2
1 person has marked this guide "completed." Will you be next?
2 people have marked this guide "completed." Including you — great job!
Favorites: 0 1
No one has favorited (and subscribed to) this guide. Will you be the first?
1 person has favorited (and subscribed to) this guide — and that's you!
Introduction
Go to step 1 ↓This guide provides instructions for replacing the RAM of your HP Pavilion15-ay041wm.
RAM makes your laptop's performance work fast. This can be seen in everyday tasks, such as loading applications or browsing the internet.
This guide may be necessary if your laptop is slow in performance.
Before replacing the RAM, restart the laptop, as that may fix the issue. If it does not, be sure to power down the device and check and disconnect any cables from the computer, beginning with this guide.
What you need
Tools


-
-
-
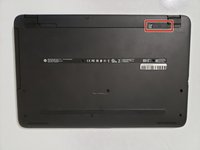
Find the battery lock latch on the top left corner.
-
Slide the latch to the right position.
-
-
-
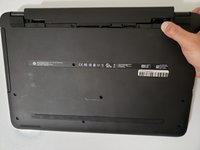
Find the battery release latch on the top right corner.
-
Slide and hold the latch towards the left to cover the battery icon.
-
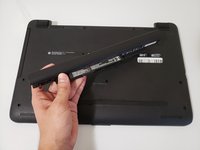
Carefully slide the battery outwards.
-
-
-
-
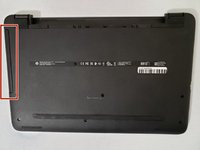
Turn the laptop upside down with the base of the laptop facing you.
-
Remove the grippers positioned at the top right and top left of the laptop to access the two additional screws.
-
Use a 1.5mm Hex screwdriver to remove twelve 10mm screws.
-
-
-
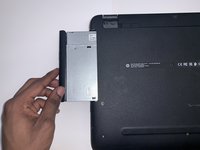
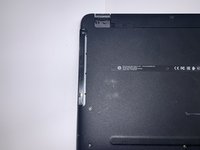
Press the eject button.
-
Hold and carefully slide the disc drive out of the laptop.
-
-
-
-
-
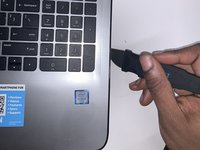
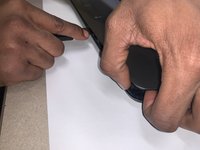
Using the Jimmy, create a separation between the keyboard and bottom panel.
-
Slide around the body of the panel until the separation is big enough for you to use your fingers.
-
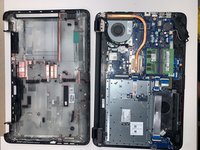
Separate the keyboard and bottom panel.
-
-
-
-
-
-
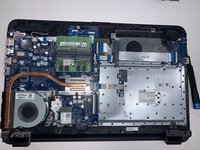
Orient the base of the laptop with the base facing away from you.
-
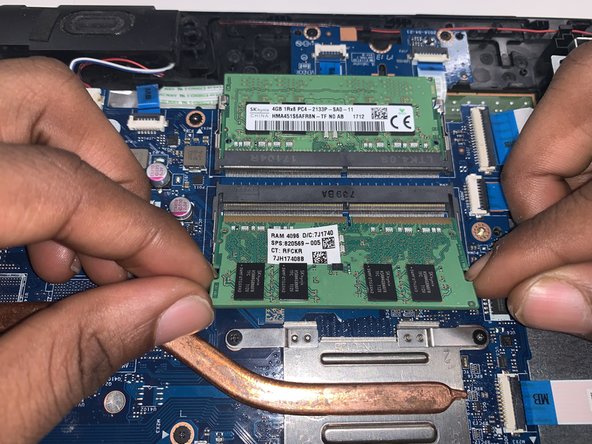
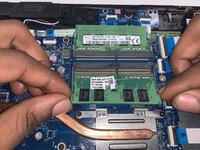
With you index finger and thumb, position your thumb underneath both latches on either side of the RAM and squeeze outwards.
-
Simultaneously, use your index finger to push the RAM sticks towards you.
-
The RAM stick will release and pop up and out.
-
-
-
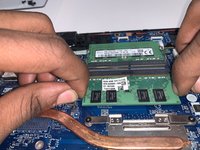
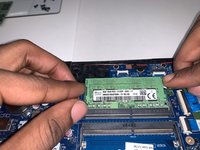
Repeat the same process for the top RAM stick.
-
The RAM stick will release and pop up. Pull the RAM stick out to remove it from the laptop.
-
-


 Ask FixBot










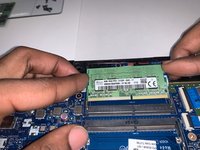
To reassemble your device, follow these instructions in reverse order.
Cancel: I did not complete this guide.
One other person completed this guide.

Team

York University, Team S1-G2, Woodhouse Winter 2020 Member of York University, Team S1-G2, Woodhouse Winter 2020
YORK-WOODHOUSE-W20S1G2
3 Members
48 Guides authored
1 Guide Comment
Saludos, necesito saber las conexiones correctas desde la toma del cargador hasta la placa pues perdí la cinta que conecta a la placa y quisiera hacerle una adaptación. Tiene 8 conexiones y por o general son 4 positivos y 4 negativos, pero tengo dudas en este modelo
