
HP Pavilion 14-v062us Screen Replacement

Lorena Esquivel and 8 other contributors
Last updated on Jan 9, 2025
Views: 2.1K
View statistics:
- Past 24 Hours:
- 1
- Past 7 Days:
- 25
- Past 30 Days:
- 95
- All Time:
- 2,054
Comments: 0
No one has left comments on this guide. Will you be first?
Go to guide commentsCompleted: 1 2
1 person has marked this guide "completed." Will you be next?
2 people have marked this guide "completed." Including you — great job!
Favorites: 0 1
No one has favorited (and subscribed to) this guide. Will you be the first?
1 person has favorited (and subscribed to) this guide — and that's you!
Introduction
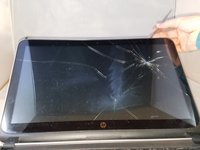
Go to step 1 ↓Is your HP Pavilion 14-v062us laptop screen cracked or malfunctioning? This guide will show you how to replace it step by step. A damaged screen can make using your laptop difficult, and replacing it will restore full functionality.
This repair is beginner-friendly but requires careful attention to avoid damaging other components.
Caution: Always turn off your laptop and unplug it before starting to prevent electric shock or damage. For more troubleshooting tips or related repairs, check the troubleshooting page for more help.
What you need


-
-
-
Push inward towards the center of laptop (it may take a lot of pressure). Battery should release once buttons are completely pushed in
 Ask FixBot
-
-
-
-
-
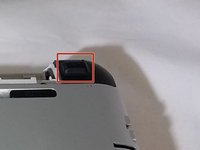
Remove rectangular rubber tops with a spudger
-
Remove the two 4.60 mm PH#1 screws located under rectangular rubber tops.
-
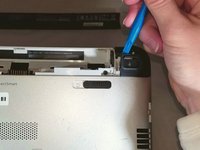
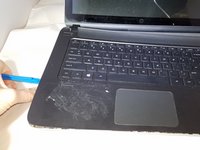
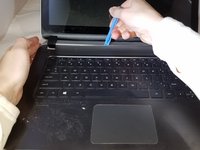
Remove plastic edge covering with the blue plastic opening tool.
-
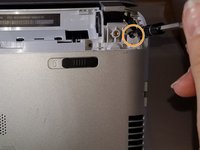
Remove two 4.63 mm PH#1 screws located under plastic edge covering.
-
-
-
Use Phillips screwdriver #1
-
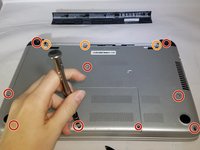
Remove all nine 7.09 mm PH#1 screw black screws including small rectangular cover.
-
Remove the three 7.14 mm PH#1 screws.
-
Remove the one 7.09 mm PH#1 screw that will be underneath the small rectangular cover
-
-
-
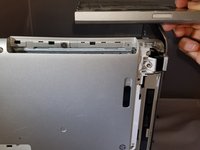
Remove disc tray
-
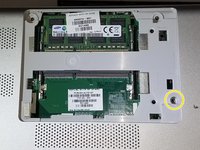
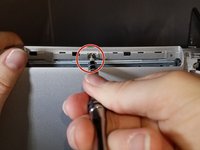
Locate screw within computer that is inside of where the disc tray was
-
Using a Phillips #1 screwdriver, unscrew the screw
-
Set laptop down and open laptop so the keyboard is facing you
-
-
-
-
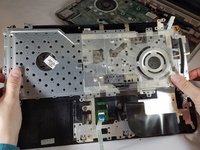
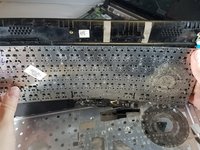
Using a spudger or plastic opening tool, pry along siding of keyboard, where it connects to the rest of the laptop
-
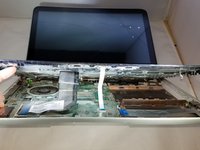
Pry until you are able to lift entire face and keyboard
-
Only cables should be connecting it underneath
-
-
-
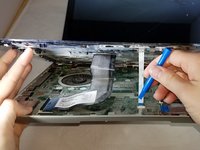
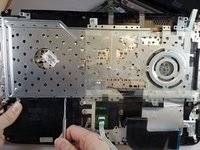
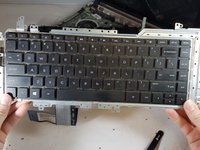
Disconnect/ unplug cables using plastic opening tool.
-
Separate the keyboard panel from the laptop with your hands.
-
Turn around the laptop and lay it flat.
-
-
-
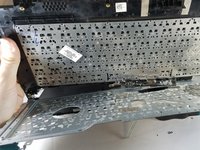
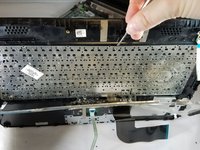
Use a spudger to pry around the first layer of the silver panel until you are able to remove it
-
-
-
Using a spudger tool, start prying around the second layer of the silver panel until you are able to remove it
-
-
-
-
-
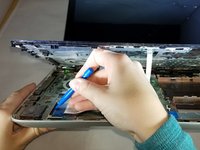
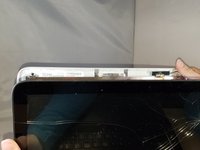
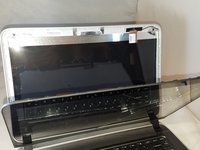
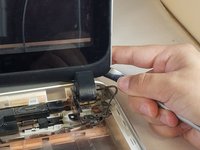
Using the spudger, wedge tool in between screen and laptop
-
Pry open screen with spudger and your hands
-
-
-
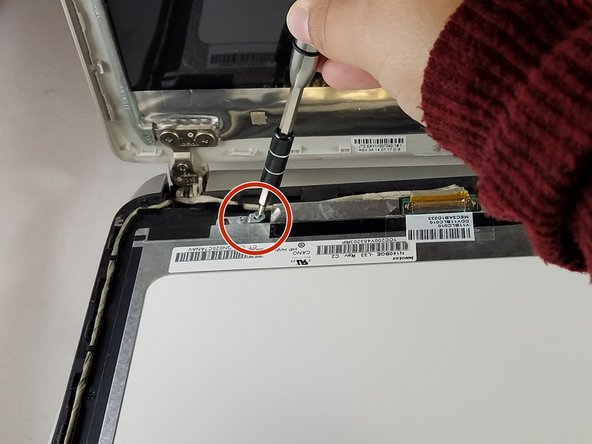
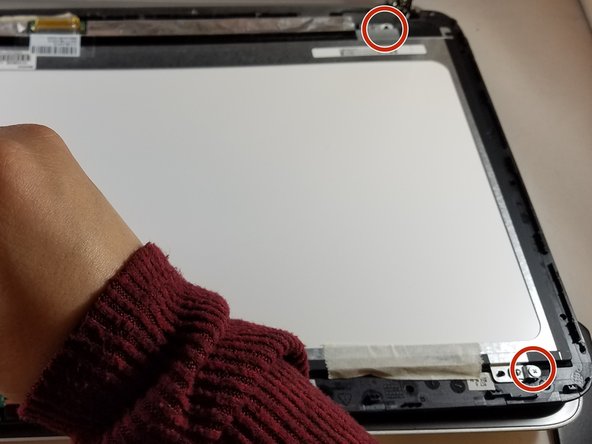
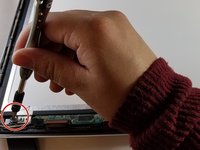
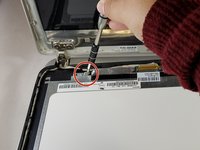
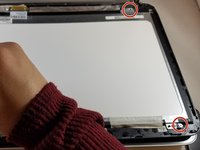
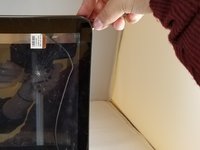
Remove the four 2.86 mm JIS#0 screws from each corner of the silver frame that is holding the digitizer.
-
-
-
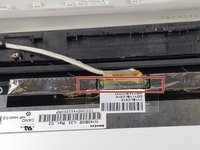
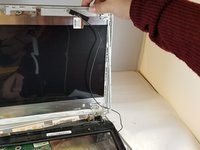
Locate the white and brown wiring that connects to the digitizer and the screen.
-
Cut through the clear part of tape attached to the brown latch and white wiring.
-
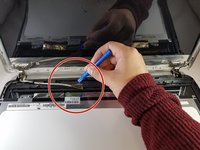
Disconnect the wiring, by lifting the brown latch with the blue plastic opening tool and pulling the white wire at the same time.
-
Lift off the digitizer. If you need to replace the digitizer stop here and replace this part.
-
If you need to replace the screen, then continue
-
-





















To reassemble your device, follow these instructions in reverse order. Take your e-waste to an R2 or e-Stewards certified recycler.
Cancel: I did not complete this guide.
One other person completed this guide.

Team

Eastern Washington University, Team S1-G4, Carnegie Fall 2017 Member of Eastern Washington University, Team S1-G4, Carnegie Fall 2017
EWU-CARNEGIE-F17S1G4
3 Members
48 Guides authored
