Free Shipping on Domestic Orders $75+

HP Pavilion 13-s128nr RAM Replacement

Views: 830

View statistics:

Past 24 Hours:
1
Past 7 Days:
16
Past 30 Days:
84
All Time:
830
Comments: 0

No one has left comments on this guide. Will you be first?

Go to guide comments
Completed: 0

No one has marked this guide "completed." Will you be the first?

Favorites: 1

1 person has favorited (and subscribed to) this guide. Will you be next?

Time Required: 20 minutes
Difficulty: Easy
Grammar Police

Embrace your inner English teacher and help improve this guide's grammar!

Bullets!

Better coordination with markups and the color/type of bullets will help make this guide more clear!

Community-Contributed Guide

An awesome member of our community made this guide. It was not created by iFixit staff.

HP Pavilion 13-s128nr RAM Replacement

What you need

Tools

    1. HP Pavilion 13-s128nr RAM Replacement, Back Panel: step 1, image 1 of 2 HP Pavilion 13-s128nr RAM Replacement, Back Panel: step 1, image 2 of 2
      • Use the iFixit opening tool to take off the rubber caps.

      • Remove the screws using the Phillips #0 screwdriver.

      Ask FixBot

      Add Comment

    2. HP Pavilion 13-s128nr RAM Replacement: step 2, image 1 of 1
      • Use the Jimmy to pry around the seam of the laptop.

      • Remove the back panel of the laptop.

      • Don't completely remove the back panel as there are ribbon cables that can be easily damaged if removed quickly.

      Ask FixBot

      Add Comment

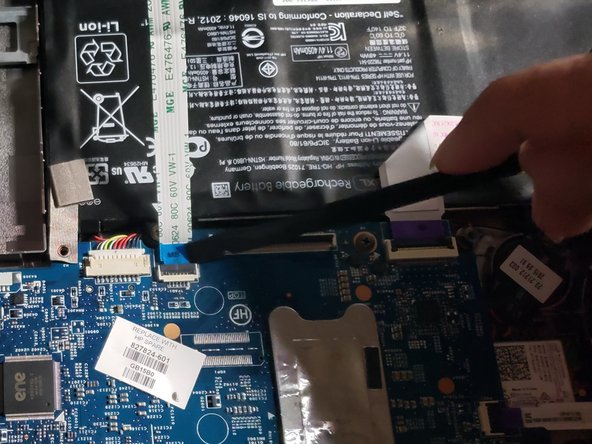
    3. HP Pavilion 13-s128nr RAM Replacement: step 3, image 1 of 2 HP Pavilion 13-s128nr RAM Replacement: step 3, image 2 of 2
      • Using the iFixit opening tool to lift the tabs holding in the cables connecting the keyboard to the motherboard.

      • Pull the cable from the motherboard.

      Ask FixBot

      Add Comment

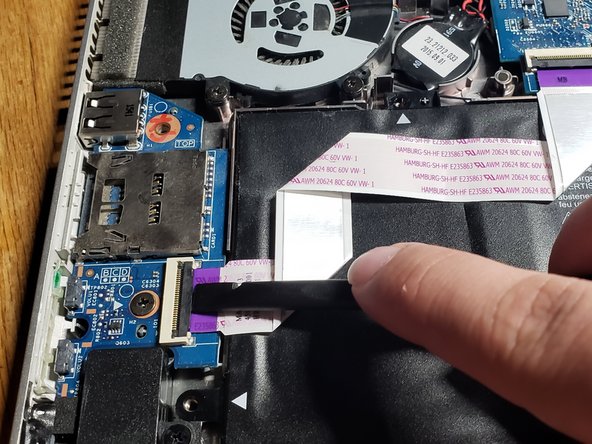
    1. HP Pavilion 13-s128nr RAM Replacement, Battery: step 4, image 1 of 2 HP Pavilion 13-s128nr RAM Replacement, Battery: step 4, image 2 of 2
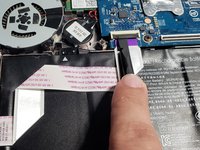
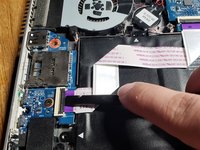
      • Lift upwards on the black tabs the purple strip is connected to.

      • Gently pull the purple strip out of its place.

      Ask FixBot

      Add Comment

    2. HP Pavilion 13-s128nr RAM Replacement: step 5, image 1 of 1
      • Using the Phillips #0 screwdriver, remove the five screws holding the battery in place.

      Ask FixBot

      Add Comment

    3. HP Pavilion 13-s128nr RAM Replacement: step 6, image 1 of 1
      • Pull the white cable connected to the motherboard out using the iFixit opening tool.

      Ask FixBot

      Add Comment

    4. HP Pavilion 13-s128nr RAM Replacement: step 7, image 1 of 1
      • Remove the battery.

      • There are little snap tabs on the right side of the battery. Be sure not to break them by pulling the battery out towards the left side.

      Ask FixBot

      Add Comment

    1. HP Pavilion 13-s128nr RAM Replacement, RAM: step 8, image 1 of 1
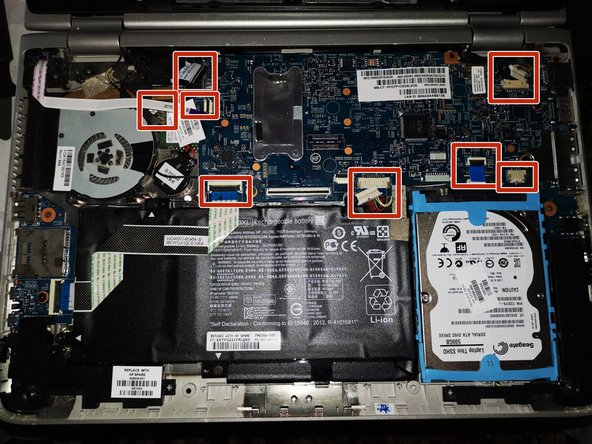
      • Look on previous instruction for how to open the laptop!

      • Remove these cables

      Ask FixBot

      Add Comment

    2. HP Pavilion 13-s128nr RAM Replacement: step 9, image 1 of 1
      • First, these two small.

      • Second, these six.

      Ask FixBot

      Add Comment

    3. HP Pavilion 13-s128nr RAM Replacement: step 10, image 1 of 1
      • While fliping the motherboard, lift the CMOS battery from it's place.

      Ask FixBot

      Add Comment

    4. HP Pavilion 13-s128nr RAM Replacement: step 11, image 1 of 1
      • 2 RAM-slots under this cover

      • M.2 Wi-Fi card

      Ask FixBot

      Add Comment

Conclusion

To reassemble your device, follow these instructions in reverse order.

Cancel: I did not complete this guide.

Attached Documents

alibappan

Member since: 02/26/22

117 Reputation

1 Guide authored

0 Guide Comments

Add Comment

View Statistics:

Past 24 Hours: 1

Past 7 Days: 16

Past 30 Days: 84

All Time: 830