
HP Pavilion 13-s128nr Back Panel Replacement

Sydney Bell and 3 other contributors
Last updated on Jul 31, 2026
Views: 1.4K
View statistics:
- Past 24 Hours:
- 2
- Past 7 Days:
- 20
- Past 30 Days:
- 79
- All Time:
- 1,390
Comments: 0
No one has left comments on this guide. Will you be first?
Go to guide commentsCompleted: 0 1
No one has marked this guide "completed." Will you be the first?
1 person has marked this guide "completed." It's you — great job!
Favorites: 1 2
1 person has favorited (and subscribed to) this guide. Will you be next?
2 people have favorited (and subscribed to) this guide — including you!
Introduction
Go to step 1 ↓This guide will be used for almost every other replacement guide for the HP Pavilion 13-s128nr. This is because this guide is used for opening up the HP Pavilion 13-s128nr to get to the interior parts.
What you need
Tools


-
-
-
Use the iFixit opening tool to take off the rubber caps.
-
Remove the screws using the Phillips #0 screwdriver.
 Ask FixBot
-
-
-
Use the Jimmy to pry around the seam of the laptop.
-
Remove the back panel of the laptop.
-
-
-
-
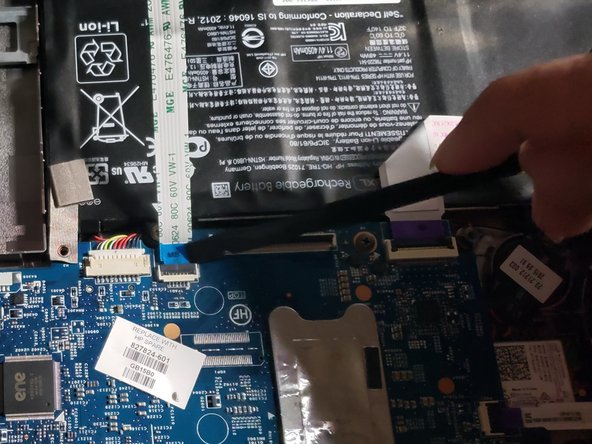
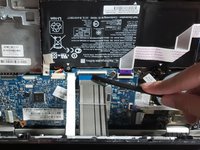
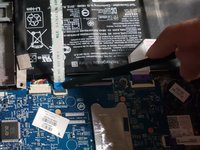
Using the iFixit opening tool to lift the tabs holding in the cables connecting the keyboard to the motherboard.
-
Pull the cable from the motherboard.
-
-


To reassemble your device, follow these instructions in reverse order.

Team

University of North Texas, Team S3-G4, Thomas Spring 2020 Member of University of North Texas, Team S3-G4, Thomas Spring 2020
UNT-THOMAS-S20S3G4
3 Members
24 Guides authored
