Introduction
If the battery in your HP Omen 15-ce019dx laptop doesn’t last through the day, or needs to be constantly plugged in, you might need to replace the battery. The process is actually quite simple. Once you order the right battery for your laptop, all you need is a screwdriver and an antistatic parts tray to hold the screws. You will be removing the back cover of the Omen laptop to access the battery. The battery will be removed and replaced with a new battery. Then, the back of the laptop will be replaced and you can resume using your laptop with brand new restored battery life. No major tech knowledge needed.
What you need
-
-
-
Turn the laptop over so the bottom is facing up.
-
Remove the eight 1.2 mm screws around the frame using a Phillips #00 screwdriver.
-
Unscrew the two 1.2 mm screws at the top using a Phillips #00 screwdriver. These screws stay in the back of laptop, so when you hear a clicking sound, the screw is removed and you may proceed.
-
-
-
-
At the top of the laptop, there is gap between the back cover and the rest of the laptop.
-
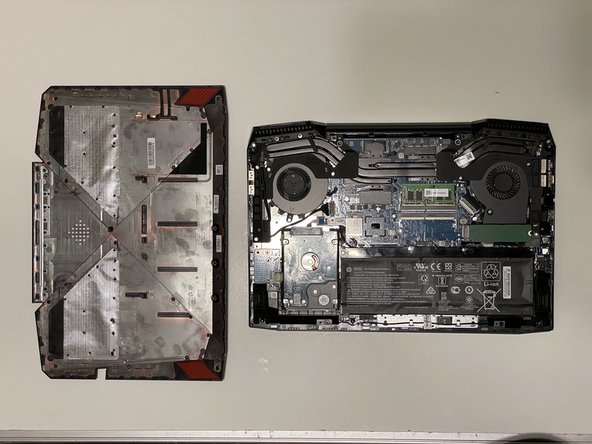
Gently pop the back off by gripping the top edge where the gap is and pulling up. The rest of the frame should pop up as you pull.
-
-
-
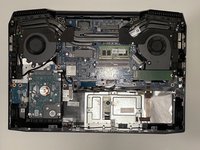
Remove the four 1.2 mm screws from the top of the battery using a Phillips #00 screwdriver.
-


 Ask FixBot




To reassemble your device, follow these instructions in reverse order.
Cancel: I did not complete this guide.
11 other people completed this guide.

Team

University of Memphis, Team S4-G1, Kim Fall 2020 Member of University of Memphis, Team S4-G1, Kim Fall 2020
UM-KIM-F20S4G1
1 Member
12 Guides authored
