
HP Omen 15-ax243dx Screen Replacement

vangnam and 3 other contributors
Last updated on Jan 5, 2018
Views: 6.5K
View statistics:
- Past 24 Hours:
- 1
- Past 7 Days:
- 25
- Past 30 Days:
- 143
- All Time:
- 6,472
Comments: 2
2 comments on steps.
Completed: 0 1
No one has marked this guide "completed." Will you be the first?
1 person has marked this guide "completed." It's you — great job!
Favorites: 1 2
1 person has favorited (and subscribed to) this guide. Will you be next?
2 people have favorited (and subscribed to) this guide — including you!
Introduction
Go to step 1 ↓Is your screen cracked or smashed? Will it not turn on? Well you are in luck, if you follow our steps on how to disassembly the screen off the HP-Omen computer and reassembly the screen back on. This guides difficulty is moderate and contains 9 total steps that will take you approximately 20-40 minutes to complete it. This guide will also require the pre-requeste of removing the back cover and the battery. You will need only two tools for this repair guide, a Philips #00 screw-driver and a plastic opening tool.
What you need
Tools


-
-
-
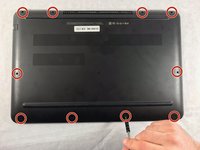
The rear panel is secured by 10 screws. Using a #00 Phillips Screwdriver, remove the ten 1.2 mm screws.
-
The screwdriver should be inserted at the same angle as the screws.
 Ask FixBot
-
-
-
Insert a plastic opening tool between the rear panel and the top case. Pry the opening tool upwards to separate the top case from the bottom case.
-
Slide the opening tool along the case perimeter to loosen the bottom case.
-
Gently pull the bottom case away from the laptop.
-
-
-
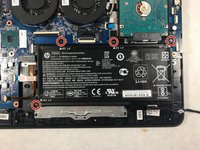
Pull the battery cable out from its motherboard socket.
-
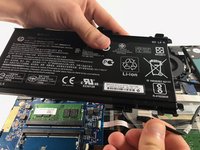
Remove the battery.
-
Disconnect the power cord from the battery and transfer it to your replacement battery.
-
-
-
-
-
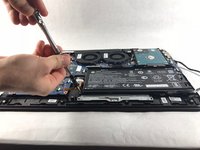
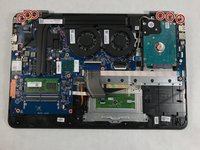
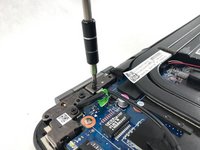
Unscrew the six 1.2 mm screws connecting the screen to the body using the #00 Phillips screwdriver head.
-
-
-
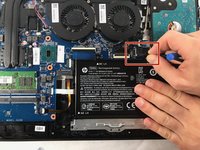
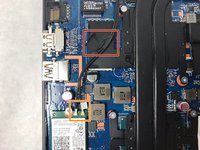
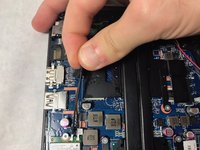
Remove the tape holding the wires down
-
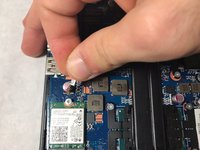
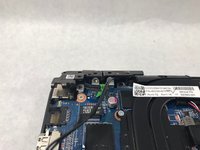
Disconnect the wires from the wifi chip
-
-
-
-
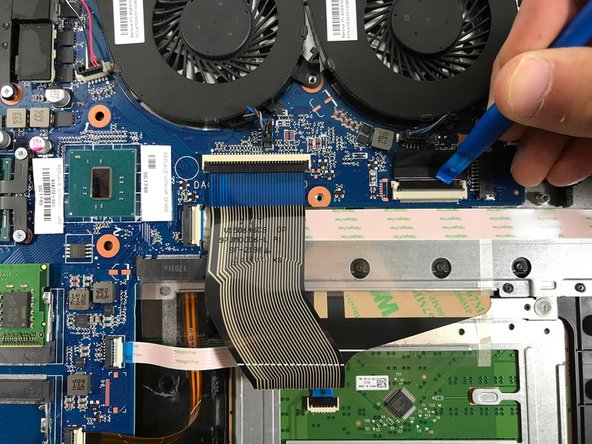
Flip the switch up that holds the screen cable in place
-
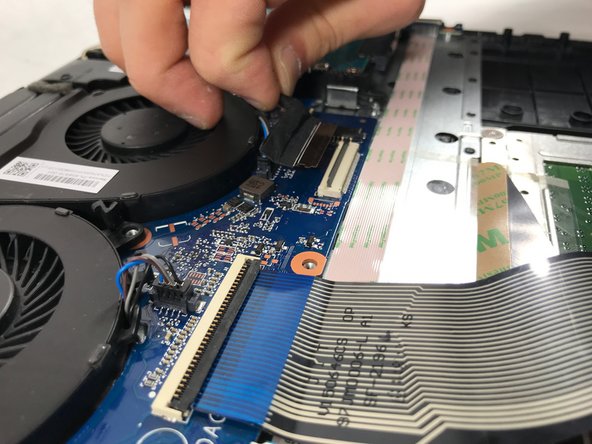
Lift up and pull back the cable from the insert
-
-
-
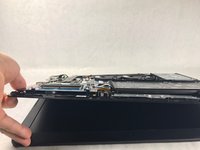
Lift the base of the device up to separate the hinges from the body of the device
-
-
-
Slide the base of the device out from under the hinges
-
The screen can now be replaced
-
-











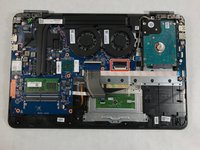
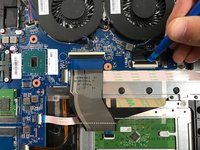
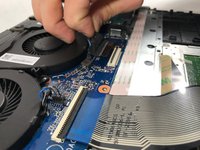

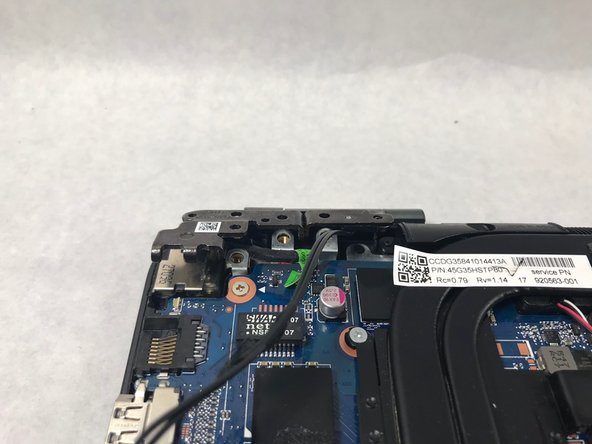

To reassemble your device, follow these instructions in reverse order.

Team

UMass Dartmouth, Team S6-G7, Rockett Fall 2017 Member of UMass Dartmouth, Team S6-G7, Rockett Fall 2017
UMASSD-ROCKETT-F17S6G7
3 Members
72 Guides authored
