Free Shipping on Domestic Orders $75+

HP Omen 15-ax243dx Keyboard Replacement

What you need

    1. HP Omen 15-ax243dx Keyboard Replacement, Battery: step 1, image 1 of 2 HP Omen 15-ax243dx Keyboard Replacement, Battery: step 1, image 2 of 2
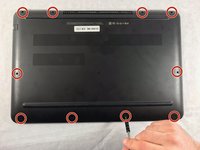
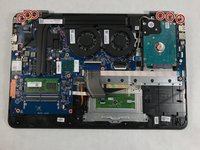
      • The rear panel is secured by 10 screws. Using a #00 Phillips Screwdriver, remove the ten 1.2 mm screws.

      • The screwdriver should be inserted at the same angle as the screws.

      • Be sure to keep track of the screws and where they came from. Some only fit in to one spot.

      Ask FixBot

      Add Comment

    2. HP Omen 15-ax243dx Keyboard Replacement: step 2, image 1 of 2 HP Omen 15-ax243dx Keyboard Replacement: step 2, image 2 of 2
      • Insert a plastic opening tool between the rear panel and the top case. Pry the opening tool upwards to separate the top case from the bottom case.

      • Slide the opening tool along the case perimeter to loosen the bottom case.

      • Gently pull the bottom case away from the laptop.

      Ask FixBot

      Add Comment

    3. HP Omen 15-ax243dx Keyboard Replacement: step 3, image 1 of 2 HP Omen 15-ax243dx Keyboard Replacement: step 3, image 2 of 2
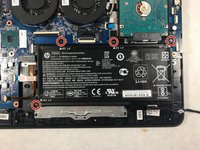
      • Remove the four 1.2 mm Phillips #00 screws around the battery.

      Ask FixBot

      Add Comment

    4. HP Omen 15-ax243dx Keyboard Replacement: step 4, image 1 of 2 HP Omen 15-ax243dx Keyboard Replacement: step 4, image 2 of 2
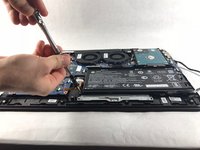
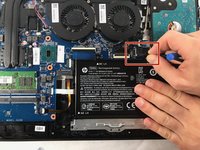
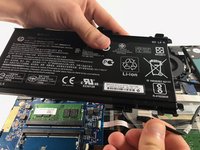
      • Pull the battery cable out from its motherboard socket.

      • Pull parallel to the motherboard, not straight up.

      • Remove the battery.

      • Disconnect the power cord from the battery and transfer it to your replacement battery.

      Ask FixBot

      Add Comment

    1. HP Omen 15-ax243dx Keyboard Replacement, Hard-Drive: step 5, image 1 of 1
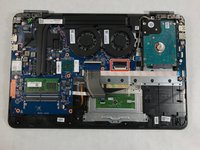
      • After the battery is removed, the hard drive will be easier to access in the top right hand corner.

      Ask FixBot

      Add Comment

    2. HP Omen 15-ax243dx Keyboard Replacement: step 6, image 1 of 3 HP Omen 15-ax243dx Keyboard Replacement: step 6, image 2 of 3 HP Omen 15-ax243dx Keyboard Replacement: step 6, image 3 of 3
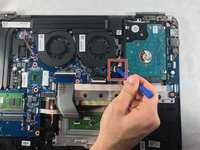
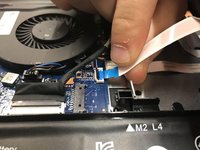
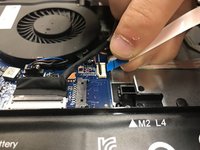
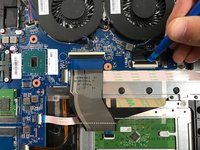
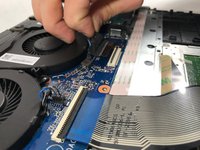
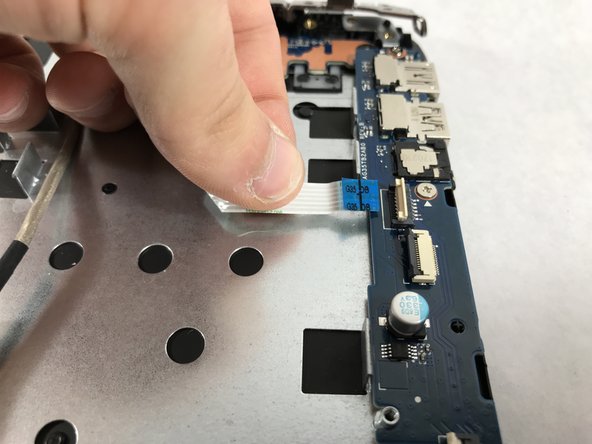
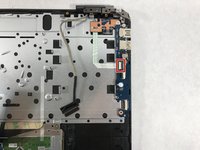
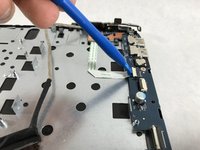
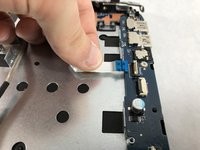
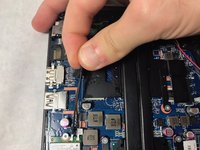
      • With a opening tool, flip open the switch that locks in the hard drive ribbon cable into the device.

      • When lifting the cable out, lift straight up and out to prevent damage to the connector or cable.

      Ask FixBot

      Add Comment

    3. HP Omen 15-ax243dx Keyboard Replacement: step 7, image 1 of 1
      • Lift the hard drive up to remove from the device

      Ask FixBot

      Add Comment

    4. HP Omen 15-ax243dx Keyboard Replacement: step 8, image 1 of 3 HP Omen 15-ax243dx Keyboard Replacement: step 8, image 2 of 3 HP Omen 15-ax243dx Keyboard Replacement: step 8, image 3 of 3
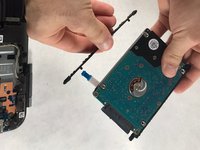
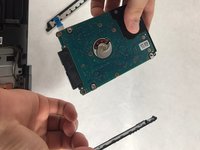
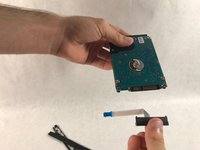
      • Remove the rubber guards on the side of the hard drive.

      • Gently pull the plastic connector out from the hard drive.

      • The hard drive can now be disposed of if needed.

      • Save the guards and connectors from this hard drive, they will be used on the replacement part.

      Ask FixBot

      Add Comment

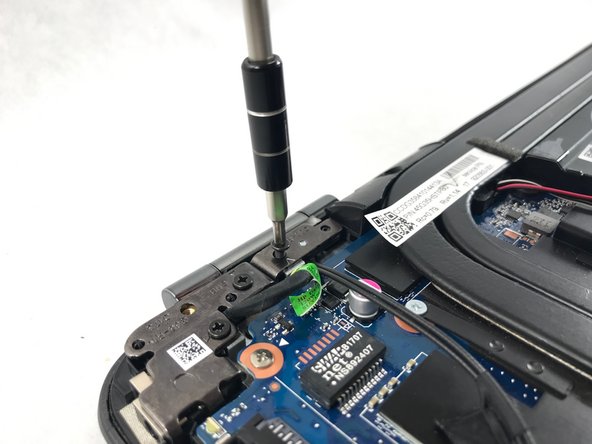
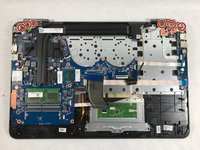
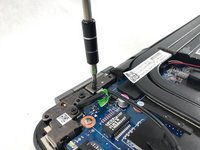
    1. HP Omen 15-ax243dx Keyboard Replacement, Screen: step 9, image 1 of 2 HP Omen 15-ax243dx Keyboard Replacement, Screen: step 9, image 2 of 2
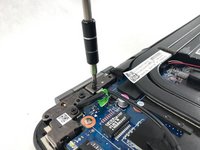
      • Unscrew the six 1.2 mm screws connecting the screen to the body using the #00 Phillips screwdriver head.

      • Be cautious of where the screws come out from, some will only fit in the same location.

      Ask FixBot

      Add Comment

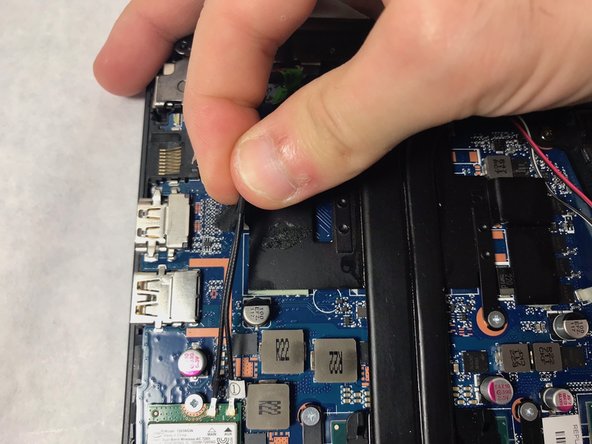
    2. HP Omen 15-ax243dx Keyboard Replacement: step 10, image 1 of 3 HP Omen 15-ax243dx Keyboard Replacement: step 10, image 2 of 3 HP Omen 15-ax243dx Keyboard Replacement: step 10, image 3 of 3
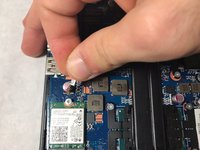
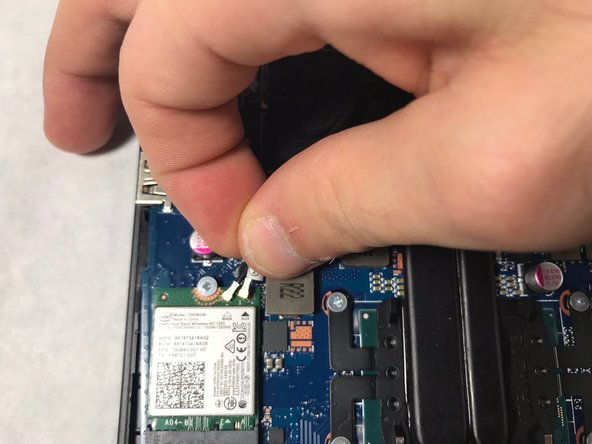
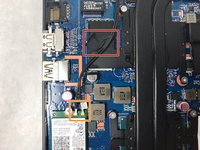
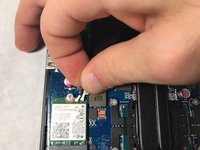
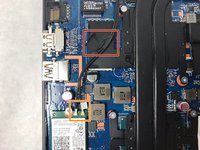
      • Remove the tape holding the wires down

      • Disconnect the wires from the wifi chip

      • When removing the wires from the wifi chip, be careful to not damage the connectors.

      Ask FixBot

      Add Comment

    3. HP Omen 15-ax243dx Keyboard Replacement: step 11, image 1 of 3 HP Omen 15-ax243dx Keyboard Replacement: step 11, image 2 of 3 HP Omen 15-ax243dx Keyboard Replacement: step 11, image 3 of 3
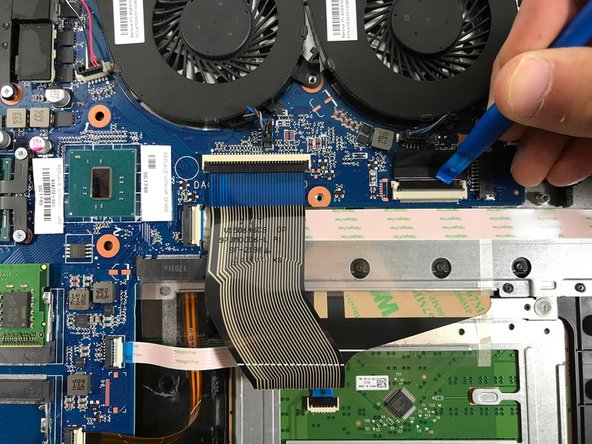
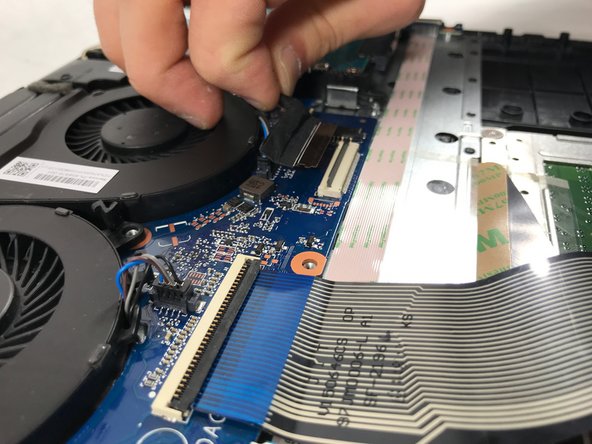
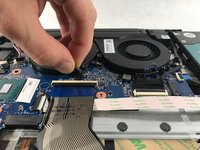
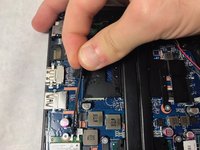
      • Flip the switch up that holds the screen cable in place

      • Lift up and pull back the cable from the insert

      Ask FixBot

      Add Comment

    4. HP Omen 15-ax243dx Keyboard Replacement: step 12, image 1 of 2 HP Omen 15-ax243dx Keyboard Replacement: step 12, image 2 of 2
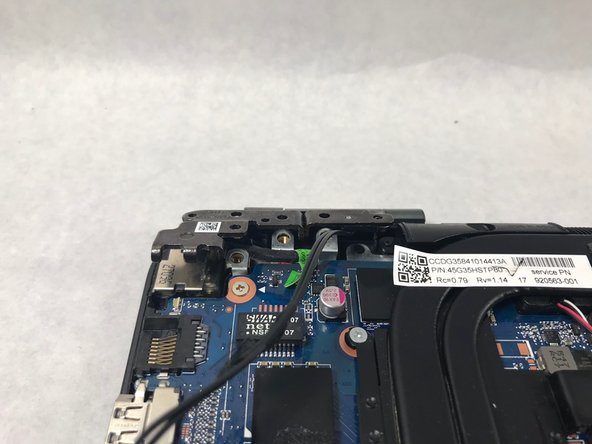
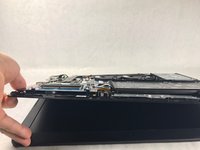
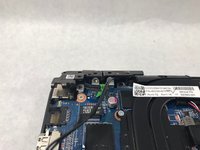
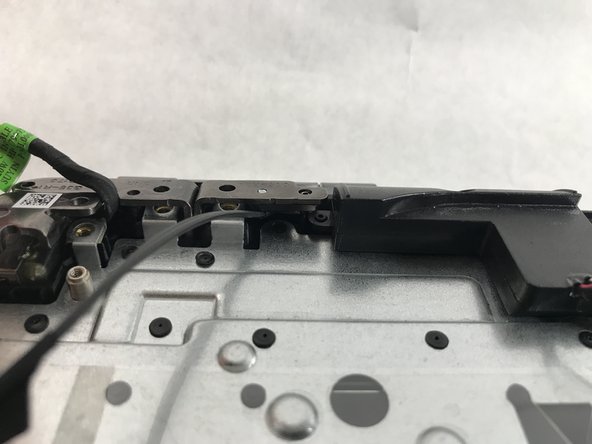
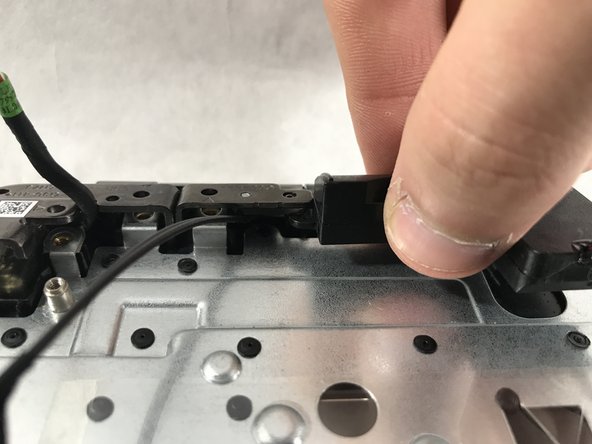
      • Lift the base of the device up to separate the hinges from the body of the device

      Ask FixBot

      Add Comment

    5. HP Omen 15-ax243dx Keyboard Replacement: step 13, image 1 of 1
      • Slide the base of the device out from under the hinges

      • The screen can now be replaced

      Ask FixBot

      Add Comment

    1. HP Omen 15-ax243dx Keyboard Replacement, Ventilation Fans: step 14, image 1 of 1
      • The two ventilation fans are secured with the system by 5 screws. Unscrew these five 1.2 mm screws using the Phillips #0 screwdriver.

      • When removing the screws, use a magnetic screwdriver to prevent the screws from falling behind the motherboard

      Ask FixBot

      Add Comment

    2. HP Omen 15-ax243dx Keyboard Replacement: step 15, image 1 of 2 HP Omen 15-ax243dx Keyboard Replacement: step 15, image 2 of 2
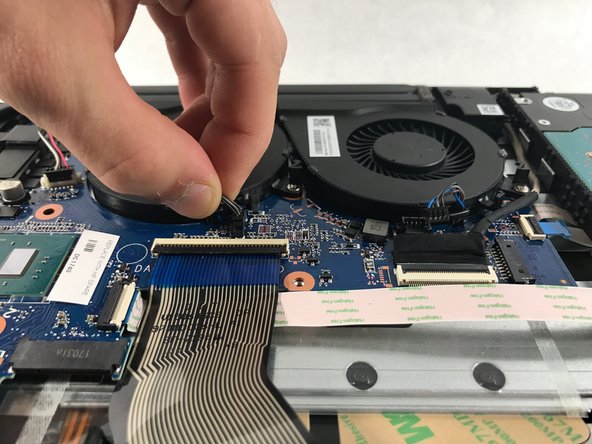
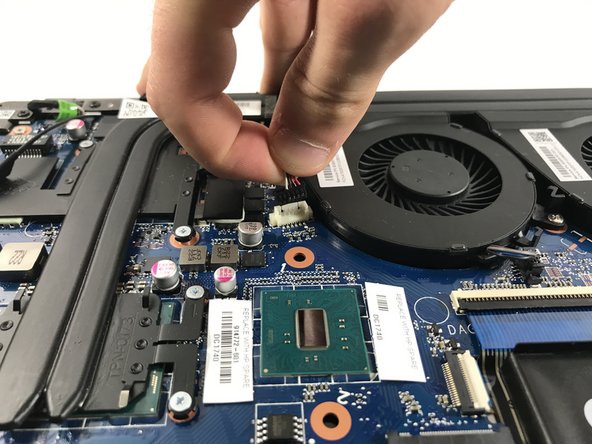
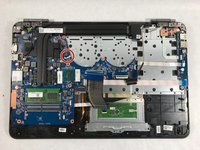
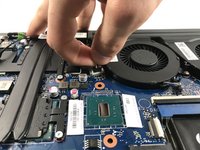
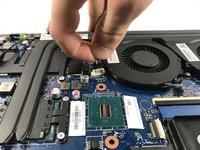
      • After removing all 5 screws, the fans are still connected with the system through 2 cables.

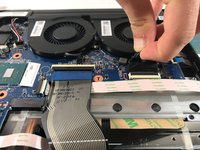
      • Carefully pull the fan cables out of the connectors on the motherboard.

      • Be cautious when pulling by the wires, this can permanently damage the fans beyond repair.

      Ask FixBot

      Add Comment

    3. HP Omen 15-ax243dx Keyboard Replacement: step 16, image 1 of 1
      • The fans can now be removed from the device.

      Ask FixBot

      Add Comment

    1. HP Omen 15-ax243dx Keyboard Replacement, Speaker: step 17, image 1 of 3 HP Omen 15-ax243dx Keyboard Replacement, Speaker: step 17, image 2 of 3 HP Omen 15-ax243dx Keyboard Replacement, Speaker: step 17, image 3 of 3
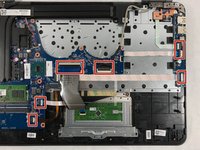
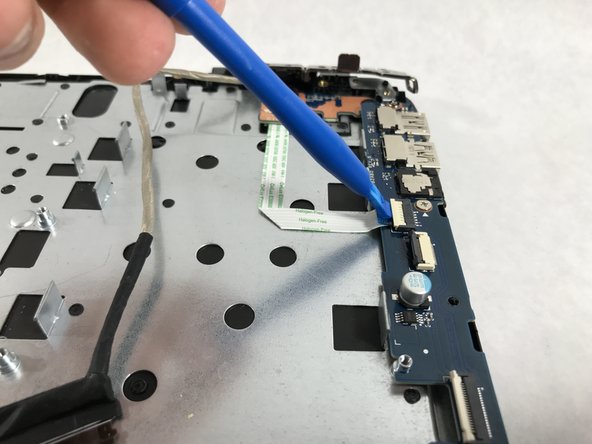
      • Disconnect all the ribbon cables highlighted.

      • Be sure to use the plastic opening tool when flipping the switches up on the cable connectors.

      Ask FixBot

      Add Comment

    2. HP Omen 15-ax243dx Keyboard Replacement: step 18, image 1 of 3 HP Omen 15-ax243dx Keyboard Replacement: step 18, image 2 of 3 HP Omen 15-ax243dx Keyboard Replacement: step 18, image 3 of 3
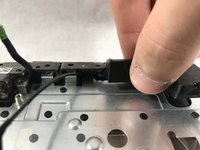
      • Unplug the wire the connects to the speakers.

      Ask FixBot

      Add Comment

    3. HP Omen 15-ax243dx Keyboard Replacement: step 19, image 1 of 2 HP Omen 15-ax243dx Keyboard Replacement: step 19, image 2 of 2
      • Unscrew the six 1.2 mm screws connecting the screen to the body using the #0 Phillips screwdriver.

      • Be cautious of where the screws come out from, some will only fit in the same location.

      Ask FixBot

      Add Comment

    4. HP Omen 15-ax243dx Keyboard Replacement: step 20, image 1 of 3 HP Omen 15-ax243dx Keyboard Replacement: step 20, image 2 of 3 HP Omen 15-ax243dx Keyboard Replacement: step 20, image 3 of 3
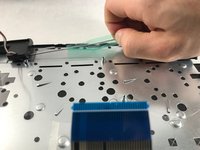
      • Remove the tape holding the wires down

      • Disconnect the wires from the wifi chip

      • When removing the wires from the wifi chip, be careful to not damage the connectors.

      Ask FixBot

      Add Comment

    5. HP Omen 15-ax243dx Keyboard Replacement: step 21, image 1 of 2 HP Omen 15-ax243dx Keyboard Replacement: step 21, image 2 of 2
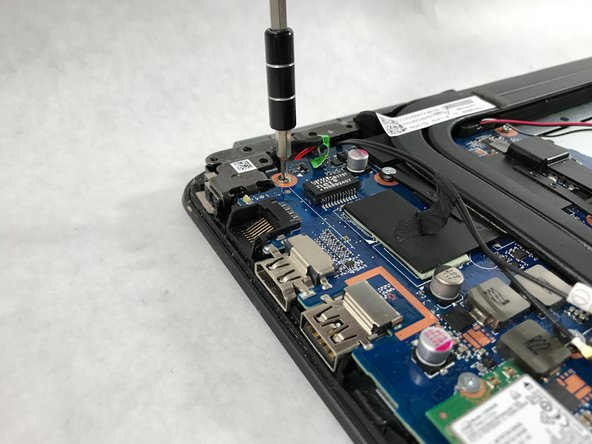
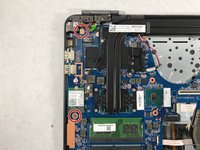
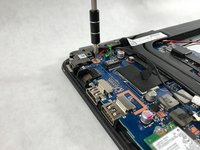
      • Unscrew the two 1.2 mm screws holding the motherboard to the front panel using the same screwdriver.

      Ask FixBot

      Add Comment

    6. HP Omen 15-ax243dx Keyboard Replacement: step 22, image 1 of 1
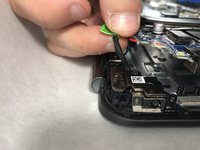
      • Lift the back of the motherboard up then slide the audio cable out between the heatsink and motherboard

      Ask FixBot

      Add Comment

    7. HP Omen 15-ax243dx Keyboard Replacement: step 23, image 1 of 2 HP Omen 15-ax243dx Keyboard Replacement: step 23, image 2 of 2
      • Lift the back of the motherboard up again and remove the charging adapter.

      • This wire is located in a tight spot. Pull it straight out and do not bend it, this will cause irreparable damage to the device.

      Ask FixBot

      Add Comment

    8. HP Omen 15-ax243dx Keyboard Replacement: step 24, image 1 of 3 HP Omen 15-ax243dx Keyboard Replacement: step 24, image 2 of 3 HP Omen 15-ax243dx Keyboard Replacement: step 24, image 3 of 3
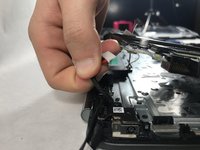
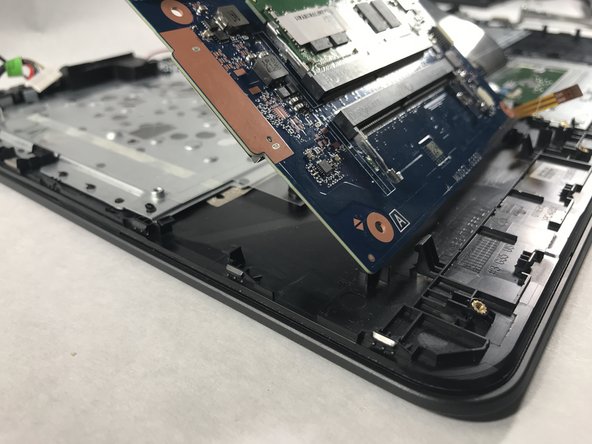
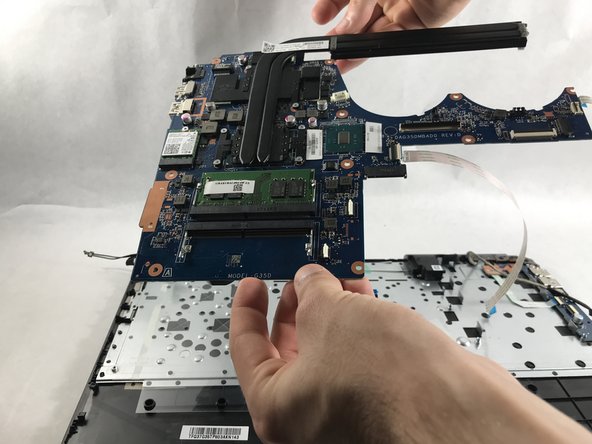
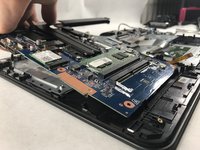
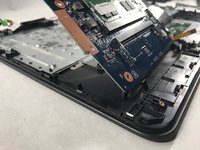
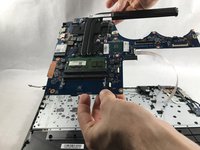
      • Slowly lift up the back of the motherboard.

      • The board is friction fit at the rotation point. Be careful to lift the board around this point.

      • The board will now lift out of the device.

      Ask FixBot

      Add Comment

    9. HP Omen 15-ax243dx Keyboard Replacement: step 25, image 1 of 3 HP Omen 15-ax243dx Keyboard Replacement: step 25, image 2 of 3 HP Omen 15-ax243dx Keyboard Replacement: step 25, image 3 of 3
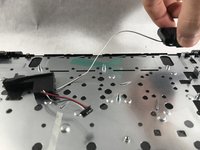
      • Lift up the keyboard panel of the device and set it back down.

      • The speaker in the top left hand corner can be taken out of its place.

      Ask FixBot

      Add Comment

    10. HP Omen 15-ax243dx Keyboard Replacement: step 26, image 1 of 2 HP Omen 15-ax243dx Keyboard Replacement: step 26, image 2 of 2
      • Remove the tape between the two speakers

      • The left speaker can now be removed.

      • The speakers can be disposed of if needed now.

      Ask FixBot

      Add Comment

    1. HP Omen 15-ax243dx Keyboard Replacement, Keyboard: step 27, image 1 of 3 HP Omen 15-ax243dx Keyboard Replacement, Keyboard: step 27, image 2 of 3 HP Omen 15-ax243dx Keyboard Replacement, Keyboard: step 27, image 3 of 3
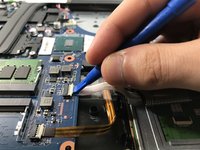
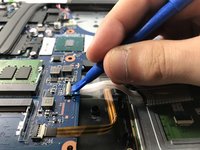
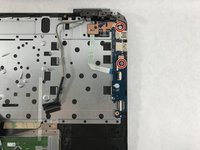
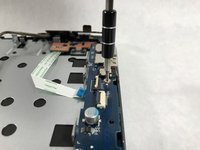
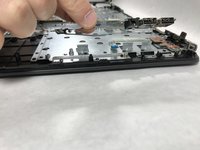
      • Use the opening tool to flip the switch that holds the cable to the power button.

      • Lift the cable out of the connector

      Ask FixBot

      Add Comment

    2. HP Omen 15-ax243dx Keyboard Replacement: step 28, image 1 of 3 HP Omen 15-ax243dx Keyboard Replacement: step 28, image 2 of 3 HP Omen 15-ax243dx Keyboard Replacement: step 28, image 3 of 3
      • Unscrew the two 1.2 mm #00 Phillips head screws that hold the board in.

      • This can now be lifted straight out of the device.

      Ask FixBot

      Add Comment

    3. HP Omen 15-ax243dx Keyboard Replacement: step 29, image 1 of 2 HP Omen 15-ax243dx Keyboard Replacement: step 29, image 2 of 2
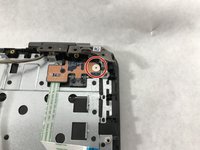
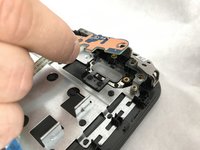
      • Unscrew the 1.2 mm #00 Phillips head screw that holds the power button into place.

      • This can be lifted out of the device

      Ask FixBot

      Add Comment

    4. HP Omen 15-ax243dx Keyboard Replacement: step 30, image 1 of 3 HP Omen 15-ax243dx Keyboard Replacement: step 30, image 2 of 3 HP Omen 15-ax243dx Keyboard Replacement: step 30, image 3 of 3
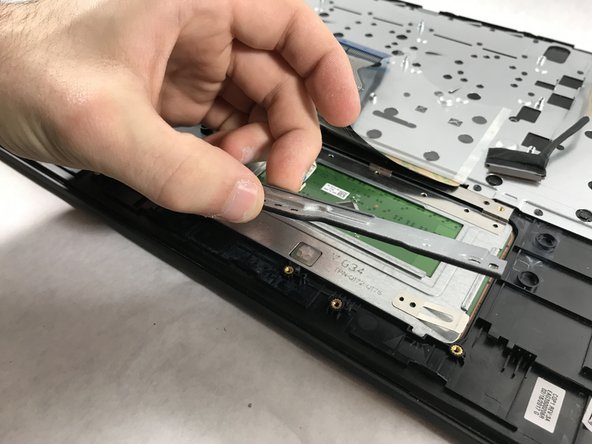
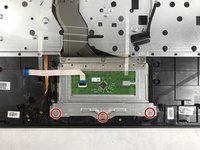
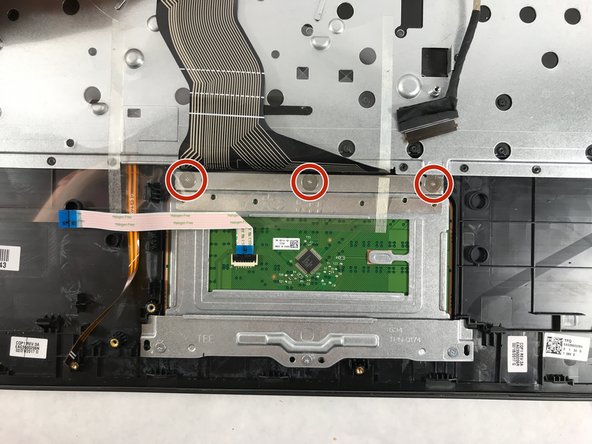
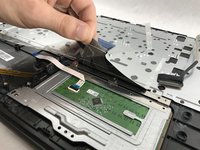
      • Unscrew the three 1.2 mm #00 Phillips head screws that hold in the plate below the trackpad.

      • This can be lifted out of the device.

      Ask FixBot

      Add Comment

    5. HP Omen 15-ax243dx Keyboard Replacement: step 31, image 1 of 3 HP Omen 15-ax243dx Keyboard Replacement: step 31, image 2 of 3 HP Omen 15-ax243dx Keyboard Replacement: step 31, image 3 of 3
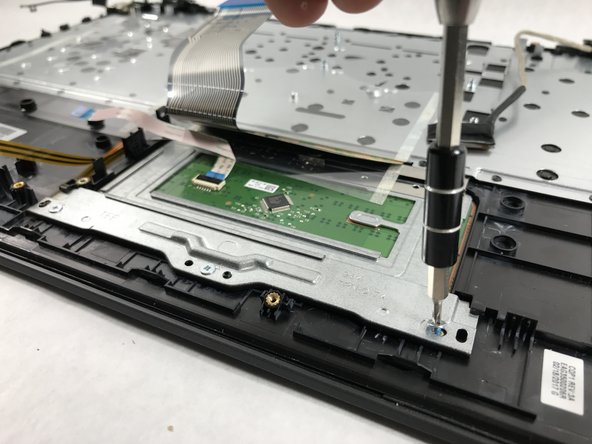
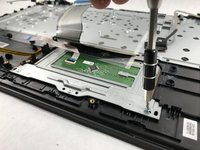
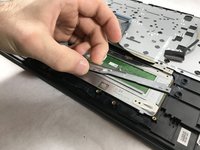
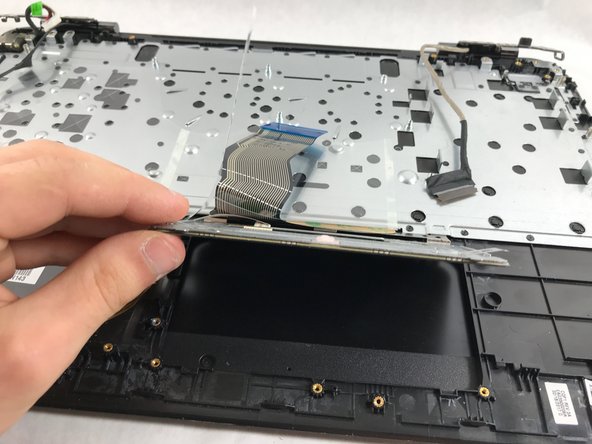
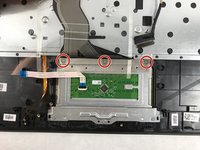
      • Lift up the clear plastic that covers the top three screws

      • Use a size #00 Phillips head screw driver to remove the three 1.2 mm screws

      • The trackpad can now be removed from the device.

      Ask FixBot

      Add Comment

    6. HP Omen 15-ax243dx Keyboard Replacement: step 32, image 1 of 2 HP Omen 15-ax243dx Keyboard Replacement: step 32, image 2 of 2
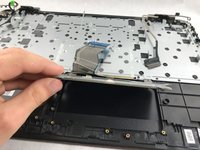
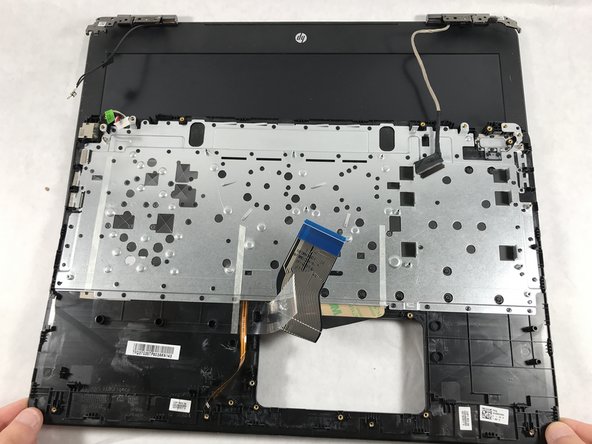
      • The keyboard can now be slid from underneath the hinges.

      • The keyboard can be disposed of is needed.

      Ask FixBot

      Add Comment

Conclusion

To reassemble your device, follow these instructions in reverse order.

Cancel: I did not complete this guide.

3 other people completed this guide.

Dean Lee

Member since: 10/19/17

362 Reputation

2 Guides authored

Team

6 Guide Comments

Do you have a link to buy the replacement keyboard?

Seth Norton - Reply Share
How do you take apart the keyboard compartment to replace the keyboard?

corbycobb - Reply Share
Very useful tutorial, thanks !

Hugo - Reply Share
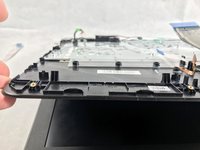
Very useful tutorial, thanks you so much.


Ata Akkaya - Reply Share
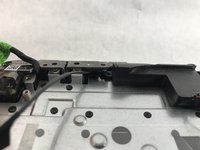
If you didn't buy a keyboard yet, DON'T!

I followed this guide only to learn at the end that you CANNOT replace just the keyboard (but you CAN put a new keyboard in; keep reading). I specifically bought a keyboard after seeing this guide, and when I got it all taken apart, I learned I wasted my money and time.

This guide should make a correction at the beginning saying that you need MORE than just the keyboard!!!

You can install a new keyboard, but you need to REPLACE THE ENTIRE KEYBOARD COVER as one entire unit: speaker grill, touchpad, etc.

HP routinely designs things to screw customers, and this is a perfect example of it.

The part you need is #859735-001 (red backlit) or #905118-001 (green backlit). Depending where you buy it and how long you want to wait, it'll cost you probably 50 to 100 bucks (China-sourced). There is an unlit keyboard part, IDK the number. Or, buy the HP official part for a lot more, if you can find it.

Good luck!

Eric - Reply Share

Add Comment

View Statistics:

Past 24 Hours: 0

Past 7 Days: 11

Past 30 Days: 55

All Time: 14,229