Introduction
Does your hard-drive not have enough stroage and you want to swap it for a larger storage hard-drive? Well, reading this guide will show how. To disassembly the hard-drive on this computer, it is very easy and will only take about 5 minutes. This guide includes the pre-requeste of removing the back cover and the battery. Once you the back cover and the battery, removing the hard-drive is as easy as flip, pull, lift. The tools that you will need are one, a Philips #00 screw driver and two, a blue plastic opening tool.
What you need
-
-
-
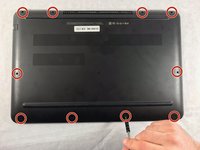
The rear panel is secured by 10 screws. Using a #00 Phillips Screwdriver, remove the ten 1.2 mm screws.
-
The screwdriver should be inserted at the same angle as the screws.
 Ask FixBot
-
-
-
Insert a plastic opening tool between the rear panel and the top case. Pry the opening tool upwards to separate the top case from the bottom case.
-
Slide the opening tool along the case perimeter to loosen the bottom case.
-
Gently pull the bottom case away from the laptop.
-
-
-
-
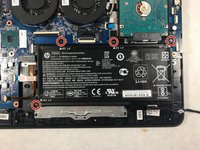
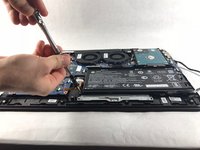
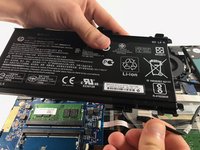
Pull the battery cable out from its motherboard socket.
-
Remove the battery.
-
Disconnect the power cord from the battery and transfer it to your replacement battery.
-
-
-
-
-
After the battery is removed, the hard drive will be easier to access in the top right hand corner.
-
-
-
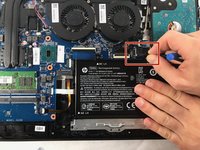
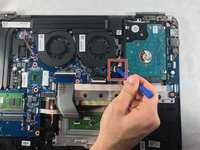
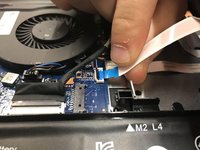
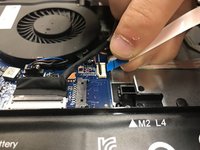
With a opening tool, flip open the switch that locks in the hard drive ribbon cable into the device.
-
-
-
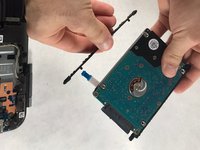
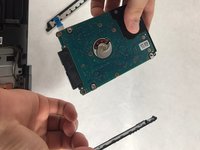
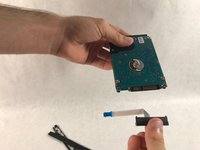
Remove the rubber guards on the side of the hard drive.
-
Gently pull the plastic connector out from the hard drive.
-
The hard drive can now be disposed of if needed.
-
-










To reassemble your device, follow these instructions in reverse order.
Cancel: I did not complete this guide.
3 other people completed this guide.

Team

UMass Dartmouth, Team S6-G7, Rockett Fall 2017 Member of UMass Dartmouth, Team S6-G7, Rockett Fall 2017
UMASSD-ROCKETT-F17S6G7
3 Members
72 Guides authored
