Introduction
Use this guide to replace the keyboard in a HP Omen 15-5002xx. This guide is important because without a working keyboard on this model of laptop, it becomes unusable. This guide requires you to be comfortable using a screwdriver and spudger. This keyboard guide is aimed to make typing on the laptop reliable, which also increases its lifespan and value.
The keyboard is an input device used for typing, commands, and system navigation. A faulty keyboard may result in unresponsive keys, repeated keystrokes, or keys that do not register at all. Before starting this repair, make sure that the issue is not caused by software problem such as driver errors or incorrect keyboard settings. You may want to test with an external keyboard as well to check if the issue is with the internal keyboard.
This guide requires partial disassembly of the laptop, including accessing internal components beneath the keyboard. You will need to carefully disconnect ribbon cables and remove small screws, so take caution when handling these parts to avoid damage.
Before starting, make sure the laptop is completely powered off, unplugged from any external power source, and the battery is disconnected or removed if possible. This is recommended to prevent damage to sensitive internal components.
What you need
-
-
-
Flip the laptop upside down so the backside is facing up.
-
Use a spudger or your fingers to remove the thin rubber strips that are attached from the edges of the laptop.
-
Unscrew all 14 screw with the J00 JIS Screwdriver.
 Ask FixBot
-
-
-
-
-
Open the case slowly from opposite sides of the laptop.
-
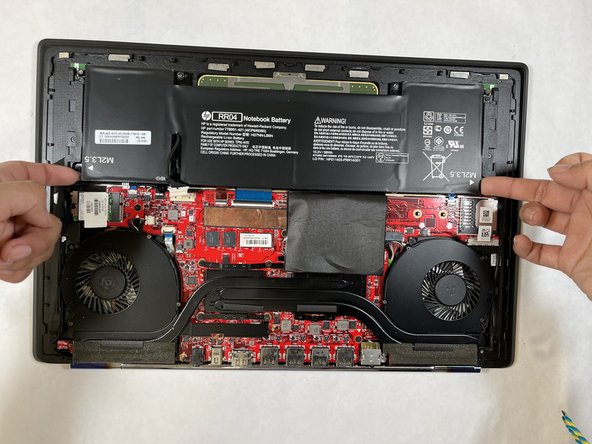
Use the J00 JIS screwdriver to remove eight screws securing the battery.
-
-
-
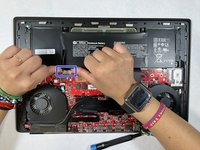
Carefully remove the battery connector that is attached to the motherboard by slowly sliding it towards the battery with two fingers.
-
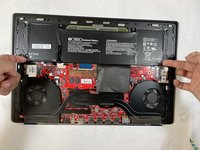
Remove the battery by lifting it up and out.
-
-
-
-
Tool used on this step:Flathead 1.5 mm Screwdriver$1.99
-
Remove the twelve big screws with the J00 JIS screwdriver.
-
Remove all eight small screws with the 1.5 flathead screwdriver.
-
-
-
Carefully detach the fan connector that is attached to the motherboard by slowly sliding the connector out with two fingers.
-
Remove the battery carefully.
-
-
-
-
-
-
Carefully remove the Wi-Fi Card by slowly sliding the card sideways away from the motherboard.
-
-
-
Tool used on this step:Flathead 1.5 mm Screwdriver$1.99
-
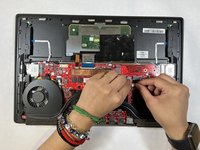
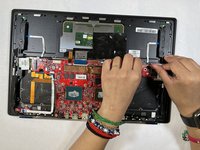
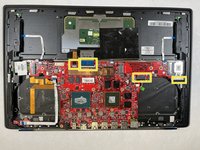
Use the 1.5 flathead screwdriver and remove the twelve screws from the motherboard.
-
-
-
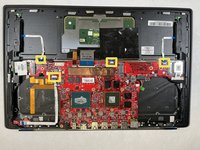
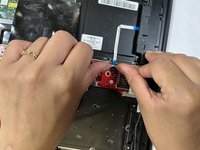
Disconnect the remaining four connectors from the motherboard.
-
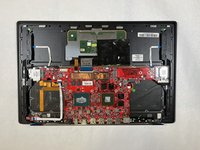
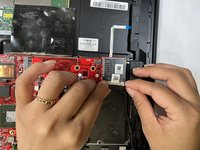
Remove the motherboard.
-
-
-
-
Tool used on this step:Flathead 1.5 mm Screwdriver$1.99
-
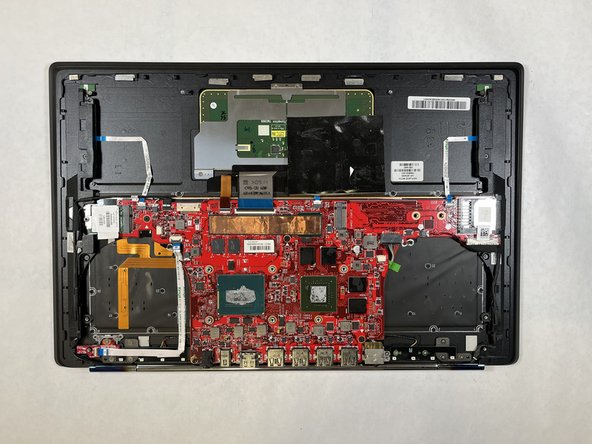
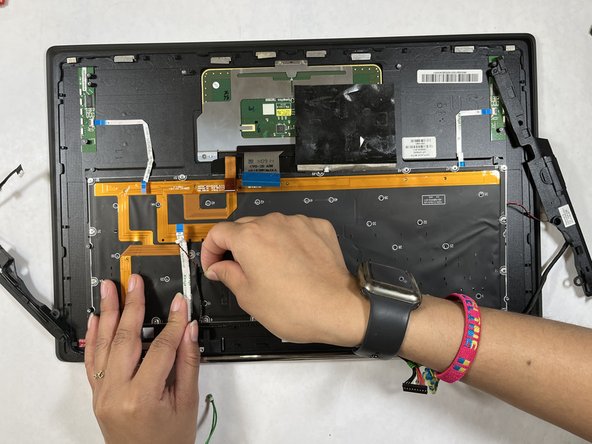
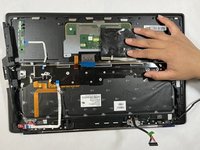
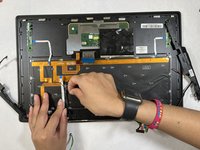
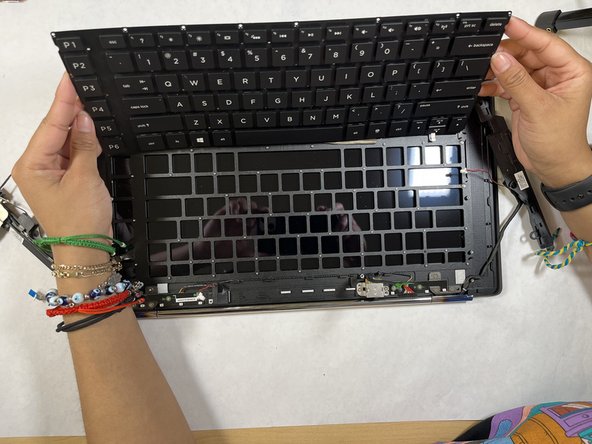
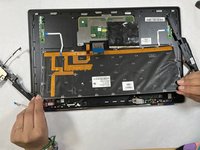
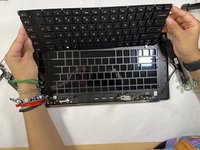
Remove all 51 screws using the 1.5 mm flathead screwdriver from the underside of the keyboard.
-
-











To reassemble your device, follow these instructions in reverse order. Take your e-waste to an R2 or e-Stewards certified recycler.

Team

Gateway, Team 1-1, Saknee Fall 2021 Member of Gateway, Team 1-1, Saknee Fall 2021
GCC-SAKNEE-F21S1G1
5 Members
72 Guides authored
