Free Shipping on Domestic Orders $75+

HP Officejet Pro 8625 Printhead Replacement

What you need

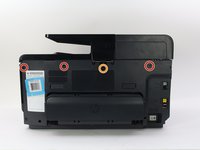
  1. HP Officejet Pro 8625 Printhead Replacement, Left Side Panel: step 1, image 1 of 3 HP Officejet Pro 8625 Printhead Replacement, Left Side Panel: step 1, image 2 of 3 HP Officejet Pro 8625 Printhead Replacement, Left Side Panel: step 1, image 3 of 3
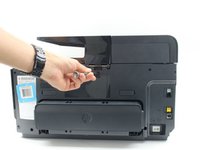
    • Remove the two 11.6 mm T9 screws from the right side of the back of the printer.

    Ask FixBot

    Add Comment

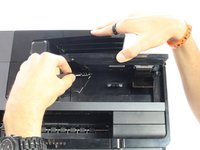
  2. HP Officejet Pro 8625 Printhead Replacement: step 2, image 1 of 3 HP Officejet Pro 8625 Printhead Replacement: step 2, image 2 of 3 HP Officejet Pro 8625 Printhead Replacement: step 2, image 3 of 3
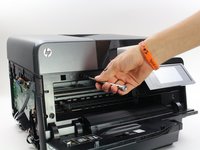
    • Pull down the front panel to expose the screws on the front.

    • Remove the one 11.6 mm T9 screw on the left side of the front face.

    Ask FixBot

    Add Comment

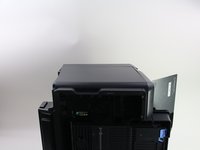
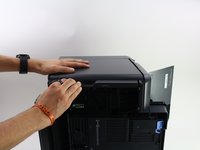
  3. HP Officejet Pro 8625 Printhead Replacement: step 3, image 1 of 2 HP Officejet Pro 8625 Printhead Replacement: step 3, image 2 of 2
    • Remove the side panel by pushing down and towards the back.

    • This step may be easier if the printer is laid on its side with the left side panel facing up.

    Ask FixBot

    Add Comment

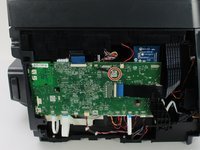
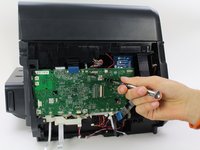
  4. HP Officejet Pro 8625 Printhead Replacement, Printhead: step 4, image 1 of 2 HP Officejet Pro 8625 Printhead Replacement, Printhead: step 4, image 2 of 2
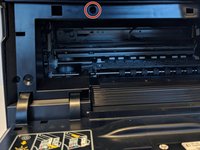
    • Remove the one 5.3 mm T9 screw.

    Ask FixBot

    Add Comment

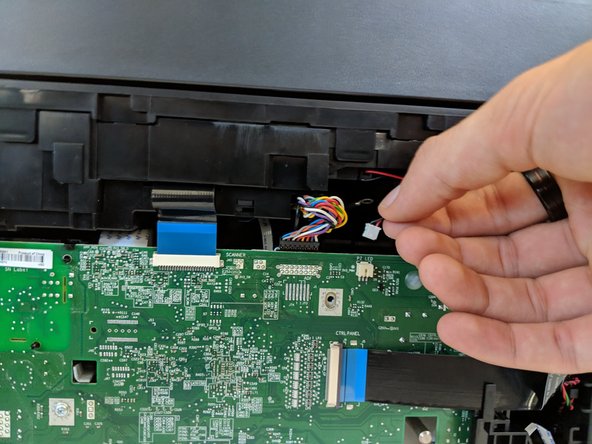
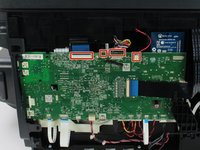
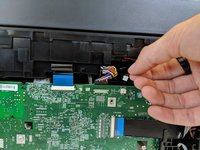
  5. HP Officejet Pro 8625 Printhead Replacement: step 5, image 1 of 2 HP Officejet Pro 8625 Printhead Replacement: step 5, image 2 of 2
    • Remove the four connectors from the top of the motherboard.

    Ask FixBot

    Add Comment

  6. HP Officejet Pro 8625 Printhead Replacement: step 6, image 1 of 2 HP Officejet Pro 8625 Printhead Replacement: step 6, image 2 of 2
    • Remove the three 11.6 mm T9 screws from the top, back of the printer.

    • Remove the one 12.1 mm T9 screw from the top, back of the printer.

    Ask FixBot

    Add Comment

  7. HP Officejet Pro 8625 Printhead Replacement: step 7, image 1 of 2 HP Officejet Pro 8625 Printhead Replacement: step 7, image 2 of 2
    • Remove the 11.6mm T9 screw from the top left of the front of the printer.

    Ask FixBot

    Add Comment

  8. HP Officejet Pro 8625 Printhead Replacement: step 8, image 1 of 1
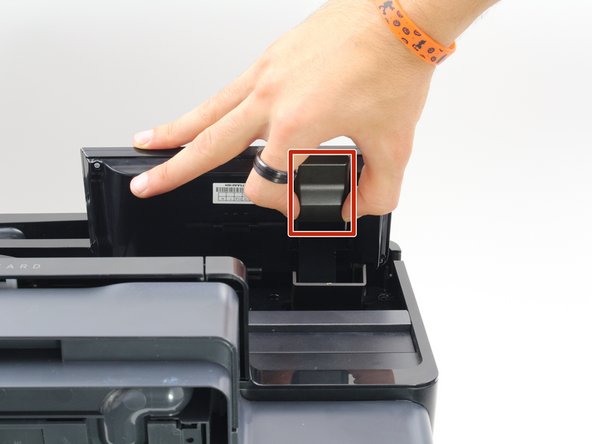
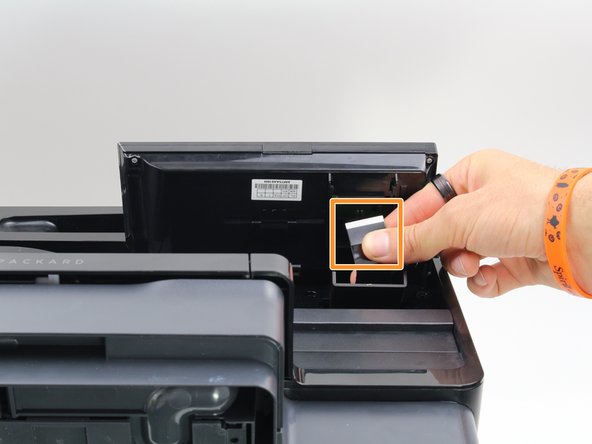
    • Disconnect the display by pulling down on the plastic hinge.

    • Gradually apply more force to the hinge and don't worry about the hinge or display breaking.

    Ask FixBot

    Add Comment

  9. HP Officejet Pro 8625 Printhead Replacement: step 9, image 1 of 3 HP Officejet Pro 8625 Printhead Replacement: step 9, image 2 of 3 HP Officejet Pro 8625 Printhead Replacement: step 9, image 3 of 3
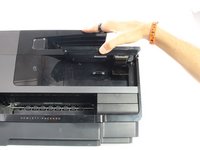
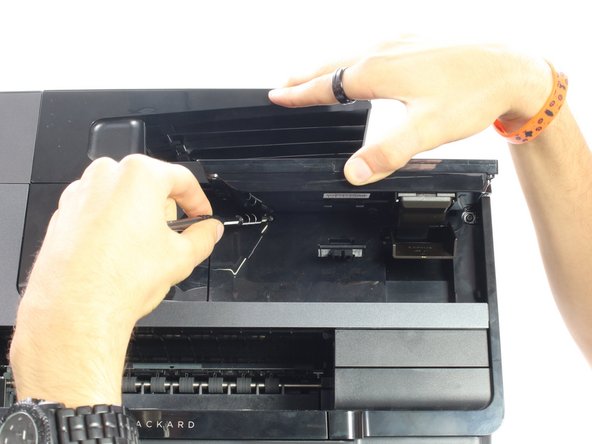
    • Lift the display as high as it will allow to expose the back of the display.

    • Remove the connector by pinching the sides and pulling away from the printer.

    • Remove the connector by pulling both away from the display and towards the printer.

    Ask FixBot

    Add Comment

  10. HP Officejet Pro 8625 Printhead Replacement: step 10, image 1 of 2 HP Officejet Pro 8625 Printhead Replacement: step 10, image 2 of 2
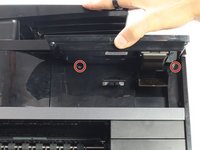
    • Remove the two 11.6 mm T9 screws from beneath the display.

    Ask FixBot

    Add Comment

  11. HP Officejet Pro 8625 Printhead Replacement: step 11, image 1 of 1
    • Remove the top of the printer by lifting it from both sides.

    Ask FixBot

    Add Comment

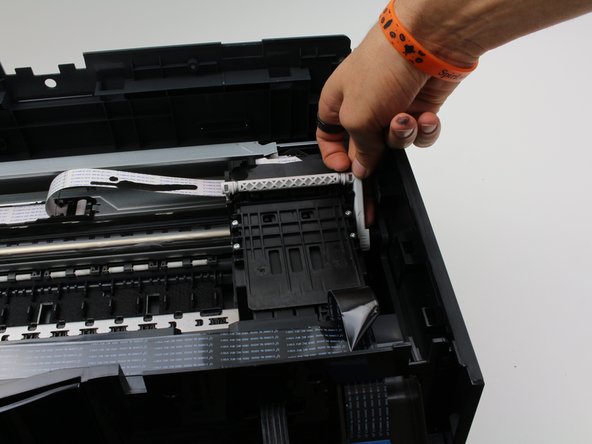
  12. HP Officejet Pro 8625 Printhead Replacement: step 12, image 1 of 3 HP Officejet Pro 8625 Printhead Replacement: step 12, image 2 of 3 HP Officejet Pro 8625 Printhead Replacement: step 12, image 3 of 3
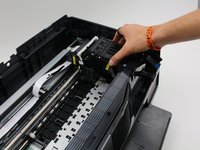
    • Locate the printhead on the right side of the printer.

    • Pull the white tab on the right side of the printhead up, by pushing on the side of the printer a little bit.

    • Remove the printhead by lifting it out of the housing.

    Ask FixBot

    Add Comment

Conclusion

To reassemble your device, follow these instructions in reverse order.

Cancel: I did not complete this guide.

7 other people completed this guide.

Cam Engle

Member since: 10/08/18

555 Reputation

3 Guides authored

Team

Cal Poly, Team S13-G3, White Fall 2018 Member of Cal Poly, Team S13-G3, White Fall 2018

CPSU-WHITE-F18S13G3

3 Members

14 Guides authored

8 Guide Comments

This printhead is normally user replaceable.

No screwdrivers are required.

This video is for an 8600, but the process is the same.

https://www.youtube.com/watch?v=i-IluLvF...

Andy - Reply Share
I used these instructions to repair the guide ribbon for the print head. It had come off after a sheet of high tack labels got jammed in the printer. Just saved myself from having to buy a new printer! Thanks!!!

Robert de Salazar - Reply Share
12 steps not necessary. Just open the front (like changing ink) and lift the grey lever referenced in step 12, then remove the head from the carriage.

bwaaronj - Reply Share

Correct. So easy.

hinz - Reply Share

BWAARONJ, I did exactly what you suggested in my 8625 three times! Now my printer is in pieces and parts, and I cannot get the printhead to release from the right side of the housing. I was very meticulous in making an effort to correct this problem, but, alas, it appears I will have to get a new printer!

Shelia Guy Bozeman - Reply Share

Add Comment

View Statistics:

Past 24 Hours: 4

Past 7 Days: 10

Past 30 Days: 66

All Time: 9,525