Introduction
The CMOS battery is an on board electronics memory storage battery. Removing it will reset all settings to default. If your printer frequently loses data or shuts off randomly, you may need to replace the CMOS battery.
What you need
-
-
Turn off the printer and remove the power cable.
-
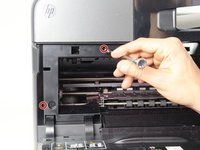
Remove two 13mm T9 screws using a T9-Torx screwdriver. Turn counterclockwise until the screws are released.
 Ask FixBot
-
-
-
Open the front door by placing your finger on the indented groove on the left side of the printer and pulling down
-
-
-
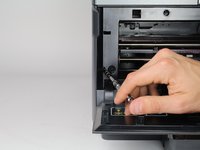
Remove the two 13mm screws with a T9-TORX screwdriver by turning counter-clockwise (left).
-
-
-
-
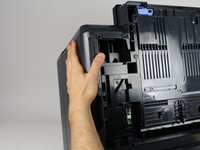
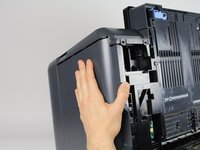
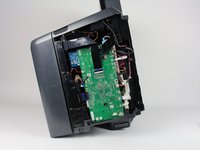
Gently remove the left side panel by placing your palm flat against the surface and pulling down.
-
-
-
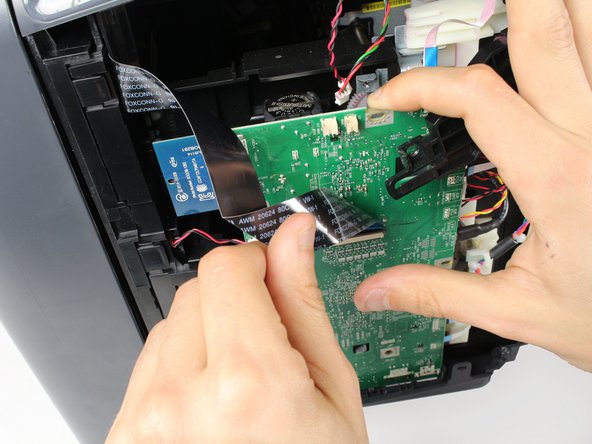
Gently bend the black ribbon cable by using your left hand.
-
Remove the 8mm T9-Torx screw under the black plastic cover by turning counter clockwise.
-
-
-
Gently move the black plastic cover to the side by using your right hand.
-
Place one finger behind the top of the motherboard where you removed the previous screw.
-
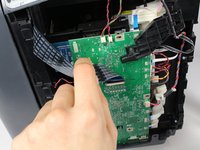
Gently pull the motherboard towards you by about an inch by using your right hand's finger.
-
-
-
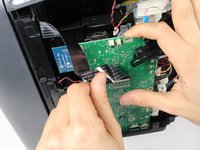
Gently remove the CMOS battery by using a finger from your left hand, while holding the motherboard with your right hand.
-







To reassemble your device, follow these instructions in reverse order.
Cancel: I did not complete this guide.
5 other people completed this guide.

Team

Cal Poly, Team S19-G2, Livingston Winter 2018 Member of Cal Poly, Team S19-G2, Livingston Winter 2018
CPSU-LIVINGSTON-W18S19G2
3 Members
8 Guides authored
4 Guide Comments
I removed the lithium CMOS 3 volt battery, connected 2 wires at +(red) and - (black). Open a hole at plastic cover, and now I’m using 2 AA in serial, in a holder externally. To refill the cartridges , first open the cover till carriage stops in the middle. Second disconnect the 120 V power cable. Third remove the external CMOS 2 AA batteries, from the holder . Forth remove ink cartridges, refill and install them in the carriage. Insert exterior CMOS 2 AA batteries in the holder, Connect the power cable and you are good to go.
I removed all the board fasteners to be sure. That small metal hook down below your right thumb. Be careful there no to damage the board. 10 minutes and done!
Any chance this battery might be responsible for Missing or Failed Printhead error message. I have tried a new printhead, and it didn't fix the problem. I am getting this error message on a lightly used printer. The printer is about 6 years old and just all of a sudden started failing on startup.
